As a photographer, editing the photos can be more enjoyable than taking them. Seeing the images come to life and editing them to my style brings me a lot of joy.
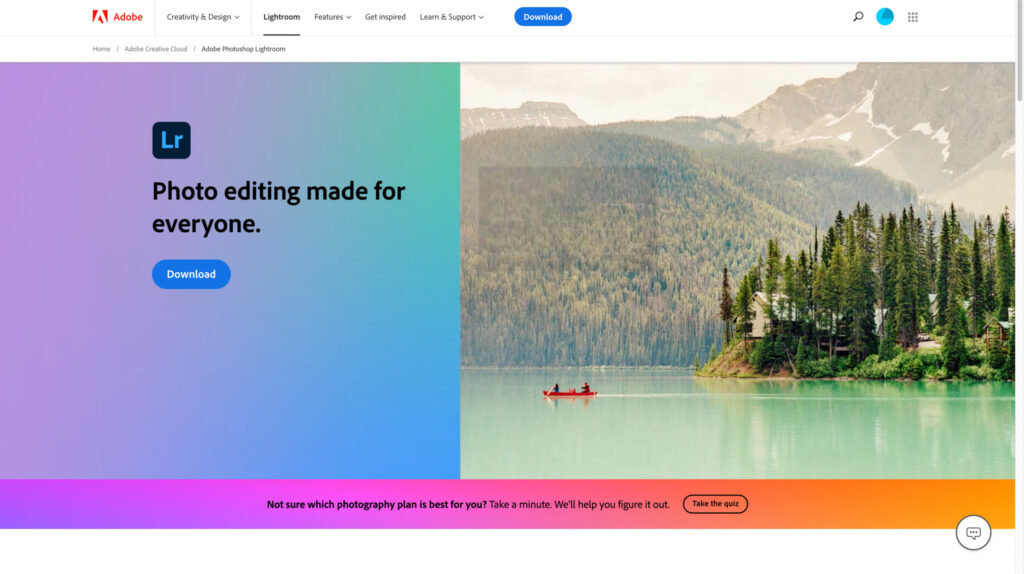
One of the best-known photo-editing software packages available is Adobe Lightroom (officially Adobe Photoshop Lightroom). With its sleek interface and robust tools, Adobe Lightroom transforms potato-quality images into stunning works of art with a few taps.
Follow along as I walk you through the key Lightroom editing tips, from importing your photographs to making simple edits and beyond.
For a free trial of Adobe software
How To Download Adobe Lightroom On Desktop
To download Adobe software on your desktop, visit Adobe’s official website and create or log in to your Adobe account. Browse for the desired software, such as Adobe Lightroom Classic, and initiate the download.
Once the download is complete, run the installer and follow the installation instructions. I have used Lightroom for image editing on Mac, Windows desktops as well as mobile and they all work great.

How To Download The Adobe Lightroom App on Your Smartphone
To get started with the Lightroom editing tips, download Lightroom on your mobile device, go to the app store and search for Lightroom. Click “download,” and once downloaded, you will need to log in with your Adobe ID.
I love the Lightroom mobile app and have used it for many years. It has limited features compared to the desktop version, but it has all the basic features you will need. As you can see from the image below, Lightroom is rated highly by over 15,000 people.

Lightroom Editing Tips
1. Import Your Photos
First upload your photos into Lightroom by selecting the folder containing your images from the Library module’s Import button.
Alternatively, you can connect your camera directly, drag-and-drop images from your PC, or sync images across Lightroom and your Android or iOS mobile device.

2. Applying Presets
Applying presets to your photographs is one of the best Lightroom tips. With only a few clicks, you can rapidly create a certain appearance or style using presets, which are pre-made adjustments that can be applied to your photographs.
You can make your own presets or download them from the internet. I downloaded some preset packages online and played around with them until I have ones that fit my style.

3. Basic Adjustments
In the Develop module, you’ll discover a variety of tools for modifying exposure, contrast, highlights, shadows, and more. You can also adjust the white balance and crop your photographs to your preferred aspect ratio.
Once your photos are imported, it’s time to start changing basic settings.
Social Media Aspect Ratio’s
Here’s a list of the aspect ratios for different social media platforms. Additionally, you can use the editing controls to refine details in your photos.
- Instagram post: 5:4 ratio vertical
- Instagram story: 16:9 ratio vertical
- Youtube short: 16:9 ratio vertical
- Youtube video 16:9 horizontal
- Pinterest pin: 16:9 vertical
- TikTok: 16:9 vertical

Bonus Tip
You should always produce photos in RAW format. RAW saves more information than compressed file formats such as JPG/JPEG, and the more information available in a source photo, the better for editing and changes.
RAW has a higher resolution, and when blown up to a large size, they will be more suitable for printing.
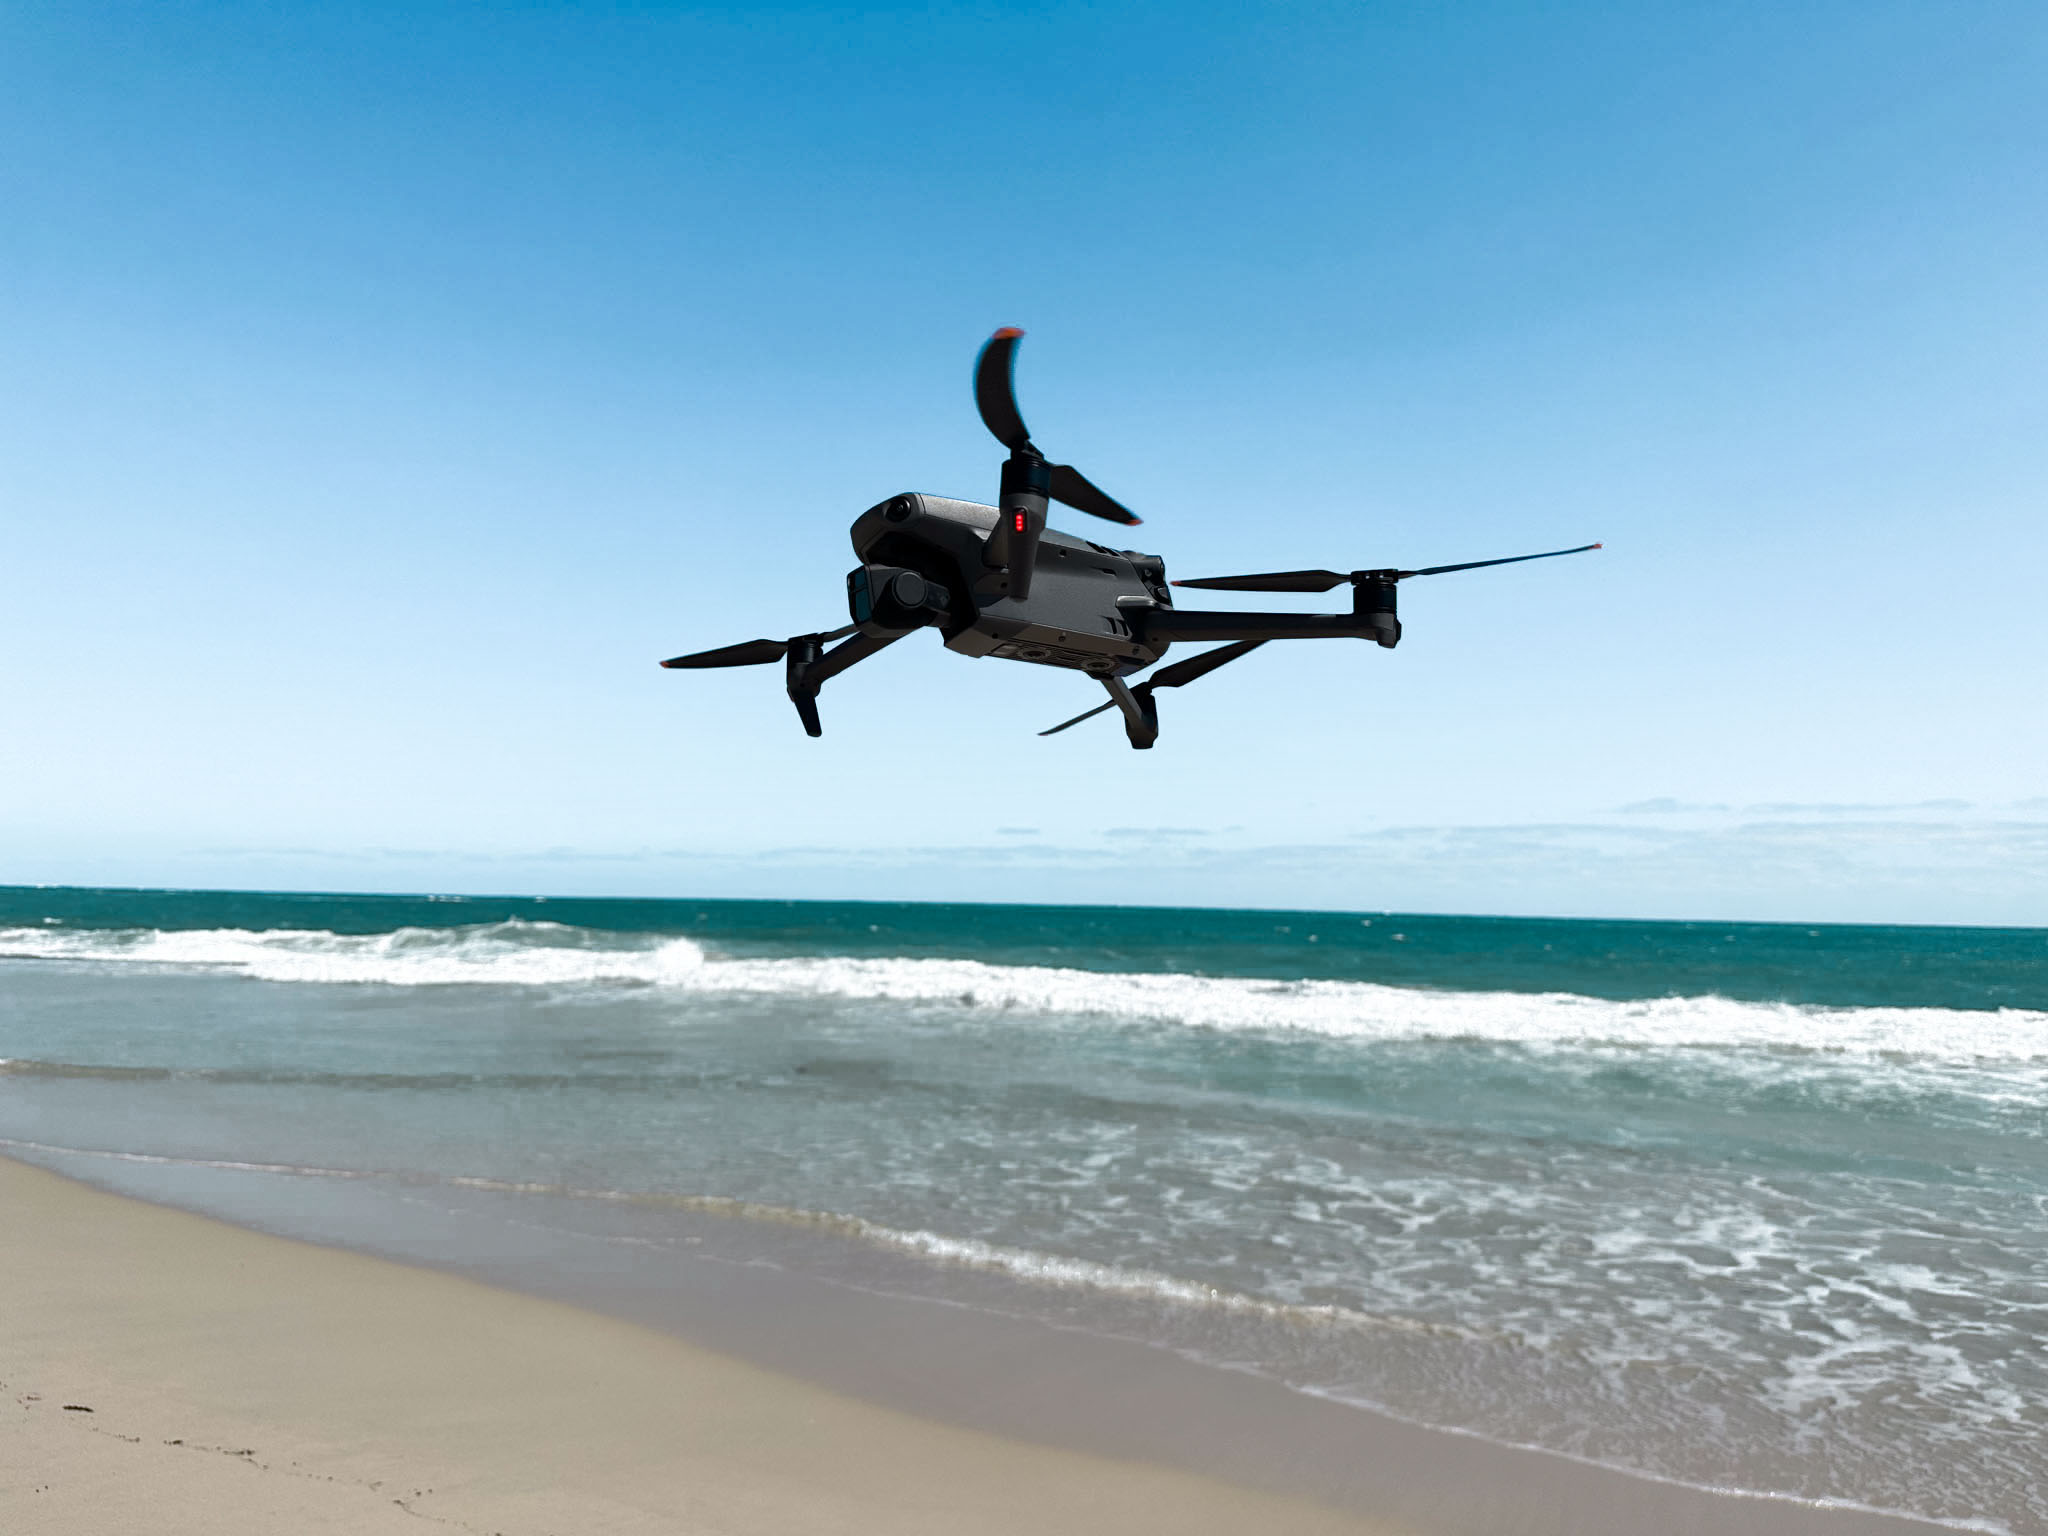
Change the settings on your drone or camera to shoot in RAW. Most of the latest DJI drones can do this.
4. Adjusting Lightroom Sliders
Adjusting the contrast slider can make a significant difference in the overall look of your image. By moving the slider slightly to the right, you can enhance the difference between light and dark areas, bringing out more detail and depth in your photos.
Mastering advanced tools such as the exposure slider, clarity slider, and temp slider, can elevate your editing skills and give your photos a professional touch. Additionally, you can use the Highlights slider to adjust light areas and the Shadows slider to adjust dark areas, giving you even more control over the lighting in your entire image.
For more precise adjustments, try using the Adjustment Brush (hit K on your keyboard to activate it) to selectively dodge (lighten) and burn (darken) specific areas of your photo, known as local adjustments.
5. Using the HSL Colour Panel
One of my favourite Lightroom editing tips is using the HSL panel in which is a powerful tool that allows you to adjust specific colours in your photos independently. By using this panel, you can enhance the vibrancy of certain hues, desaturate others, or even change the luminance of individual colours.
This level of precision gives you full control over the look and feel of your images, allowing you to create stunning edits that truly stand out. and brightness, the HSL/Colour panel, located under the Tone Curve, allows you to change the hue, saturation, and luminance of individual colours in your photos using saturation sliders and tint sliders.
To access this panel, click on “Develop” at the top of the screen and then select “HSL/Color” from the Basic panel. This can take some getting used to so just play around with it to get a feel for how it works.

6. How to Use Lightroom AI Eraser Tool
Remove subjects by clicking on the eraser tool then highlight the area you want to remove whilst saying abra kadadabra and AI will remove unwanted subjects from your image.
7. Export Your Photos
You can customise the file format, resolution, and other options for your exported images in the Export module. It’s good practice to check the size of the image; if you want to send images by email, then the file size could be too large.
RAW images have the largest file size, you may want to export in JPEG and reduce the quality to reduce the file size.
Additionally, pick where to keep your exported files and add watermarks.
8. Using The Help Feature
At the top right of the screen, there is a question mark which is the help feature. This feature is a great way to learn Adobe Lightroom tips.
I highly recommend familiarising yourself with this feature and using it as much as possible.

How Much Does Adobe Lightroom Subscription Cost?
Lightroom costs around $9.99 monthly, which is pretty cheap considering it’s one of the best picture-editing software on the market.
Adobe offers different subscription packages so it’s best to check them out on their website and see what works for you. I would suggest doing a free trial of their different software and see what you like to use.
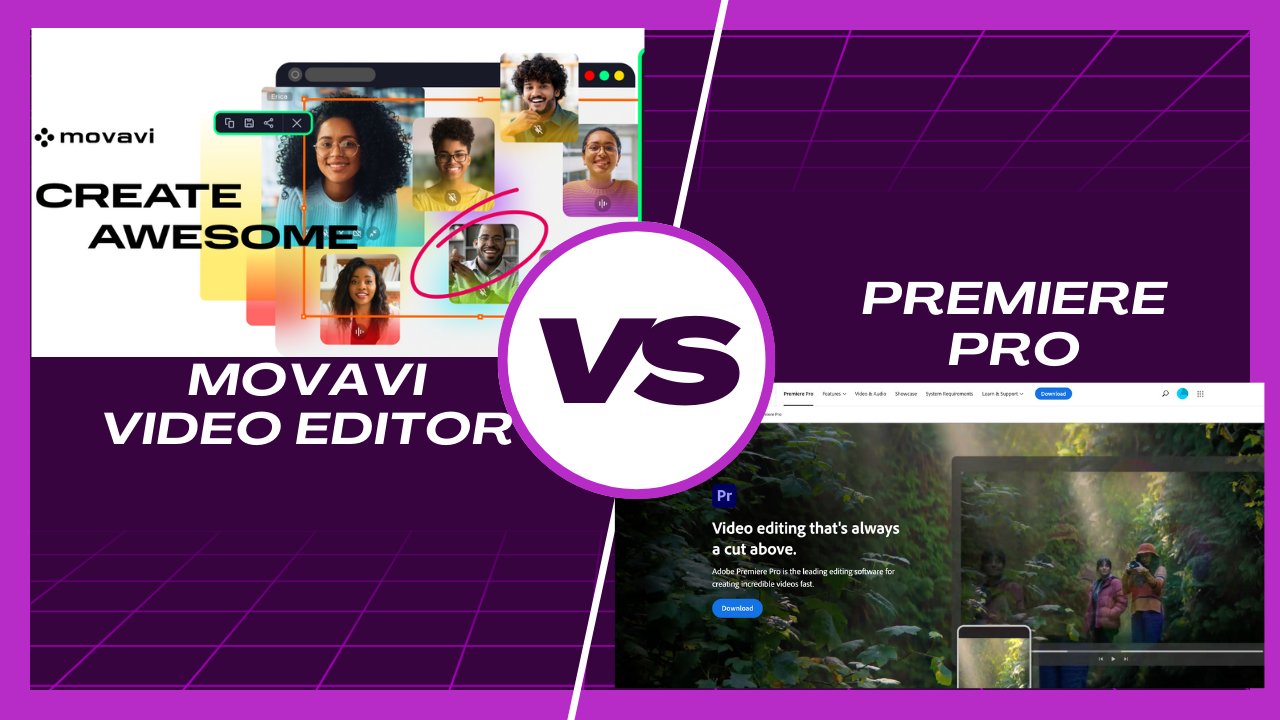
I mostly use Premier Pro for video editing drone footage, Adobe Express for all my graphic design needs and Adobe Lightroom to edit my drone pictures.
If you would like to follow me on insta and see the editing I have done using Lightroom then click the link below. https://www.instagram.com/_matthewphilip_/

Wrap Up
I hope you learnt a thing or two with these lightroom editing tips for beginners. Getting some decent Lightroom presets will speed up your workflow and also produce a unique brand by keeping a consistent look and feel to your images
It’s essential to learn and improve your skills if you want to produce captivating photos and make all your friends back home jealous of your most recent trip sipping cocktails on the beautiful white sand beach.
Frequently Asked Questions
Which is the Best Drone Editing Software for Drone Footage?
LightCut is the official mobile video editing software recommended by DJI and it’s free. It’s quick and easy to do.
Adobe Lightroom is the drone editing software for pictures. Adobe Premiere Pro is great professional video editing software.
What are some advanced Lightroom editing tips for enhancing landscape photography?
To enhance landscape photos in Lightroom, try using graduated filters to balance exposure, clarity adjustments for sharpness, and colour adjustments to make hues pop.
Experimenting with split toning can add depth, while the dehaze tool is great for enhancing distant details in landscape shots.
How does Adobe Lightroom Compare to Competing Picture Editing Software?
Lightroom has masking tools and sliders that let you remove any bit of detail like that seagull that photo-bombed your almost-perfect picture. Plus, it’s great at creating previews, which is super handy when you’ve got tons of pics to organize.
AI has been incorporated into most of Adobe’s software including Lightroom. You can effortlessly remove a subject from your image just by highlighting them, you could make it look like you’re the only person at the beach.
Finding an editing software that supports RAW files is essential, and this is sometime Lightroom does well at.
What are the different products offered by Adobe?
Adobe offers a wide range of products for various creative needs. Some popular Adobe products include Photoshop, Illustrator, InDesign, Premiere Pro, Express, After Effects, and of course, Lightroom.
Each product caters to specific creative tasks such as photo editing, graphic design, video editing, and more. Adobe is a powerhouse in the world of creative software, offering a diverse range of products to meet various creative needs.
Photoshop
Photoshop allows users to retouch and enhance images with precision and creativity. From basic adjustments to advanced compositing techniques, Photoshop requires a lot more learning to use compared to Lightroom and is useful for different editing purposes like editing close ups of faces.
Illustrator
A vector graphics editor that excels in creating stunning illustrations, logos, icons , and other scalable graphics. With its robust set of tools and versatile drawing capabilities, Illustrator is a favourite among graphic designers and artists.
InDesign
Adobe’s solution for creating professional layouts for print and digital publishing. It offers a wide range of features for designing brochures, magazines, eBooks, and more.
Its intuitive interface and precise control over typography make it a popular choice among publishers and designers.
Express
Adobe Express is an easy-to-use design tool that helps create graphics, web pages, and videos. It features templates, fonts, and stock images, making it simple for anyone to design professional-looking content.
Premiere Pro
As Adobe’s flagship video editing software, Premiere Pro offers powerful editing tools, advanced effects, and seamless integration with other Adobe products. It is widely used by filmmakers, videographers, and content creators to bring their vision to life on the screen.
After Effects
After Effects specializes in motion graphics and visual effects. With its extensive library of effects and powerful animation tools, it enables users to create stunning motion graphics, title sequences, and visual effects for film, television, and online platforms.


