You’ve invested in a drone, mastered the controls, and can’t wait to capture amazing landscapes from above. But as you review your shots, you realize something’s missing – that wow factor that turns a good photo into a great one.
Don’t let your drone gather dust! Whether you’re battling bland compositions or struggling with harsh lighting, these 10 must try tips for drone landscape photography will help guide you.
With over six years of flying drones, I’ve learned a thing or two about capturing breathtaking aerial landscapes. I’m here to share the knowledge with you. Now let’s dive in.
10 Ways to Improve Your Drone Photography Game
Here are 10 ways to improve your drone landscape photography. Some are beginner tips whilst some are more advanced but you should give them a try when you feel ready. Further down the article I go into 8 camera settings to use. Enjoy!
1. Use the Raw Format
One of the best decisions I made for my drone landscape photography was switching to shooting in RAW format. Raw images preserve much more data than JPEGs, giving you greater flexibility in the editing process.
Most of the latest drones like the Mavic 2 Pro, Mini 4 Pro and Mavic 3 can shoot in RAW as well as JPEG.
2. The Art of Composition
Drone photography offers unique perspectives, but composition remains crucial. I’ve found that leading lines, symmetry, and the rule of thirds work wonderfully in aerial shots.
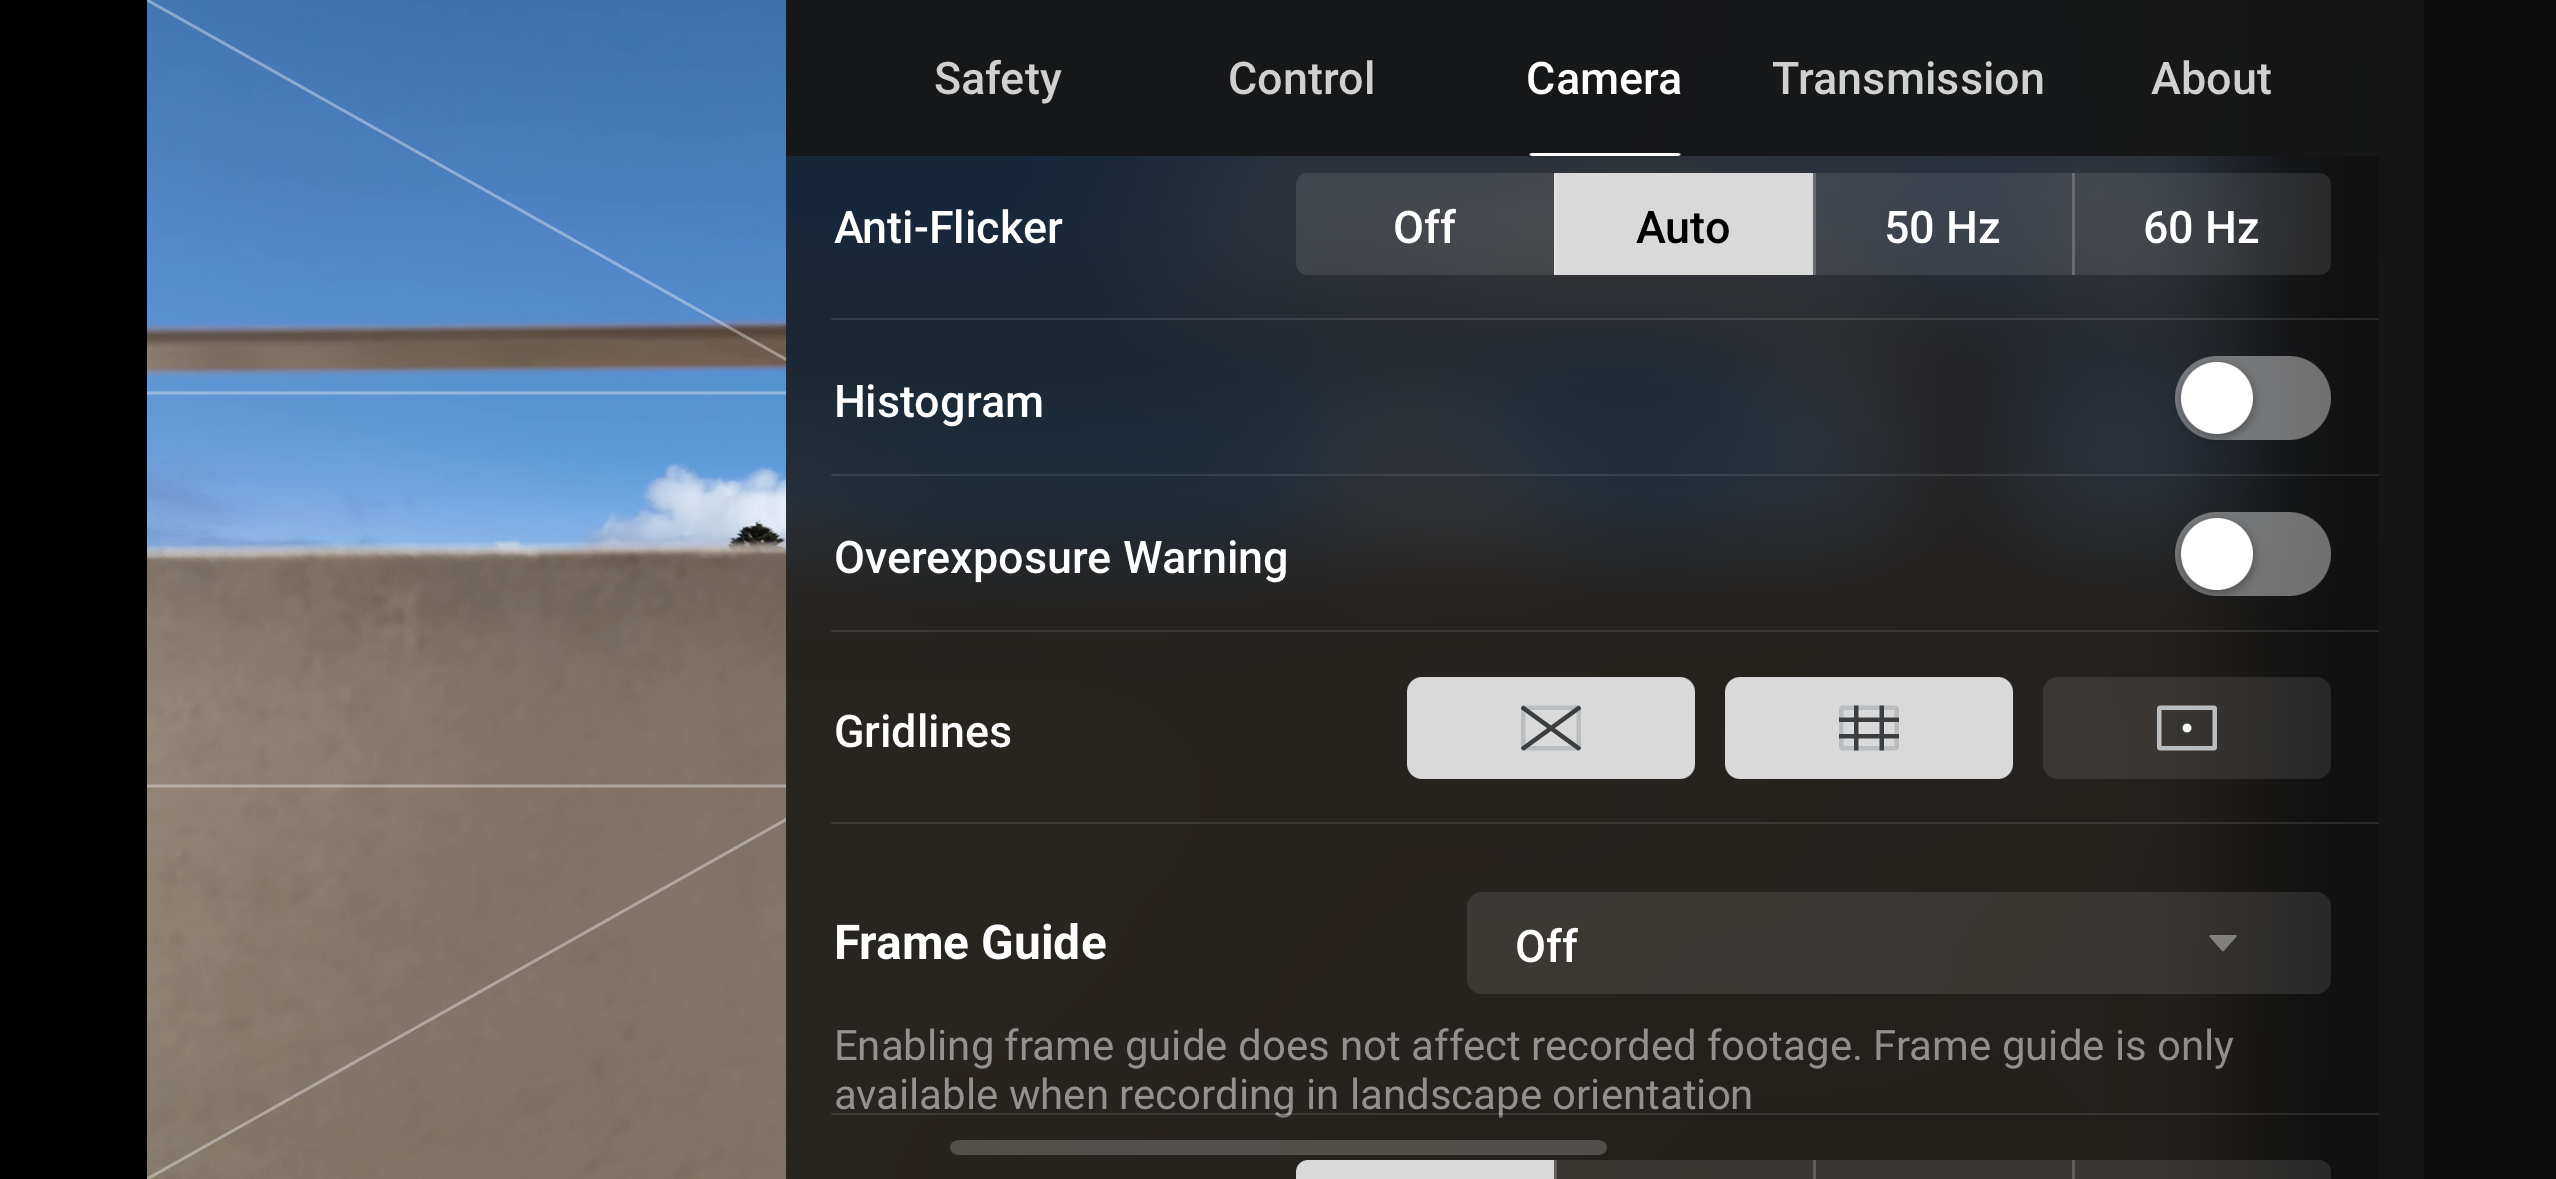
With my Mavic 3, I always use the grid overlay feature to keep my shot symmetrical and to help keep the subject in the centre.
3. Experiment with Altitude
Don’t always default to maximum altitude for your drone landscape photography. Some of my most compelling shots have been taken from lower altitudes, where you can capture more detail and create a sense of scale.
The Mavic 3, with its excellent obstacle avoidance system, allows me to confidently fly at various heights to find the perfect perspective.
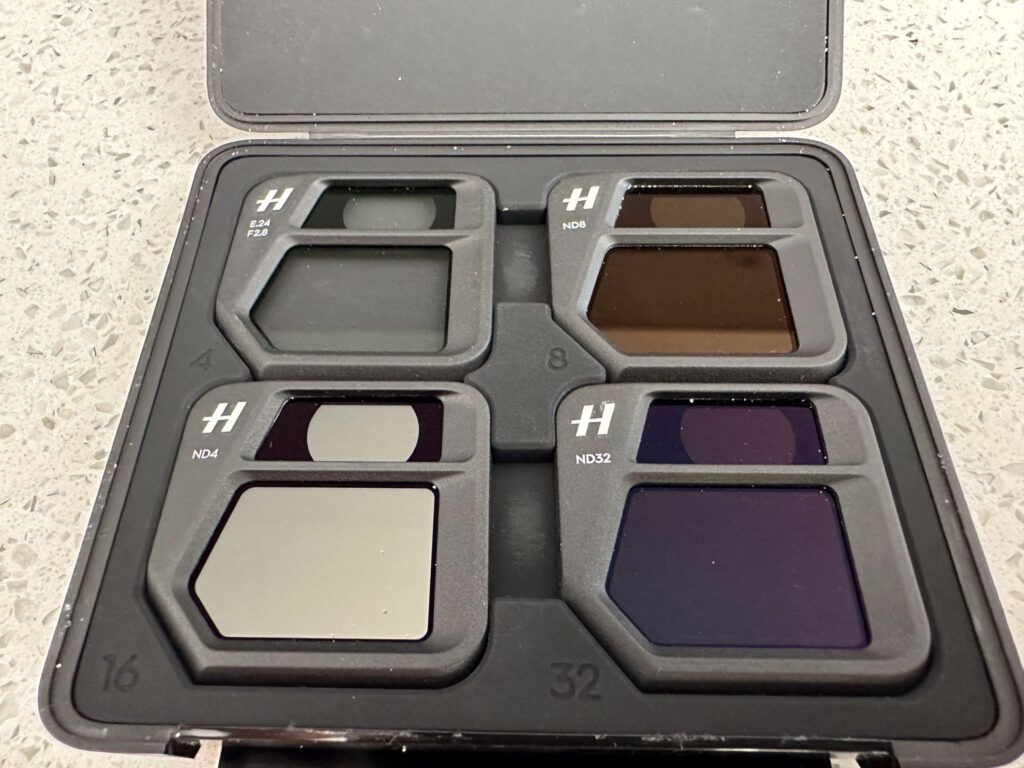
4. Invest in ND Filters
ND filters are essential tools for controlling exposure and achieving creative effects. The ND4 (2 stops) is ideal for slightly overcast days or when you need a minor reduction in shutter speed for subtle motion blur.
On bright, sunny days, reach for the ND8 (3 stops). For very bright conditions or to capture the ND16 (4 stops) is your go-to filter. When shooting in extremely bright situations like snow or beach scenes ND32 (5 stops).
High ND filters like 512 and 1000 dramatically reduce the amount of light making your screen dark which is ideal for long exposure shots which I go into next.
5. Take Long Exposure Shots
My favourite type of shot is the long exposure.You will need an ND filter that is 512 or above which drastically reduces the amount of light reaching the lens making your screen dark. I use the Freewell 1000.
DJI Mavic 3 ND Filter Set
DJI offer a Mavic 3 ND Filters Set (ND64/128/256/512)
DJI Mini 4 Pro Filter Set
Skyreat Mini 4 Pro ND 1000 Filter for long exposure
DJI Air 3 Filter Set
NEEWER Variable ND Filter set 2 Pack ND2-32 and ND64-512

To capture a long exposure shot, set your drone to manual mode. Use the lowest ISO (usually 100), set your aperture between f/5.6 and f/11 for good depth of field, and experiment with shutter speeds between 1 and 4 seconds.
Compose your shot with both static elements (like buildings) and moving elements (like water or clouds). Preferably on a non windy day, if your drone moves then the photo will be blurry so take a few shots with the hope of at least one turning out decent.
6. Plan Your Flights
I use apps like BOM Weather and UAV Forecast to check weather conditions, sun position, and no-fly zones before heading out.
Flying to your furthest location first is good practice to help avoid running out of battery life on the way back.
7. How to Take a Hyperlapse
I like to use the waypoints hyperlapse mode in the DJI Fly app. Head to around 3-5 locations whilst clicking the plus icon. Once the route is established, the drone will fly back to the first location and then fly the planned route.
First, adjust the interval between shots (usually 2-5 seconds) and the total duration. You want to be filming for 20-40 minutes to produce an 8-20 second video.
Download the finished file in the DJI Fly App or upload the hundreds of images to Lightroom then apply an edit to all of them and stitch them together. If shooting a sunrise/sunset then you would need to apple multiple edits to the hyperlapse.
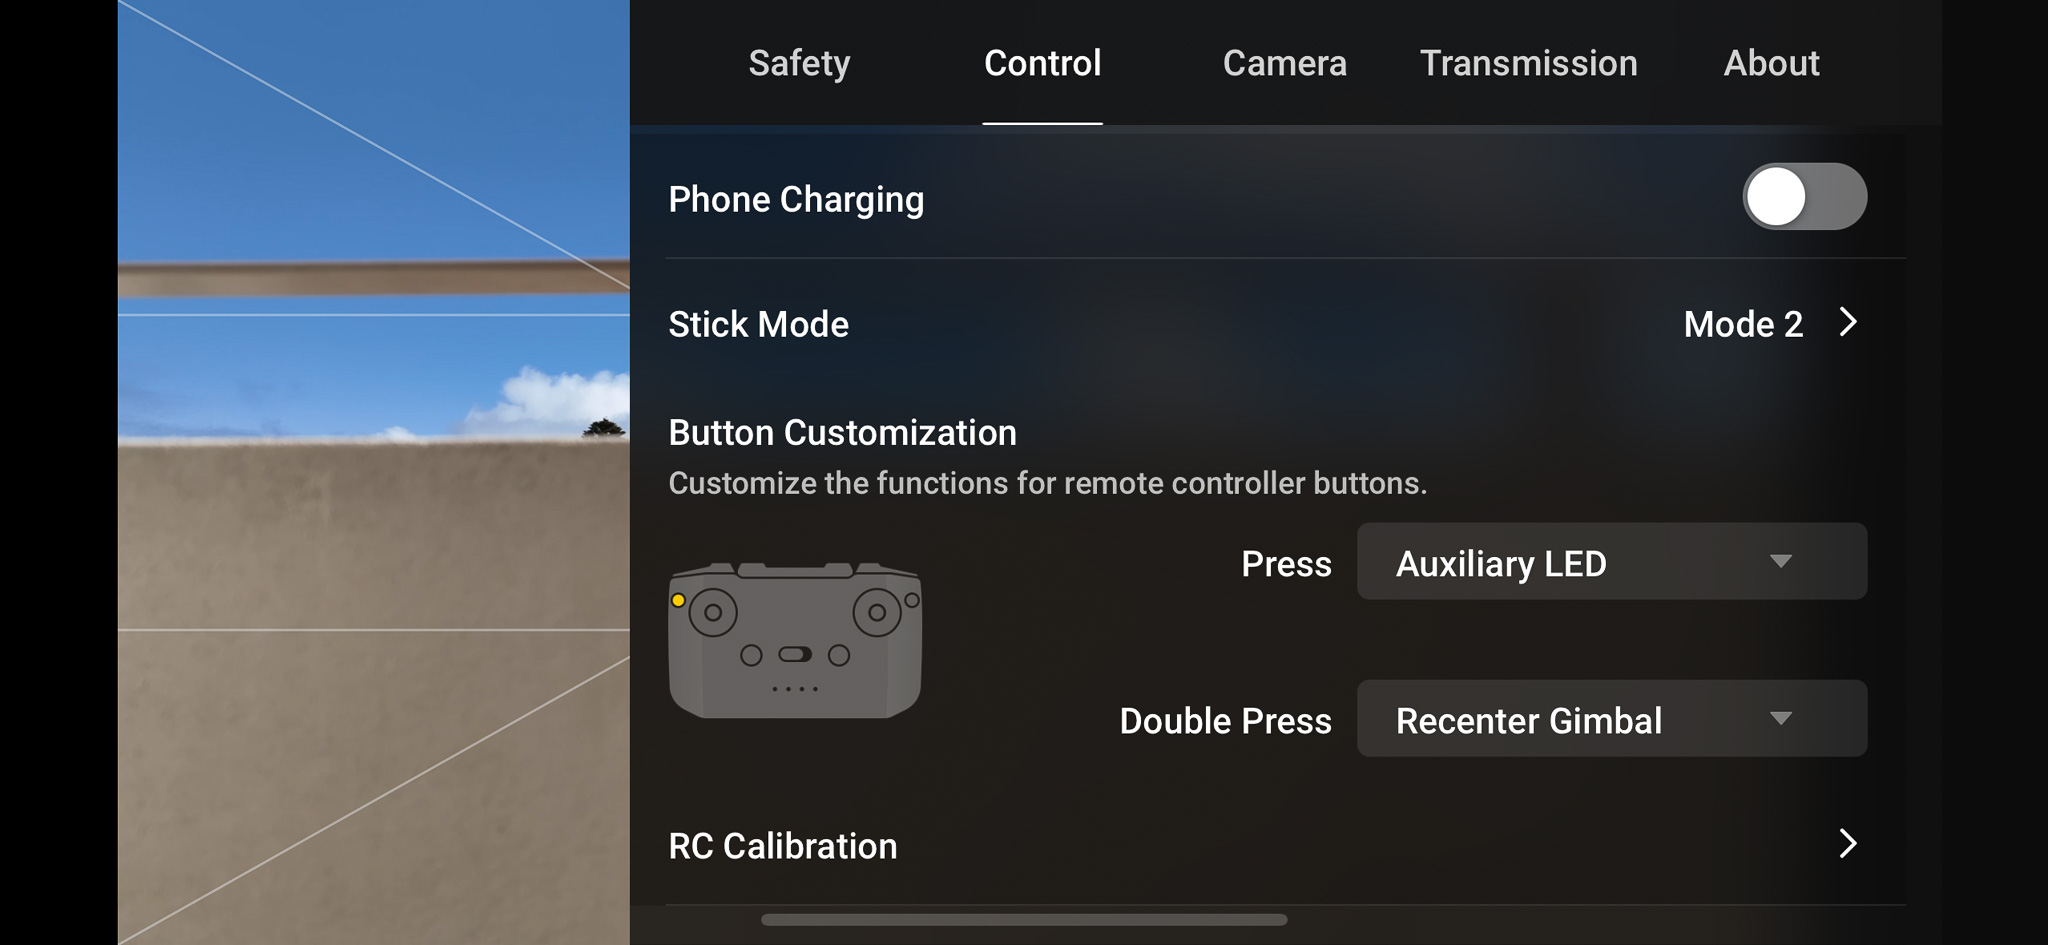
8. Master Manual Mode
Auto mode is convenient, but learning to shoot in manual mode will give you full control over your drone’s camera settings. I’ve found this particularly useful when shooting in challenging lighting conditions.
With practice, you’ll be able to nail the exposure and create the mood you’re after in your landscape drone photography. I dive deeper into drone camera settings further down the article.
9. Post-Processing
The editing process is where your drone photos truly come to life. I use Lightroom for picture editing which can process my RAW files, adjusting exposure, colour, and sharpness to bring out the best in each image as well as many other advanced features like AI subject removal.
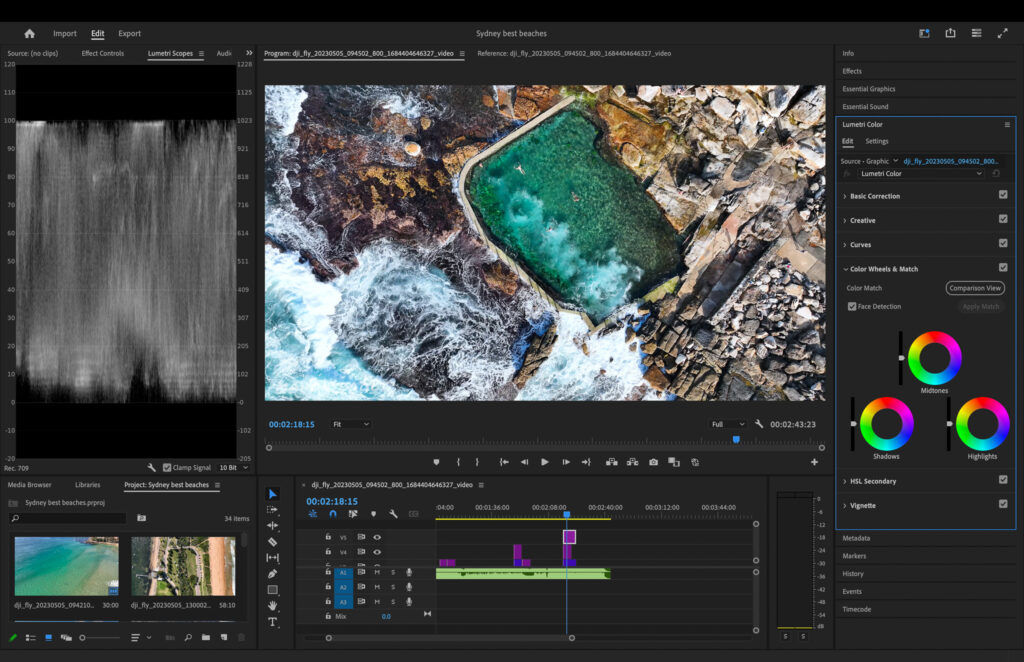
I use Adobe Premiere Pro to edit my drone videos on Mac for social media platforms like YouTube. Premiere Pro is packed full of editing tools like warp stabilizer to fix shaky video as well as new AI features to speed up workflow.
Lightcut is a mobile video editing from DJI which works great for creating videos for Instagram or TikTok.
10. Panorama Mode
Many modern drones, including the DJI Mini 4 Pro and Mavic 3 Classic, offer a built-in panorama mode. This feature allows you to capture expansive landscapes that a single frame simply can’t do justice.
It would be useful when shooting mountains, alowing you to get closer and include more in your image. The results can be breathtaking, especially when printed large or viewed on high-resolution displays.
Planning Your Drone Photography Trip in Australia
Planning a drone photography trip in Australia needs careful thought. You should choose famous spots and check the weather.
Going on a Roadtrip With Your Drone
Taking your drone on a road trip can lead to incredible landscape photography opportunities. Take some essential drone accessories like a Fly More kit, which includes 2 extra batteries, spare propellers, and a battery charger to be used in the car.
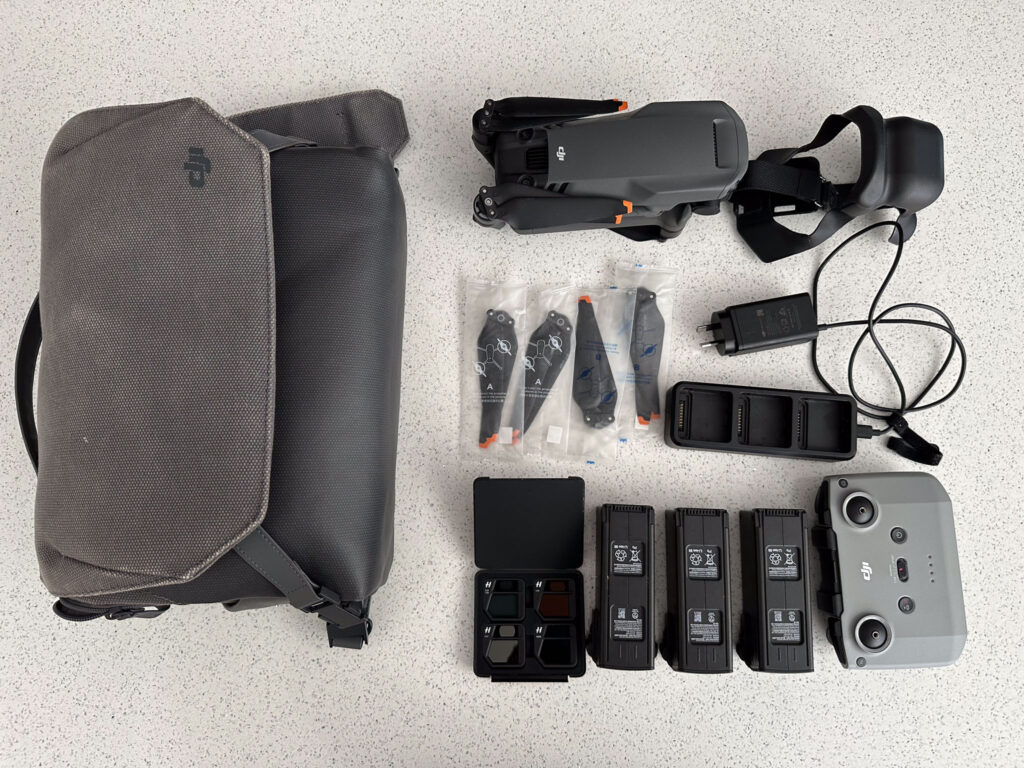
Don’t forget to wipe your SD card clean before setting off and maybe bring a second SD card just in case. The Sandisk Extreme Pro is recommend for shooting 4K or above.
I check the weather using reliable apps like BOM Weather or UAV Forecast which shows weather conditions for drones.
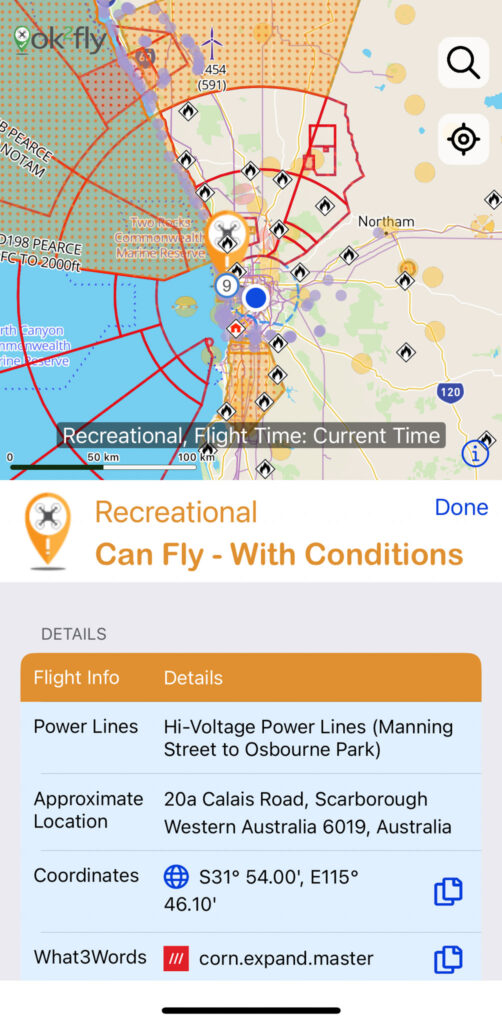
Best Apps for Drones
Some of my go to apps for drones include the DJI Fly App to fly my drones. Ok2Fly to see where in Australia you can fly and what the restrictions are. BOM weather and UAV Forecast to check the weather. Flying in the rain is not advised.
8 Drone Camera Settings for Landscape Photography
Here are some fundamental drone camera settings to get you started:
1. Image Format
Always shoot in RAW format when possible. This gives you the most flexibility in post-processing. Most DJI drones, from the Mavic 2 Pro to the Mini 3 Pro, offer this option.
2. ISO
Keep this as low as possible to minimize noise. In good lighting conditions, stick to ISO 100-200. Only increase if necessary in low light.
3. Aperture
If your drone has an adjustable aperture (like the Mavic 2 Pro or Mavic 3), use f/5.6 to f/8 for landscape shots to ensure a good depth of field.
4.Shutter Speed
For sharp images, use a minimum of 1/60s. Go faster if it’s windy. For intentional motion blur (like smooth water), use slower speeds but be aware of potential drone movement.
5. White Balance
Auto white balance often works well, but for more control, set it manually based on conditions (Daylight, Cloudy, etc.).
6. Focus
Use auto-focus for general landscape shots. Switch to manual focus for more precise control, especially in low contrast scenes.
7. Picture Style/Profile
If shooting in JPEG, a neutral or landscape profile can be a good starting point. If shooting RAW, this matters less as you’ll be processing the image later.
8. Exposure Compensation
Start at 0 and adjust as needed. Often, reducing exposure slightly (-0.3 to -0.7) can help preserve highlight details in bright scenes. It’s best to be underexposed rather than overexposed as you can’t regain the image in post editing.
Overcoming Common Challenges in Drone Landscape Photography
Drone landscape photography comes with its own challenges. You need to adapt and solve problems. Weather can change unexpectedly, and there are places where you can’t fly your drone.
Dealing with Wind and Weather Variabilities
I have flown my Mavic 3 in extremely strong winds and it still performs well. The technology is incredible although it does seem overly cautious when it advises to land immediately in light winds.
Your drone uses a lot more battery in high winds and could run out on the way back. Avoid flying in high winds if you can and don’t be flying in the rain. Drones will be fine in light rain but you should still land asap.
National parks and special areas often have their own rules about using drones. Always check for permits or permissions before you fly. Looking for tips on flying drones in Australia?
Here is a map of Australia on the gov website to see restricted zones.
| Restricted Areas | State/Territory | National Park Drone Rules |
|---|---|---|
|
New South Wales | Drones are prohibited in NSW national parks without a permit |
|
Victoria | Drones are generally not permitted in Victorian national parks |
|
Queensland | Drones are prohibited in Queensland national parks without a permit |
|
Western Australia | Drones are prohibited in WA national parks without written approval |
|
South Australia | Drones are prohibited in SA national parks and reserves without a permit |
|
Tasmania | Drones are prohibited in Tasmanian national parks and reserves without a permit |
|
Northern Territory | Drones are prohibited in NT national parks without a permit |
|
Australian Capital Territory | Drones are prohibited in ACT national parks without a license |
Conclusion
Which of these 10 must try tips for drone landscape photography is your favourite? I love the timelapse and long exposure shots.
Try as many of these tips as possible. Make sure to shoot in RAW and don’t be afraid to try new things with your drone.
Embrace any challenges and soon you will feel confident in this amazing art. The more you fly, the better you get and the more you fall in love with drones.
Frequently Asked Questions
What’s the Best Drone for Photography?
The best drone for landscape photography is the DJI Mavic 3 Pro with its 4/3 Hasselblad CMOS image sensor. Some key features include three cameras, a flight time of 43 minutes and a 5.1K camera that can shoot in Apple ProRes 422 HQ (amazing video quality).
For those looking for a cheaper alternative then the original Mavic 3 also has amazing image quality and comes with most of the same features minus the Apple Pro Res, 1TB internal storage and a few other things. The DJI Mini 4 Pro is another great drone for photography.
What is the Best Time of day for Drone Landscape Photography in Australia?
For great light in Australia landscape photography, try to take pictures during the golden hours. This is just after sunrise and before sunset. During these times, the light is soft and warm. It brings out textures and creates beautiful shadows.
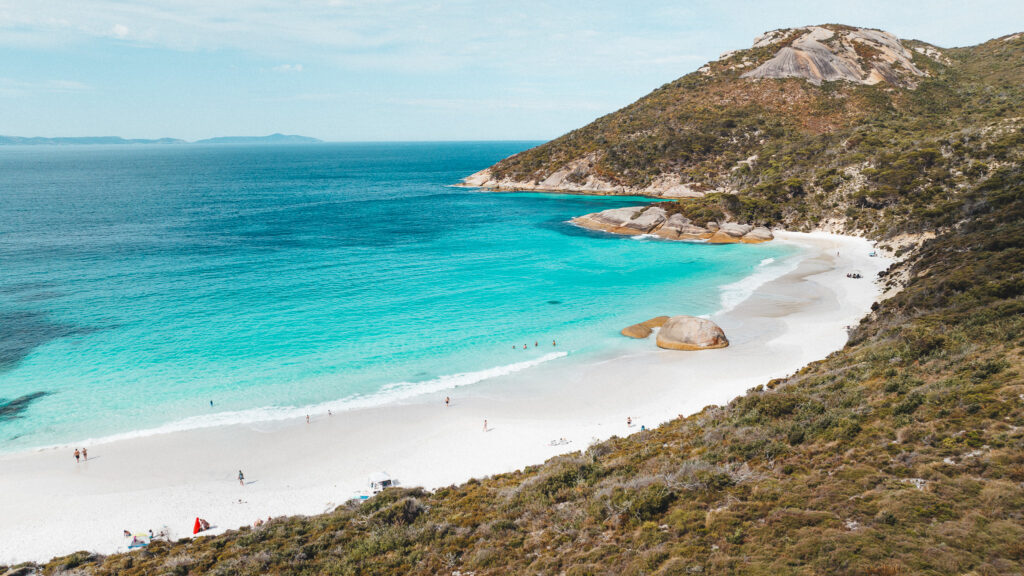
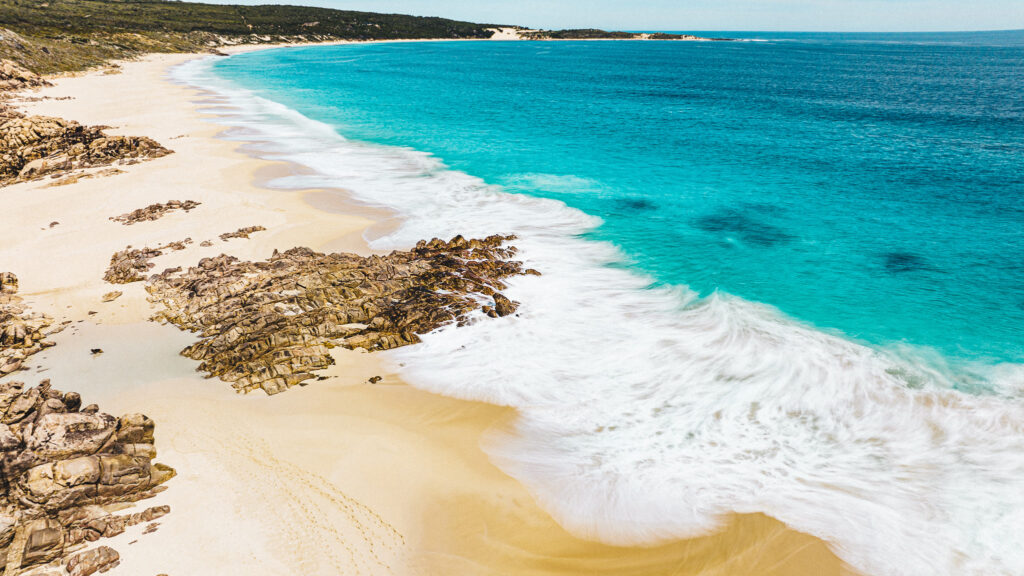
Alternatively if you’re wanting to capture the beautiful turquoise ocean colours then the daytime is great.
Can I fly my Drone in National Parks Across Australia?
You cannot fly at most national parks but each state has different rules. Queensland is the most relaxed regarding this. You check out the gov drone rules website here.
What are some Tips for Beginners Starting with Drone Photography?
Starting with aerial photography? Begin by learning how to handle your drone safely in an open space. Get to know your drone’s controls and practice moving it smoothly.
Look for online tutorials and resources for helpful tips. This way, you can build your skills slowly before trying to capture more complex views.