Imagine this, you launch your drone, eager to capture the perfect aerial shot, but as soon as you’re airborne, you’re battling glare from the harsh sun, you’re flying aimlessly depleting that precious battery life. The stress mounts as you realize you’ve chewed through half your battery and still haven’t nailed the right shot. Sound familiar?
With over six years of experience flying drones both recreationally and commercially, I’ve mastered the art of quickly capturing stunning aerial images while optimizing battery life.
In this article, I’ll share my 10 best drone photography tips with you, plus more. Not only to improve the quality of your photos but also to ensure you make the most out of every flight. Now let’s get into it.
Top 10 Drone Photography Tips Revealed
You’ve got your batteries charged and your SD card memory has been stored, wiped and inserted in your drone and not at home in your computer… You are well prepared and we are off to a good start. Now into the tips
1. Best Drone Photography Settings
Settings
1. Shoot in Raw – Raw files contain more data and allow for greater post-processing.
2. Keep ISO as low as possible – Preferably 100, the higher the ISO the more noise in the picture which isn’t good.
3. Modify the shutter speed according to the motion you aim to capture. Opt for a higher shutter speed (e.g., 1/500s or above) to capture fast-moving subjects sharply, or opt for a lower speed (e.g., 1/60s) to introduce motion blur for artistic purposes.
4. When working with a drone camera that offers an adjustable aperture, such as the DJI Mavic 3 Classic, opt for a suitable aperture setting to manage the depth of field. Opting for a smaller aperture (higher f-stop) will expand the depth of field, resulting in more of the scene being in focus.
5. Modify the gimbal settings to control the tilt speed and smoothness for stable and seamless camera movements.
2. Exploring Unique Angles and Perspectives
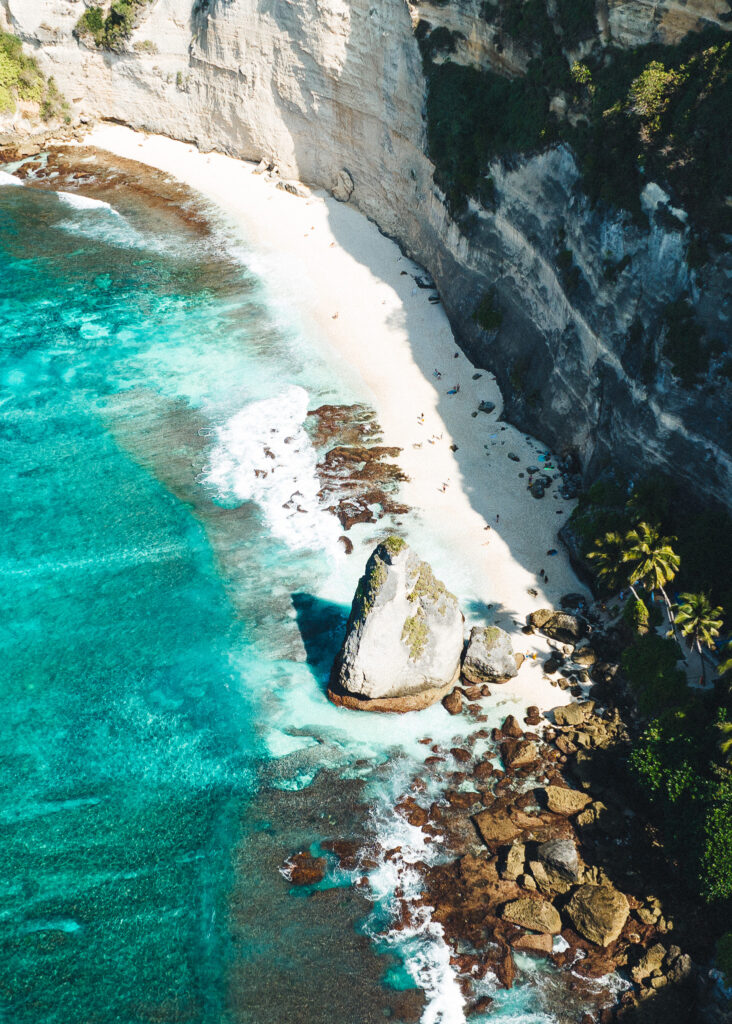
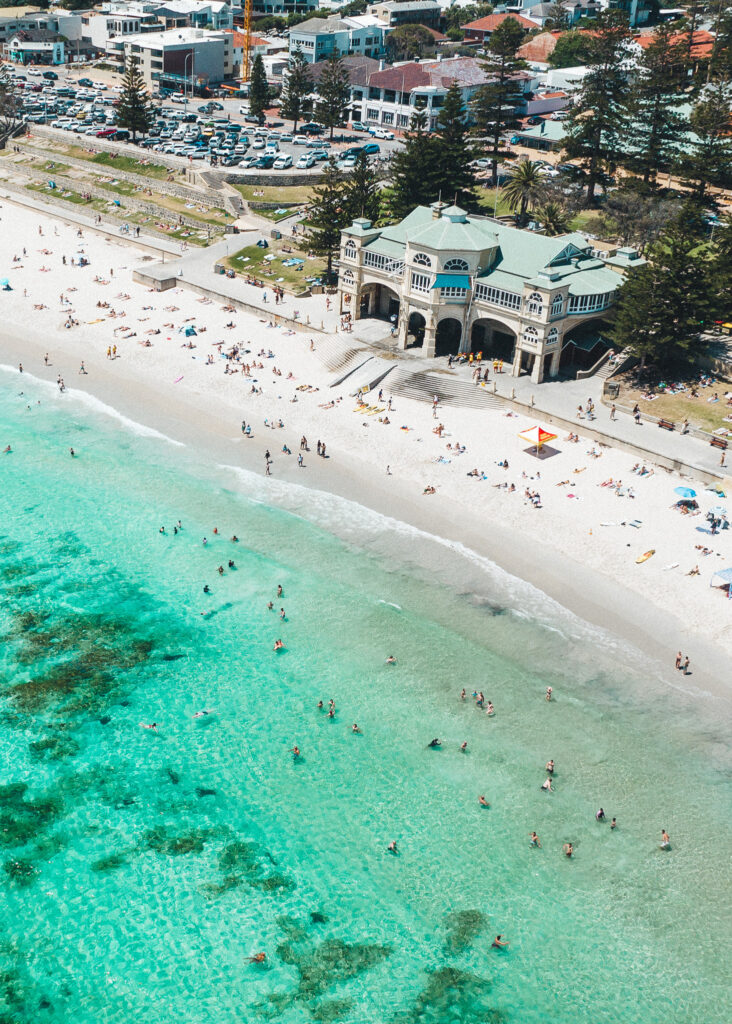
It’s all about the angles and perspectives! Watch YouTube videos and look at other drone pilots’ Instagram pages to see what the best drone photography angles they shoot from.
Consider flying low to the ground for intimate and detailed shots, or ascending to higher altitudes for sweeping landscapes. Utilize the obstacle avoidance feature to confidently navigate challenging environments and discover new angles.
Moreover, incorporating dynamic movements and tilting the camera can add a sense of motion and depth to your photos. Remember, the beauty of drone photography lies in its ability to showcase the world from a fresh and unconventional viewpoint.
3. Get to your Furthest Location First
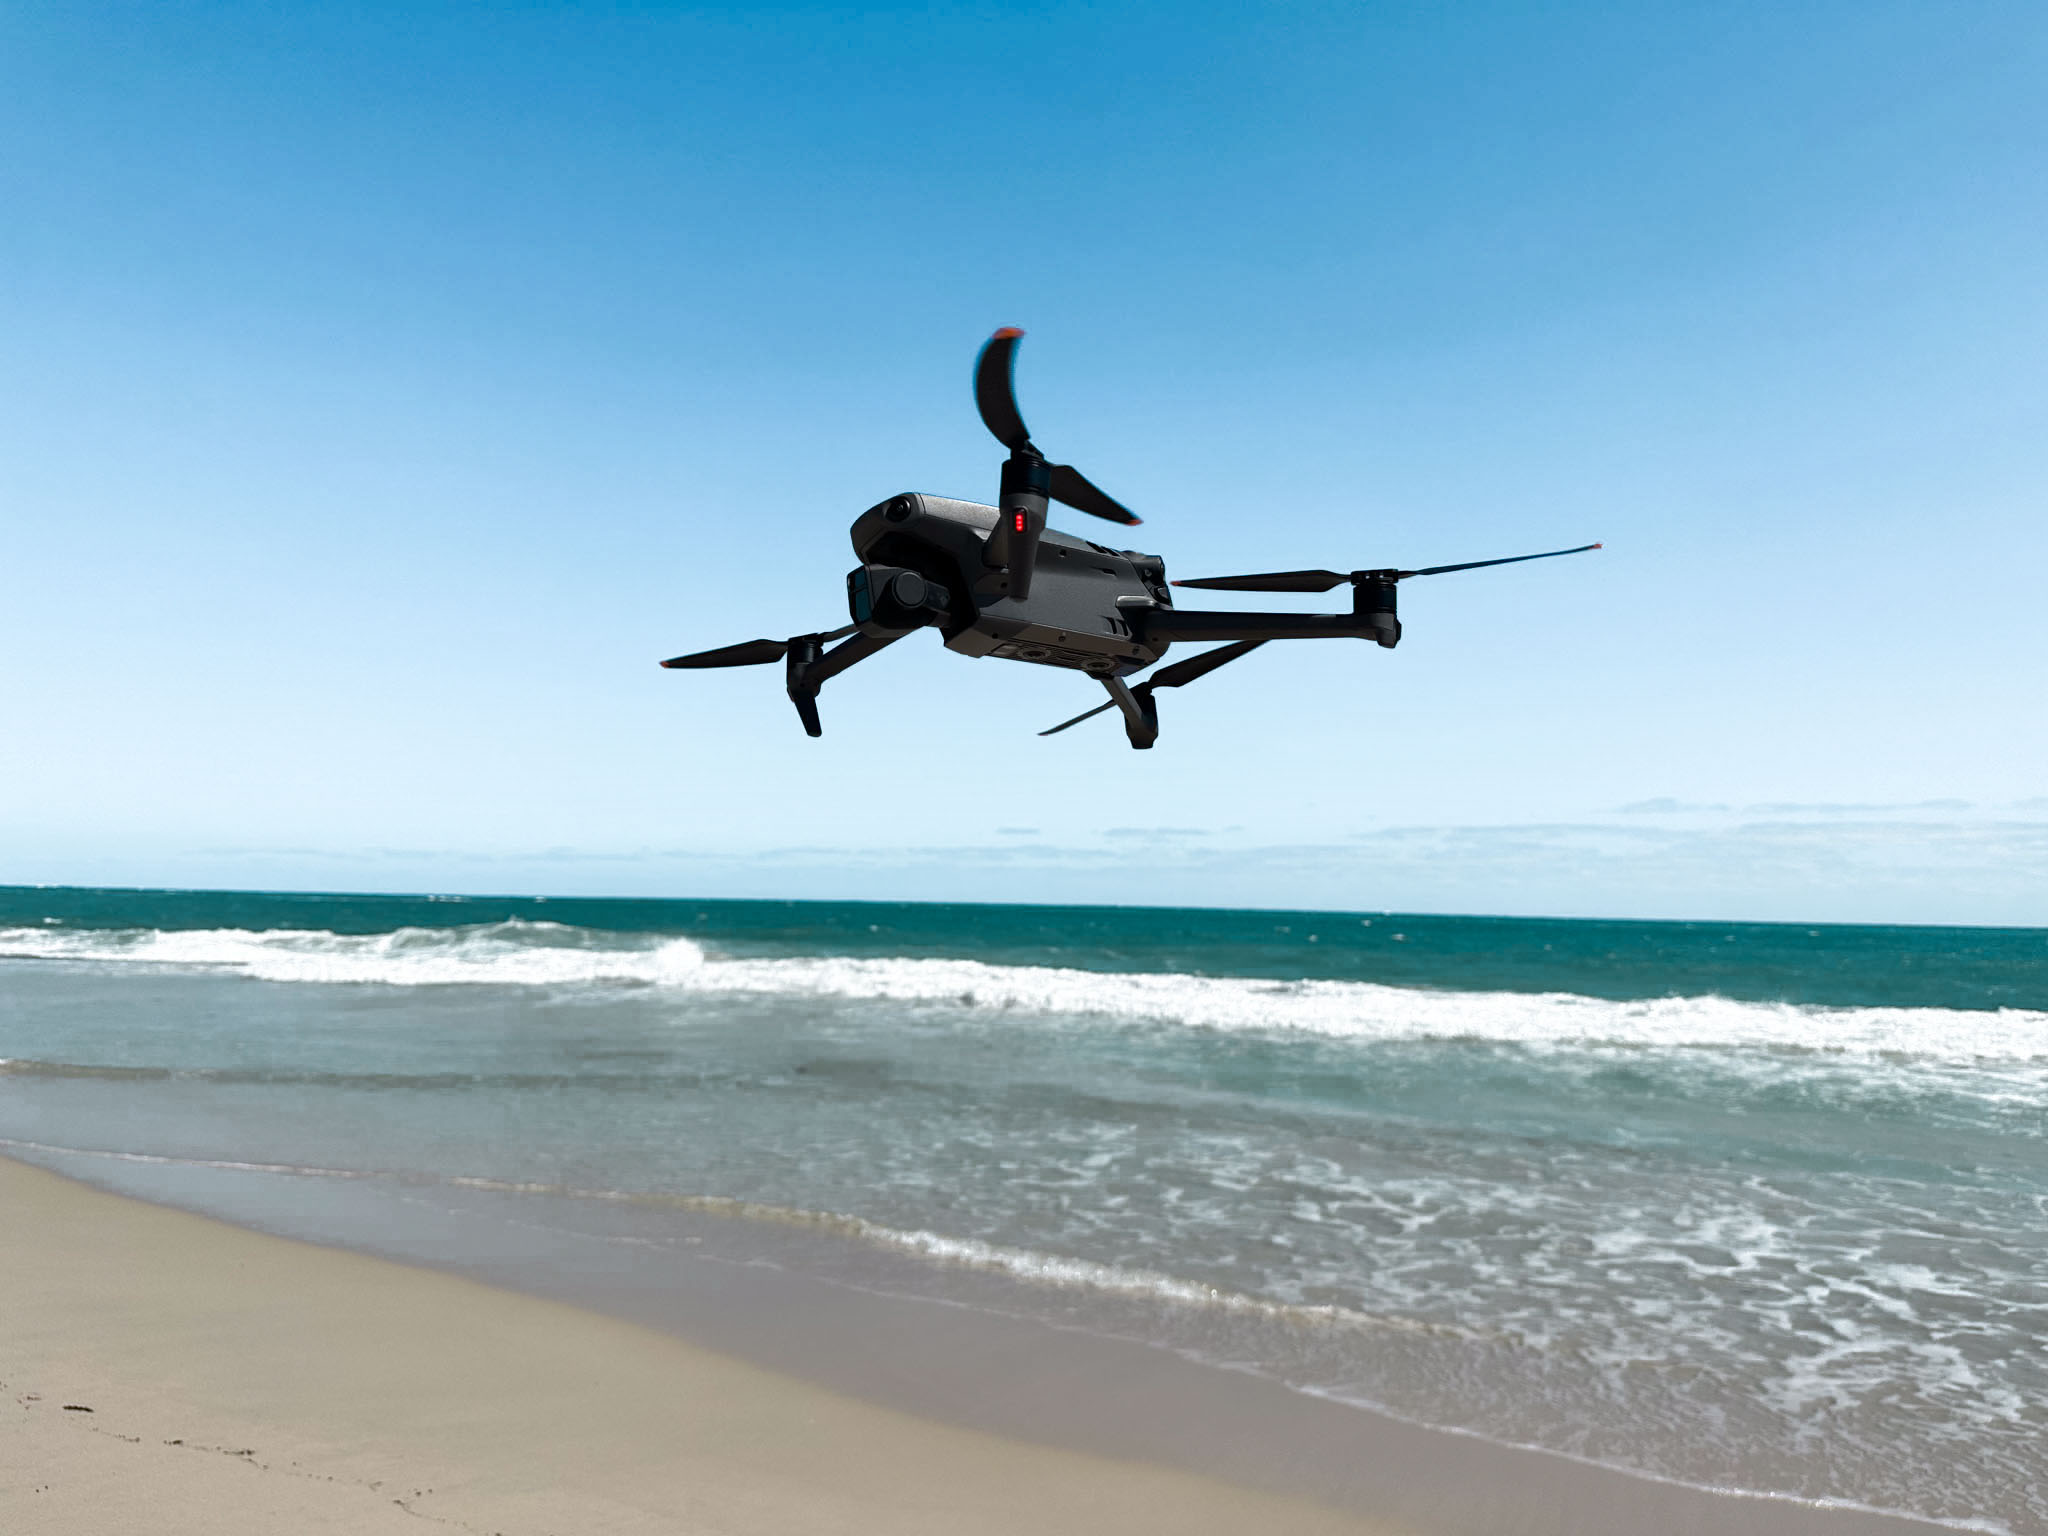
If you’re flying your drone far away then it’s best to go there first on a full battery, then work your way back getting more shots along the way. Too many drones are lost at sea; hopefully, this tip will save you from losing yours(R.I.P. to all those drone souls lost at sea, you can hear them speak in the wind).
Flying in strong winds uses more battery, when flying back in harsh winds it can be best to fly in sports mode. The DJI Mavic 3 performs exceptionally well in high winds and I’ve never had a problem with it(often the controller will warn me to land because it’s windy but I always continue).
3. Understanding Weather Conditions for Optimal Shots
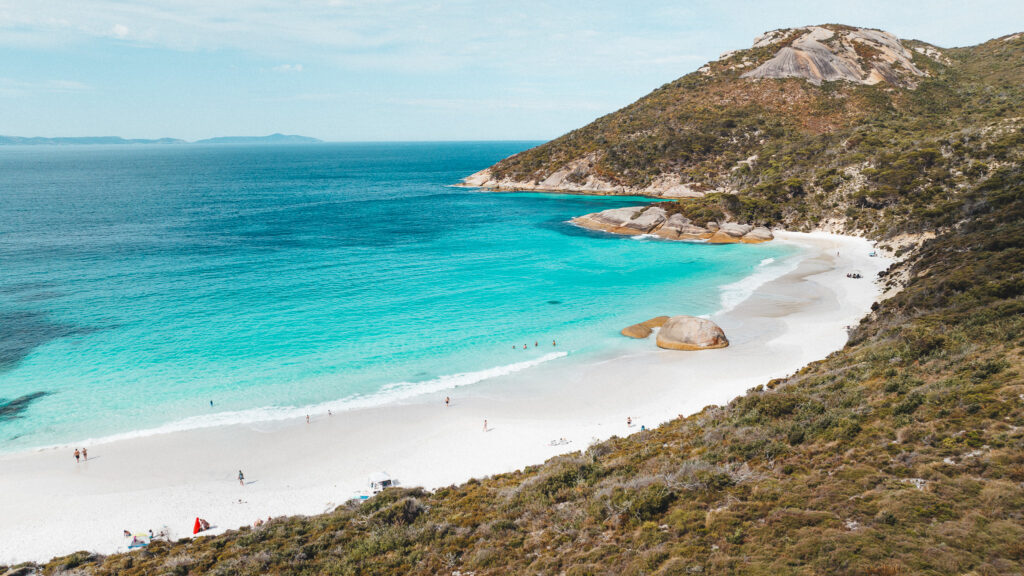
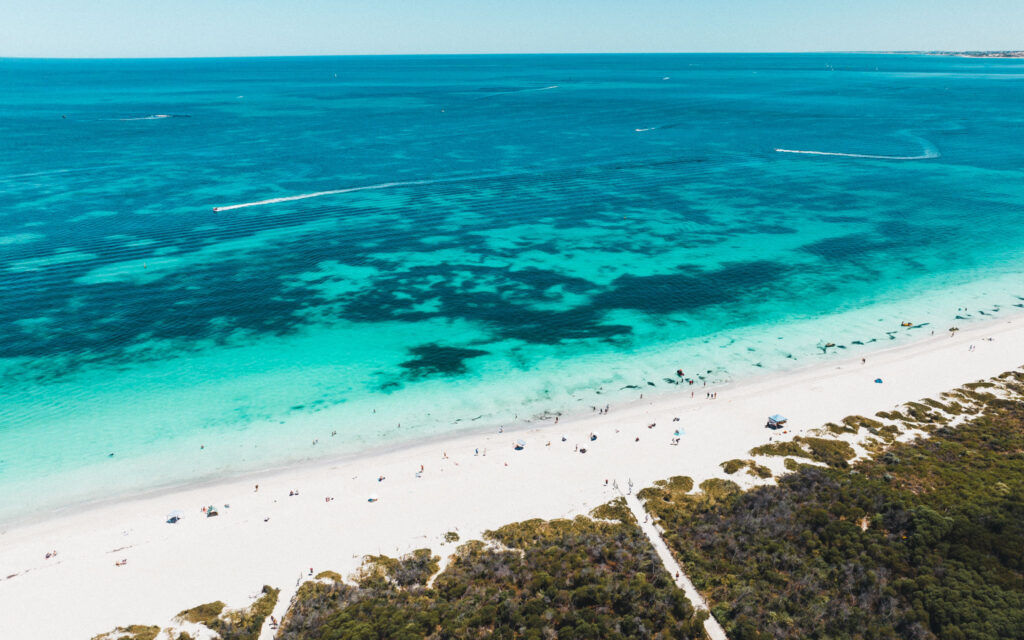
Optimal drone photography heavily relies on understanding weather conditions. Sunny days with clear skies are perfect for capturing vibrant landscapes like beach shots showcasing the clear blue sea(my favourite). However, overcast skies can add drama and depth to your shots.
Always check the weather forecast before heading out for a shoot to ensure safe flying conditions and maximize the potential for stunning aerial shots.
4. The Best Times of Day for Drone Photography
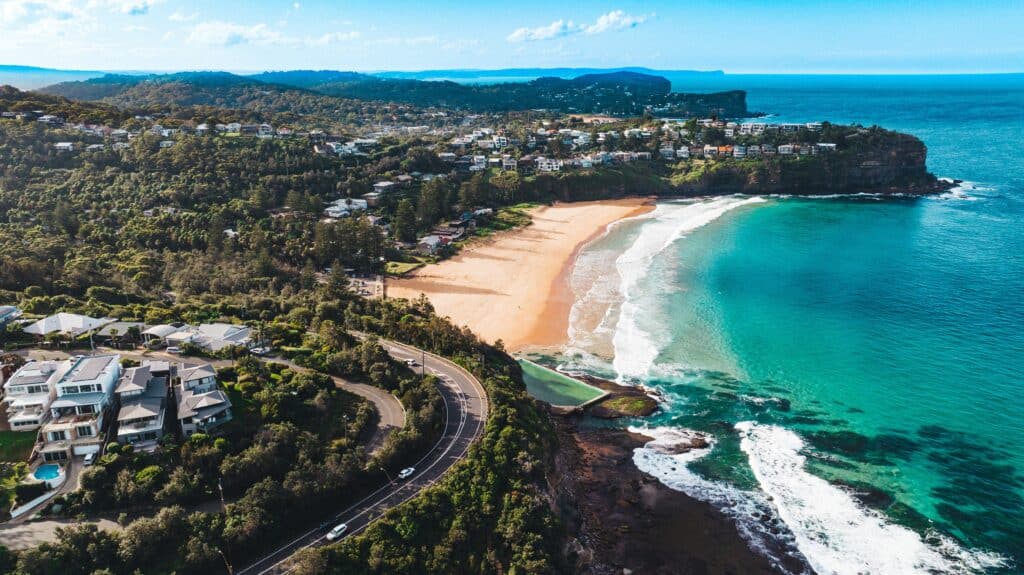
Morning time or evening, shortly after sunrise/ before sunset, offers a tranquil ambience with gentle lighting, enhancing the colours and textures in your photographs. Conversely, the “golden hour” before sunset bathes the landscape in warm, diffused light, creating dramatic long shadows and a captivating atmosphere for your drone photography endeavours.
Mountains, city skylines, tree canopies and buildings all look amazing at the golden hour with the long shadows and colourful skt but I prefer beach/ sea shots to be in the morning when the sea is flat and clear blue.
5. Use ND Filters
Another best drone photography practice is to use an ND filter, short for neutral density filter, which is used to decrease the intensity of light that enters a camera’s lens. When shooting in bright sunlight, an ND filter gives photographers greater flexibility in choosing the appropriate gives and shutter speed by preventing overexposure. aperture
There are 4 ND filters that DJI offers officially. ND4, ND8, ND16 and ND 34. The number associated with each ND filter represents the fraction of light that enters the lens. I mostly use an ND 16 filter.
- The ND4 filter reduces light by a quarter, equivalent to a 2-stop reduction in light. This enables you to decrease the shutter speed from 1/100s to 1/25s. Useful during cloudy or overcast days
- The ND8 filter reduces light by an eighth, resulting in a 3-stop reduction in light. This allows you to lower the shutter speed from 1/200s to 1/25s. Useful in partly cloudy conditions
- The ND16 filter decreases light by a sixteenth, providing a 4-stop reduction in light. This permits you to decrease the shutter speed from 1/400s to 1/25s. Useful in partly cloudy but mostly sunny conditions
- Lastly the ND 32 filter decreases light by thirty two, resulting in a 5-stop reduction in light. This enables you to lower the shutter speed from 1/800s to 1/25s. Useful in bright and sunny conditions.
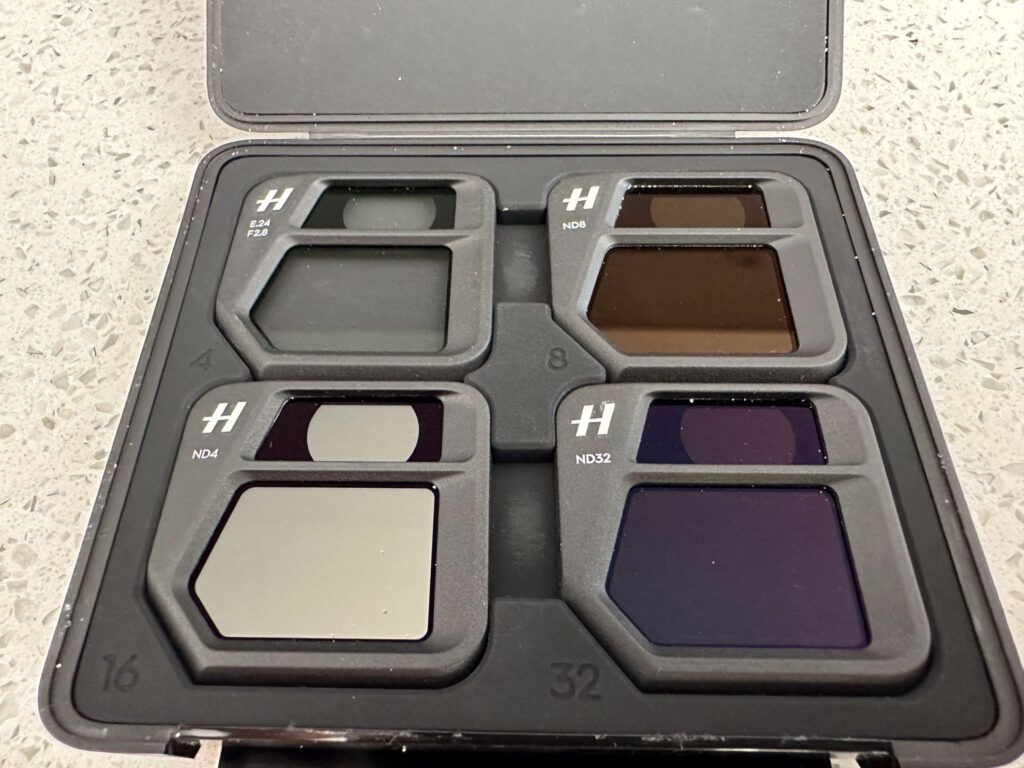
Overall, ND filters can be beneficial for capturing better footage in various lighting conditions. It’s recommended to have at least one or two ND filters in your drone camera kit.
6. Composition Techniques in Drone Photography
Composition plays a crucial role in drone photography, as it helps to create visually appealing and balanced images. One popular composition technique is the rule of thirds, which involves dividing the frame into nine equal parts using two horizontal and two vertical lines. You can add this to your screen in the DJI RC camera settings by adding grid lines.
Additionally, framing your subject within the surrounding environment can add depth and context to your images. A great way to do this on a DJI drone is by drawing a box on the subject with your fingers which enters spotlight mode which keeps the subject in the centre of the screen whilst you move the drone in different directions.
TIP
Active Track allows the subject to be tracked at a fixed distance and altitude, offering the choice to fly ahead, behind, to the right, or to the left of the selected subject or object. The direction can be chosen during setup and adjusted in flight.
With the Spotlight option, the aircraft will follow the subject while holding its position, enabling the pilot to manoeuvre the aircraft while keeping focus on the selected subject or object.
In point of Interest mode, the aircraft will circle the chosen object, allowing adjustments to the distance and altitude while maintaining the orbit.
7. How to Take a Timelapse on your Drone
You ideally want to take at least 300 pictures in the Hyperlapse which will produce roughly a 10 second video and take about 15-20 minutes to produce depending on your interval time between shots.
To take a time lapse using your DJI drone, first, ensure you have sufficient battery life(preferably 100%)and space on your sd card. Choose a scenic location with interesting movement or changes over time(movement in the shot is essential for a timelapse).
Select the time lapse mode on your drone and adjust settings for interval and duration based on the desired effect. Start recording and let the drone capture images at set intervals. I prefer to use waypoints on the Mavic 3 by taking the drone to 5 or more locations to program the route then click start.
Once done, compile the images into a video using editing software to create a stunning timelapse sequence.
8. Tips for Long Exposure Drone Photography
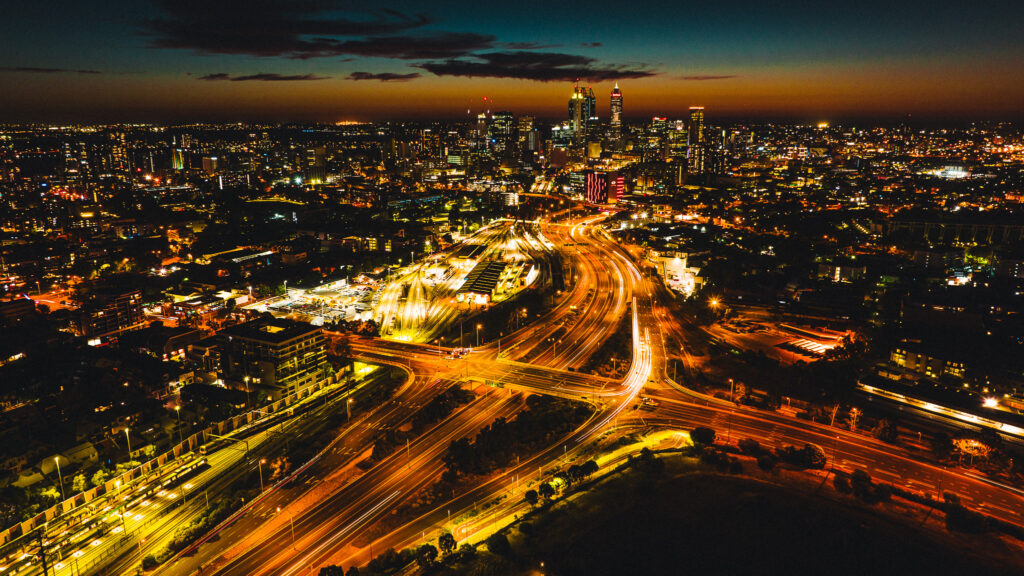
One of the best drone photography shots to get is using long exposure, especially when used to capture waterfalls, rivers in motion, or moving vehicles. Night shots of cars in motion with their lights on can turn out amazing if done right.
When shooting in the daytime you will need an ND filter. I use the Freewell ND1000, you will have to use a similar high number ND filter which dramatically reduces the light entering the lens. Change the shutter speed to 1-3 seconds and make sure the drone stays still otherwise the shots will be blurry. The longer the shutter speed the more effect the long exposure will have.
9. Editing Software for Drone Photographers
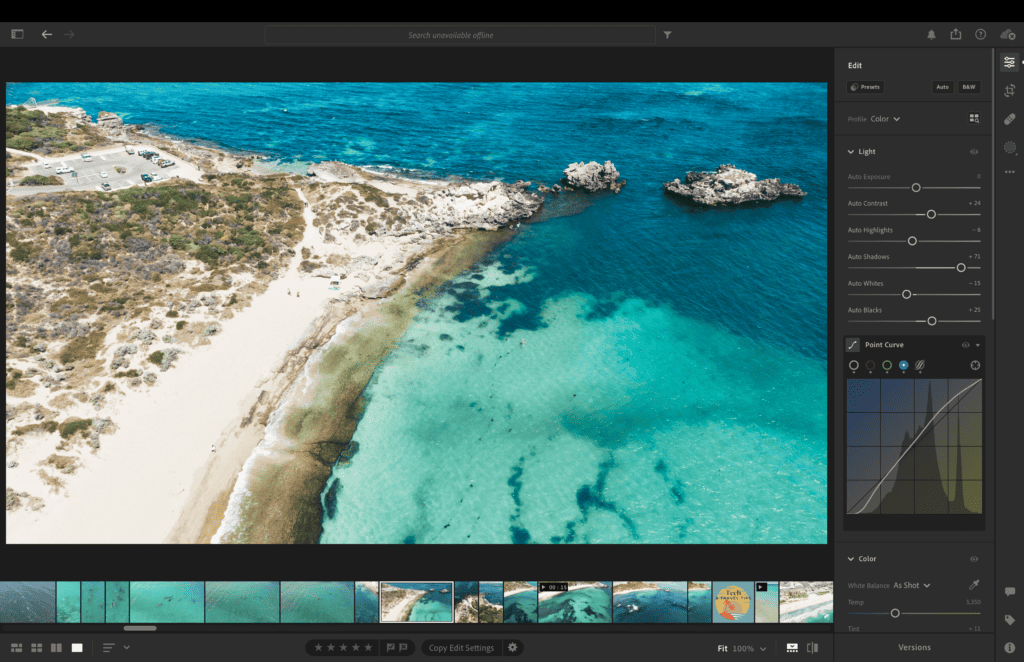
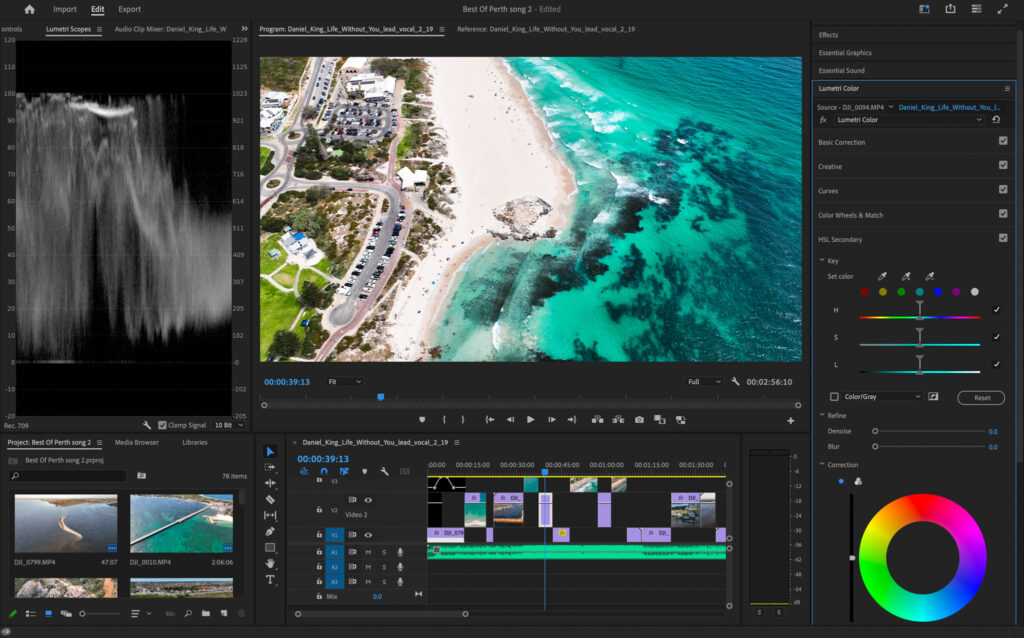
Post-processing is an essential step in drone photography to enhance the quality and creativity of your images. Some of the best drone editing software options for drone photographers include Adobe Lightroom, Capture One, and Luminar.
I use Adobe Lightroom which allows for quick and easy editing of RAW images, I like to use a preset and then make minor edits to the exposure and specific colours. I use Adobe Premiere Pro to edit my videos, which supports Apple ProRes for the Mavic 3 Cine users.
Drone photography comes with a set of legal considerations that photographers need to be aware of. It’s important to familiarize yourself with the local laws and regulations regarding drone usage in your area. This includes understanding any flight restrictions, no-fly zones, and privacy laws that may apply.
Always fly your drone responsibly and respect the privacy of others. Additionally, it’s a good practice to obtain any necessary permits or licenses if required by local authorities. By being aware of and adhering to the legal considerations, you can enjoy drone photography while ensuring the safety and privacy of yourself and others.
Review of the Top 4 Drone Models for Photography
The drone brand DJI originating in China is the leading manufacturer of drones. They build commercial and consumer drones. Here are a few things to look for when choosing a drone.
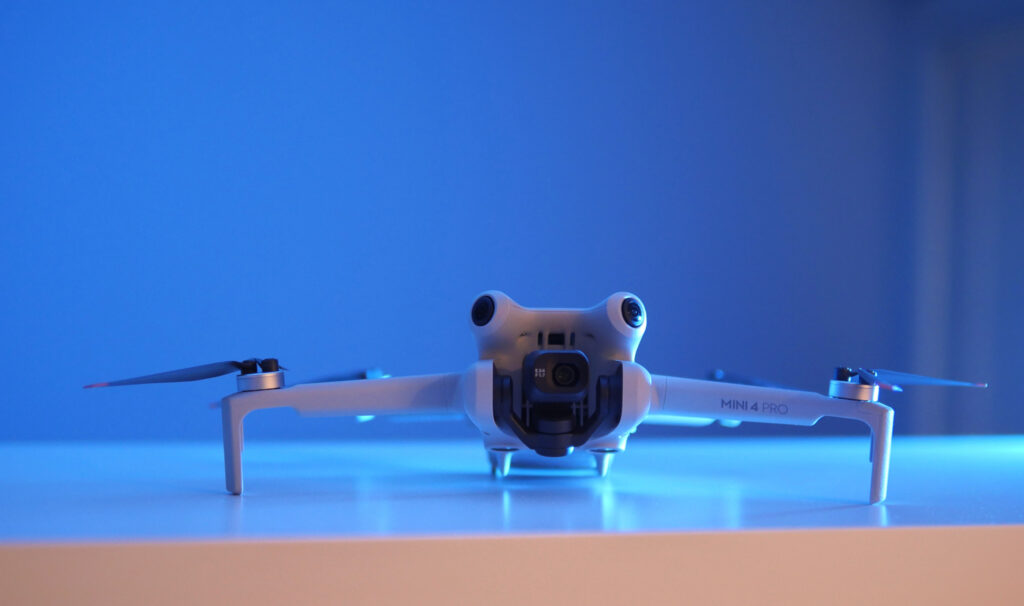
1. DJI Mini 4 Pro
✓
no internal storage
✓
light weight 249g
✓
4K 100fps video
✓
45 minute flight time(
✓
25km range
✓
360 obstacle avoidance
2. DJI Mavic 3
✓
8gb internal storage
✓
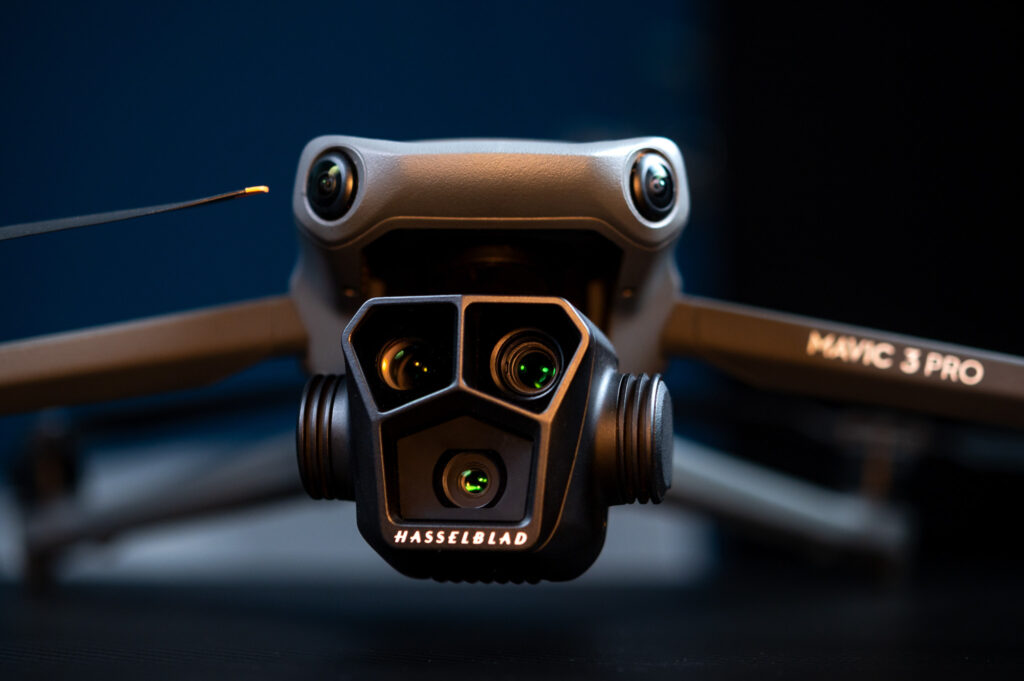
hasselblad camera
✓
5.1K 50fps video
✓
46 minute flight time
✓
30km range
✓
360 obstacle avoidance
3. DJI Air 3
✓
8gb internal storage
✓
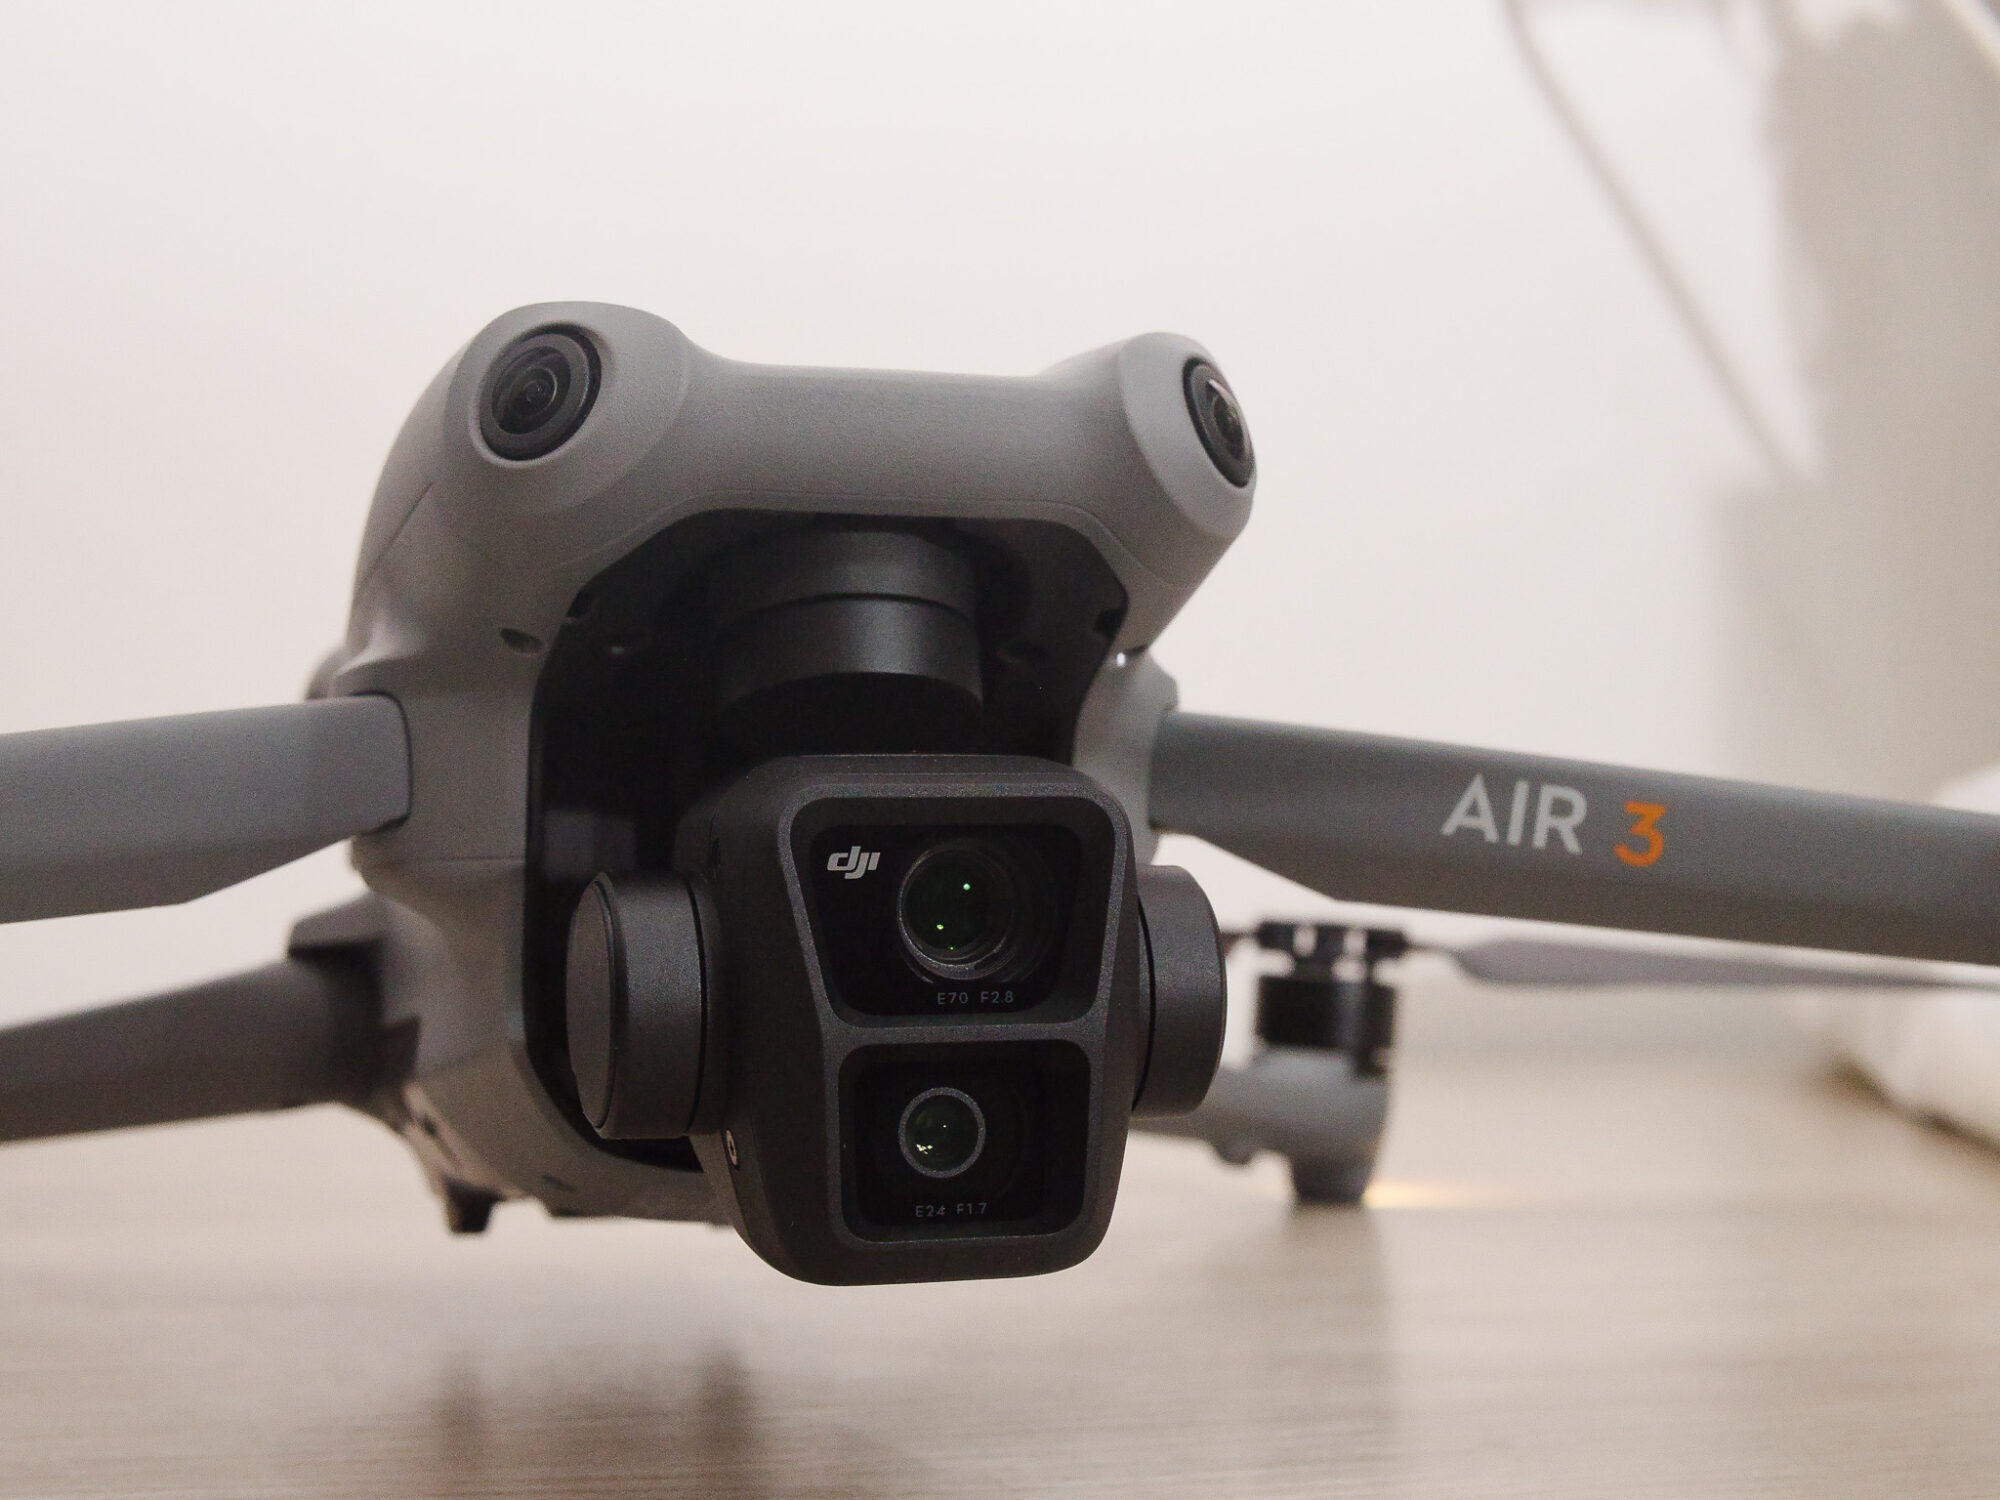
dual-Camera 48MP
✓
4K 100fps video
✓
46 minute flight time
✓
32km range
✓
360 obstacle avoidance
4. DJI Mini 3 Pro
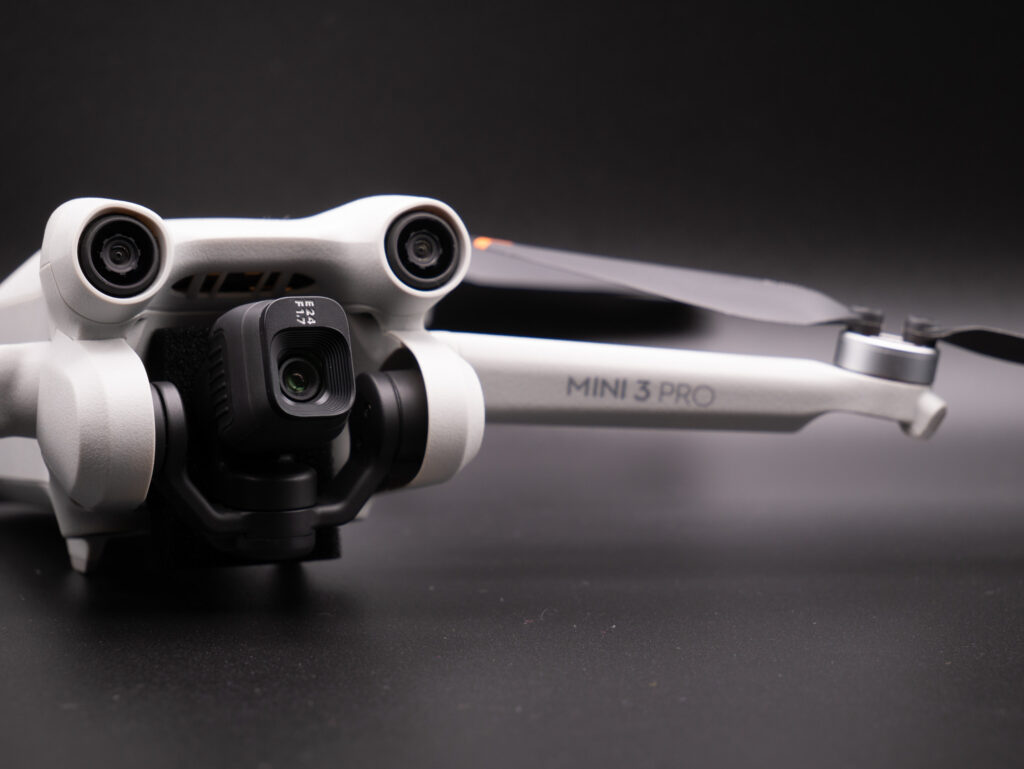
✓
no internal storage
✓
4K 60fps video
✓
46 flight time(intelligent batteries)
✓
25km range (intelligent batteries)
✓
forward, backward and down obstacle sensing
Factors to Consider When Choosing a Drone
Firstly, consider the camera quality and sensor size, as they directly impact image clarity. The Mavic series have a much bigger sensor than the Mini series which allows for more information and picture quality.
Next, assess the flight time and battery life to ensure you have sufficient time for capturing shots. Additionally, look at features like obstacle avoidance whether it can sense objects from all directions or just a few. The Mini 3 drone will crash into objects if you fly backwards.
1. DJI Mini 4 Pro
It has a high-quality 48MP camera which is able to shoot in RAW(high-quality format best for editing). When taking videos it can shoot in 4K up to 60 frame rates per second which is very impressive for a drone of this size and this price($1119 AUD/ $759 USD).
The Mini 4 Pro has 360 omnidirectional sensors that prevent it from crashing, which makes it the safest of the DJI Mini series. It offers a range of intelligent flight modes like QuickShots and ActiveTrack, making it even easier to get that perfect shot. Best of all, it won’t break the bank like some other drones out there. The DJI Mini 4 is truly the top choice for beginners.
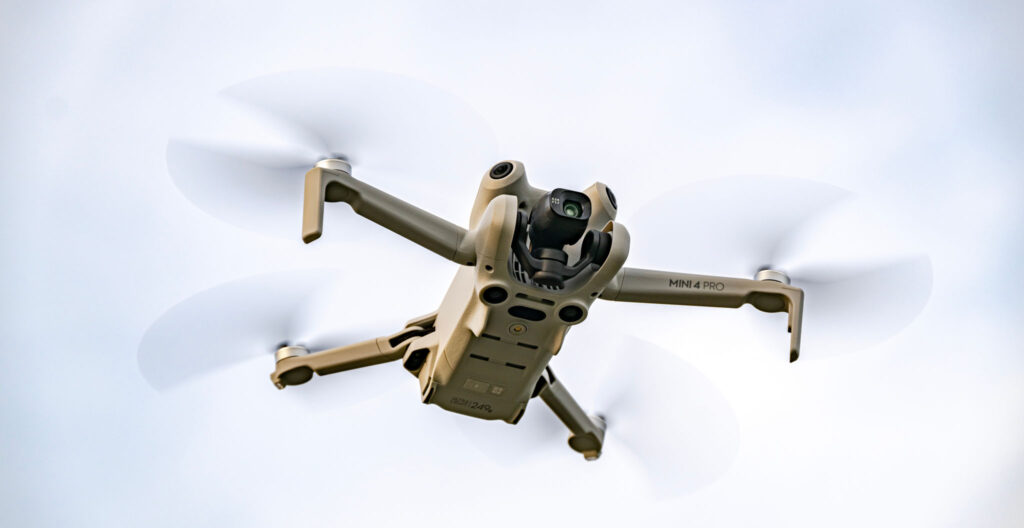
Key Features:
- Lightweight 249 grams
- 4k 60fps
- Omnidirectional obstacle avoidance
- 45 minute flight time
- 10-bit D log
- 20km (12 miles) range
2. DJI Mavic 3
The DJI Mavic 3 range is on the more professional side compared to the other drones with its higher price tag, heavier weight(950g) and bigger size making it one of the best beginner drones for adults. Trust me, it won’t disappoint. The Mavic 3 comes equipped with a 4K camera shooting up 60 frames per second that can capture absolutely stunning aerial footage.
For those wanting the best video quality, the DJI Mavic 3 Pro Cine would be the go with its Apple Pro Res camera and built in 1TB storage.
The main camera is an impressive 20MP 4/3 Hasselblad camera with a variable aperture from f/2.8 to f/11 and a dynamic range of up to 12.8 stops. It offers an equivalent focal length of 24mm.
The DJI Mavic 3, equipped with a powerful 4/3-inch sensor, offers excellent image quality with two cameras, one being a telephoto camera with a fantastic zoom.
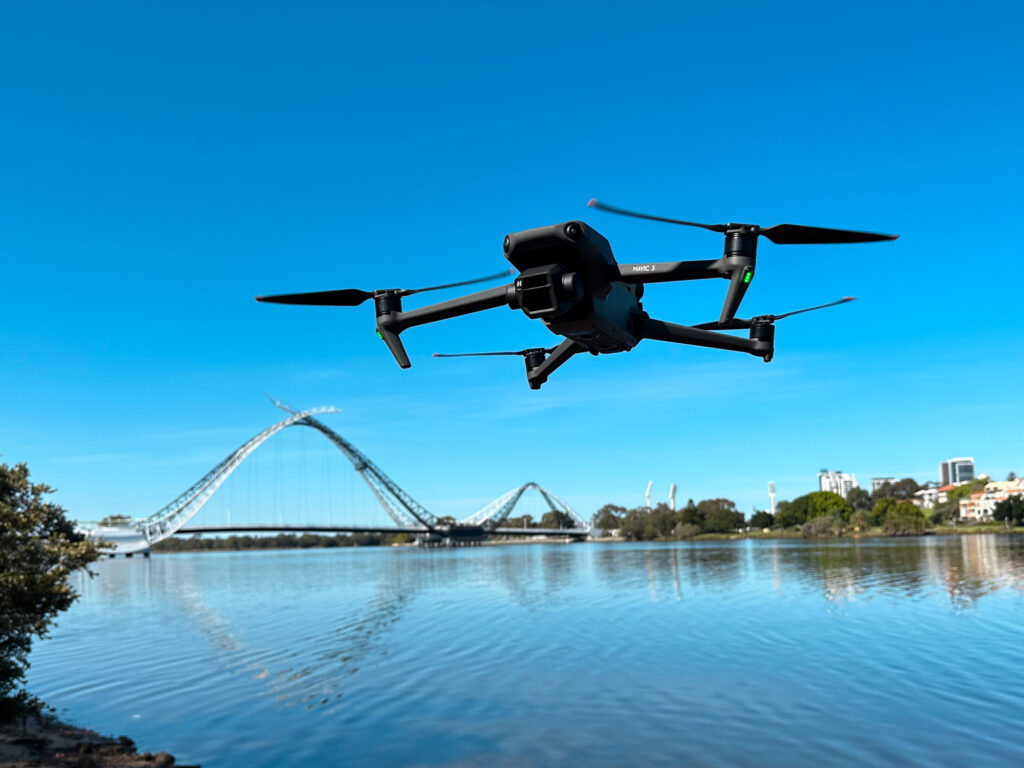
Key Features
- 45 minute flight time
- 20 metres per second horizontal speed
- 8GB internal storage (1TB in cine version)
- Hasselblad Camera: 4/3 CMOS, Effective Pixels: 20 MP
- 5.1K 50fps video
- 4K 120fps
- Omnidirectional binocular vision system, supplemented with an infrared sensor at the bottom of the aircraft
3. DJI Air 3
The DJI Air 3 is a great beginner-friendly drone that has omnidirectional sensors, long flight time and a great 1.3-inch CMOS camera capable of shooting at 48MP.
With its easy controls and compact design, even first-time fliers can capture stunning aerial footage. Plus, its intelligent flight modes make it even easier to get the perfect shot.
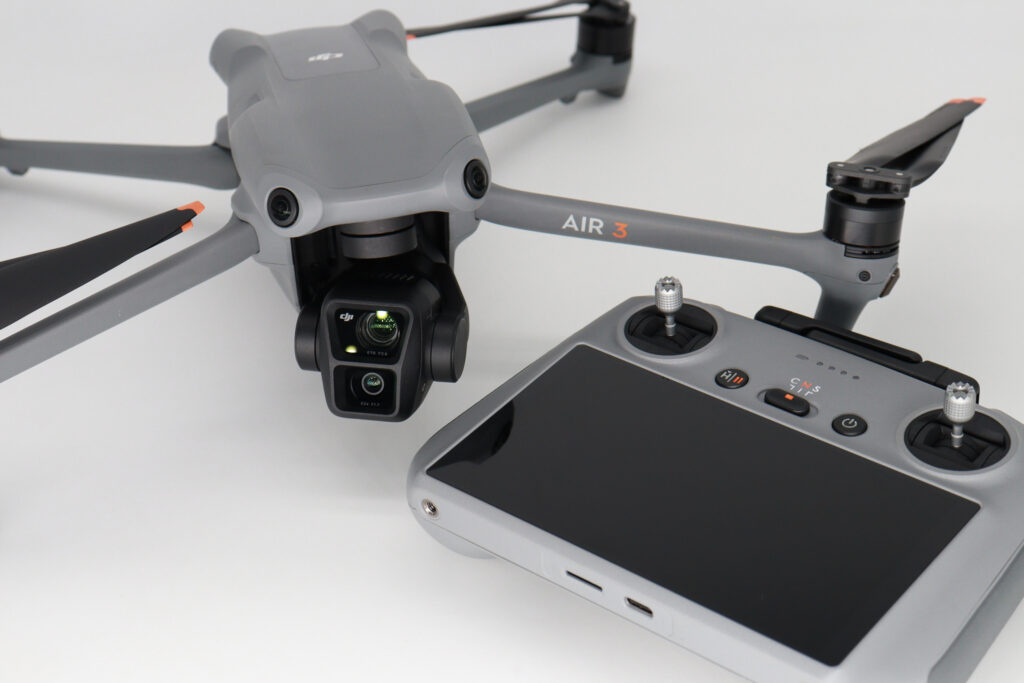
Key Features
- 1/1.3″ CMOS Medium Tele & Wide-Angle Dual Primary Cameras
- 45-Min Max Flight Time
- Omnidirectional Obstacle Sensing
- DJI O4 20km HD Video Transmission
- Dual-Camera 48MP Photos
- 4K/100fps HDR Videos
4. DJI Mini 3 Pro
This little guy is easy to transport and fly, making it a great choice for those just starting out in the world of aerial photography. The main reason the Mini 3 Pro and not the Mini 3 is in third place is because it has more sensors used for obstacle avoidance, preventing it from crashing which puts it on the best beginner drones list.
With its high-quality camera, you’ll be able to capture stunning footage from the skies. Plus, the DJI Fly app offers a user-friendly interface and cool features like QuickShot modes, allowing you to get creative with your shots. And don’t worry about safety – this drone has advanced features like GPS and obstacle avoidance technology to keep you flying smoothly.
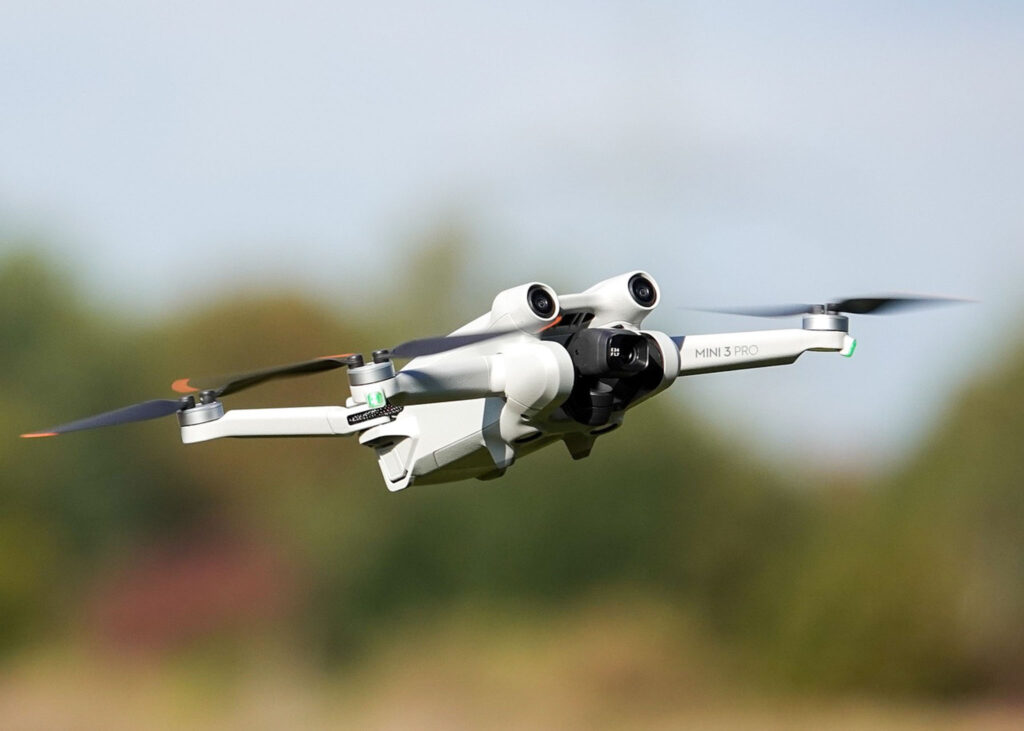
Key Features
- Lightweight 249 grams
- Tri-Directional Obstacle Sensing (Forward/Backward/Downward)
- Record Up to 4K/60fps Video
- 34-min Max Flight
- TimeTrue Vertical Shooting
- FocusTrack (ActiveTrack, Spotlight, and Point of Interest)MasterShots
- Timelapse
Which Accessories Should I Get For My Drone?
All DJI consumer drones have the option to add the fly more kit which I highly recommend. The fly more kit contains most of the best drone photography accessories:
- Extra batteries x2
- Carry case
- Extra propellers
- Charging hub with USB connection
- Some fly more kits may come with some extras like ND filters and landing mats.
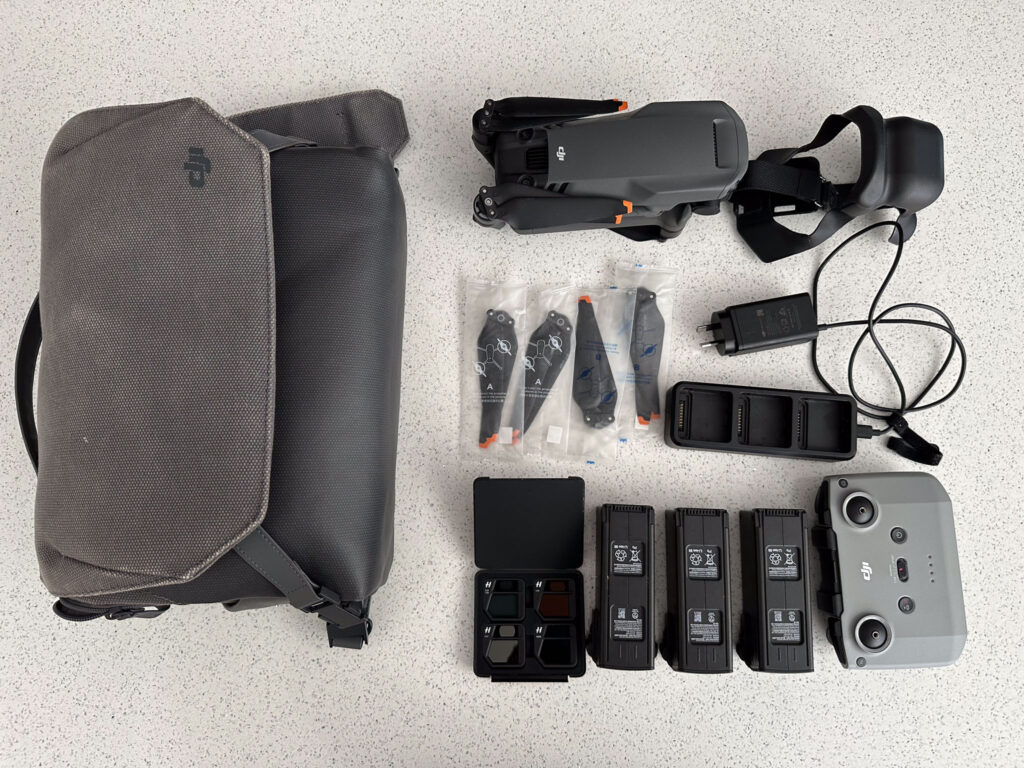
So you’ve bought your first DJI drone with a fly more kit, what else do you need? A high-speed microSD card is recommended to process the 4K footage. SanDisk 128GB Extreme PRO is what I would recommend.
The DJI controller with a screen is also a great accessory to buy for your first drone. It means you don’t have to rely on your smartphone and it is also much easier to see the RC screen in sunlight than the smartphone.
If you have a DJI Mini then you could get propeller guards which are useful when flying indoors or close range to objects. Keep in mind they will reduce the flight time with added weight.
7 Key Highlights
Remember me
1. Shoot in Raw – Raw files contain more data and allow for greater post-processing.
2. Watch YouTube videos for tips on angles and how to fly drones
3. Exploring unique angles and perspectives can add creativity and interest to your drone photos.
4. Understanding weather conditions and selecting the best times of day are essential for optimal shots.
5. Utilizing motion and experimenting with long exposure techniques can create dynamic and captivating images.
6. Adobe Lightroom is one of the best apps to edit your drone photography.
7. Adobe Premiere Pro is a great software for editing drone videos.
8 Quick Tips For Flying Drones
Here are 8 essential tips for both beginner and experienced DJI drone pilots:
8 Essential Tips
1. Set your return to home altitude to above 100m so the drone doesn’t fly into any obstacles
2. Always check your batteries and controller are charged
3. Always check you have space on your SD card before leaving to fly
4. You can charge your smartphone from the controller
5. Add grids to your screen to improve symmetry
6. Download your shots when your smartphone is connected to the controller after the flight
7. Don’t let your batteries get to 0-20% to preserve battery life
8. Check your propellers are attached properly
Wrap Up
I hope you learnt a thing or two with the 10 best drone photography tips, mastering the intricacies of lighting, angles, weather, and camera settings is essential for capturing breathtaking aerial shots.
The DJI Mavic 3 and the DJI Mini 4 Pro are two of the top camera drones for photography. The Mini 4 can rotate the gimbal which is excellent for retaining quality for posting on social media.
As you enhance your skills and explore different drone models, remember the significance of pre-flight planning and selecting the right equipment. Enjoy your flying!
Frequently Asked Questions
What are the Best Drones for Photography?
The best drone for beginners in photography is either the DJI Mini 4 Pro or the DJI Mavic 3 Pro with their amazing image quality and solid safety features. Both have 45 minutes of flight time, can shoot in 4K and have 360 vision sensors.
The DJI Mavic 3 Classic is the best value for money whilst capable of shooting in 5.1K with a large image sensor that produces amazing video quality even in low light. The DJI Mini 3 Pro is another cheaper alternative with good image quality(48MP), it also has obstacle sensing features and is a top pick for drones below the $1000 price range.
How can I Improve my Drone Photography Skills?
Watch YouTube videos, practice shooting at different angles and try some of the best drone photography intelligent flight modes like orbit and subject tracking.
By experimenting with different drone models and emphasizing pre-flight planning, you can elevate your drone photography skills. Explore post-processing techniques and stay updated on emerging technologies to enhance your aerial shots.
What are the Most Common Mistakes in Drone Photography?
The most common video mistake is taking sharp turns whilst recording, you should shoot in a smooth motion and follow the same movement throughout. Another mistake I often see is not getting or keeping the subject in the centre of the shot.
A lot of people crash their drones into tree branches or wires which the obstacle sensors can’t pick up. Another big fail is running out of battery whilst over water.
Are there any Privacy Concerns with Drone Photography?
Drone photography raises privacy concerns due to potential intrusion. Be mindful of capturing private properties or individuals without consent. Familiarize yourself with local laws on drone usage for photography to avoid legal issues.
How do I Maintain my Drone for Optimal Performance?
Regularly calibrate your drone, clean the lens and propellers, check for firmware updates, store it properly, and inspect for any damage.
All the latest DJI models have smart batteries which discharge themselves to reduce damage to the batteries. It’s worth knowing that all batteries have a certain amount of flights until they’re meant to be disposed of. Try not to let your batteries drop below 20%.
Can Drone Photography be a Career Option?
With the rise in demand for aerial photography, pursuing a career in drone photography is a viable option. Professionals can specialize in various niches like real estate, cinematography, or environmental monitoring, offering ample opportunities for growth and creativity in this field.
I have curated a list of the best ways to make money with a drone. You could be earning passive income with your drone footage right now.
Which Editing Software is Recommended for Drone Photos?
Two of the best drone editing software are Adobe Lightroom, one of the best options for editing photos, and Adobe Premiere Pro, which is great for editing videos.
These tools offer advanced features like colour correction, cropping, healing, masking, presets and filters to enhance your aerial shots.
How to Deal with Drone Photography in Windy Conditions?
Adjust your drone settings for windy conditions by increasing the shutter speed to avoid blurry images. Fly your drone against the wind for better stability. Don’t fly near objects or buildings. The DJI Inspire and Mavic 3 drones have great wind resistance.
Be mindful that flying in high winds will chew through your battery life so always pack some extra batteries.
What are the Legal Requirements for Flying a Drone In Australia?
In Australia, there are legal requirements for flying a drone. Here are 9 key points to keep in mind:
9 Legal Requirements For Flying A Drone In Australia
1. Drones used for commercial use must be registered.
2. Drones should not fly higher than 120 meters (approximately 400 feet) above the ground level.
3. You must always be able to see your drone with your own eyes while flying it.
4. Maintain a safe distance of at least 30 meters from people, vehicles, and property.
5. Do not fly your drone over private property without permission.
6. Check the OK2FLY app to ensure you are not flying in restricted airspace or prohibited areas.
7. There are specific areas where drones are not allowed to fly, such as near airports and emergency scenes.
8. Be aware of any additional rules that may apply in your state or territory.
9. Some national parks in Australia don’t allow you to fly in them.
How does Drone Photography Impact Wildlife and Nature?
Drone photography can impact wildlife and nature by causing disturbances to animals, leading to stress or altered behaviours. Drones may disrupt habitats and nesting sites, affecting ecosystems. Regulations and ethical practices are essential to minimize these impacts for sustainable drone photography.
How to Choose Locations for the Best Drone Photography Shots
Explore diverse landscapes like mountains, coastlines, and urban areas for captivating drone photography shots. Use the #location feature on Instagram to see the locations which have potential for drone photography.
TIP BOX Flying close to objects whilst videoing adds great depth and perspective to your shots.
