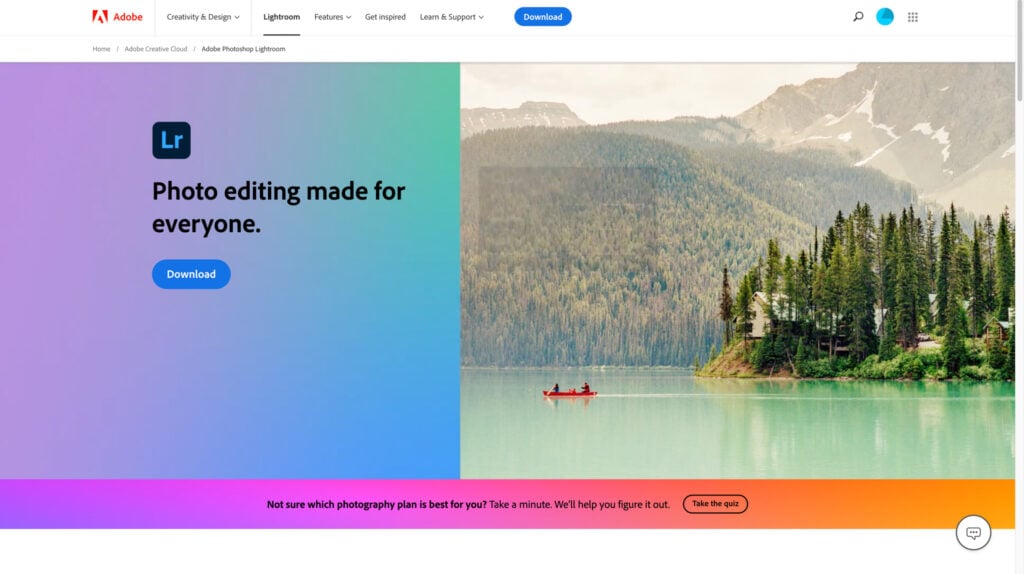
Adobe Lightroom is an awesome tool for editing photos, making it easy for both pros and hobbyists to improve their pictures. It’s packed with features that let you take your images up a notch.
On top of that, when trying out Lightroom for free, Adobe throws in access to Creative Cloud too. That means not only do you get Adobe Lightroom but also other cool tools like Photoshop and Illustrator are at your fingertips as well.
In this article, I’ve included links to the free trial as well tips on how to get the most out of your Lightroom free trial with tips and my experience of over 5 years using the amazing Lightroom picture editing software. Now let’s dive in.
Discovering Adobe Lightroom’s Potential
Adobe Lightroom really changes the game when it comes to making your photos look amazing. It’s super easy to use and packed with cool features that let you turn any photo from meh to mewow.
To avoid confusion it’s worth mentioning that Lightroom’s full name is Adobe Photoshop Lightroom and this is a different app to Photoshop.
If getting every bit of what Adobe has got sounds good then think about signing up for their Photography Plan which includes not only both versions of Lightroom – Adobe Lightroom Classic and Lightroom for mobile plus access to Photoshop.
The Basics of Adobe Lightroom
At its core, Adobe Lightroom is a powerful photo editing tool that helps you tweak, sort out, and improve your pictures. It’s packed with various features to elevate your photos.
One cool thing is how it lets you keep all your edits in sync across different gadgets. Thanks to Lightroom mobile, any changes made on your phone or tablet automatically update on your desktop too. This means you can edit anywhere and not worry about losing any work.
On top of this, there’s a neat link-up with the graphic design tool Adobe Express – another app from Adobe but more focused on quick edits when you’re moving around.
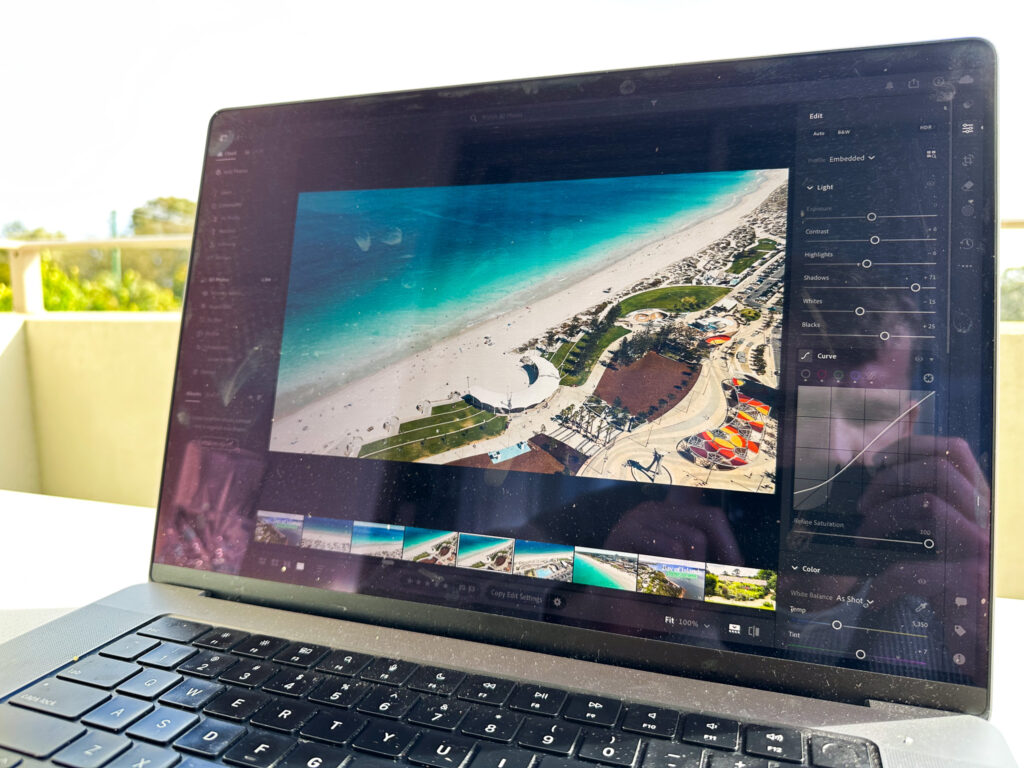
This trial period is your chance to dive into these tools and figure out how they can make editing photos way better for you.
Setting Up Your Adobe Lightroom Free Trial
Starting your Adobe Lightroom free trial is a breeze. Here’s how you can get going:
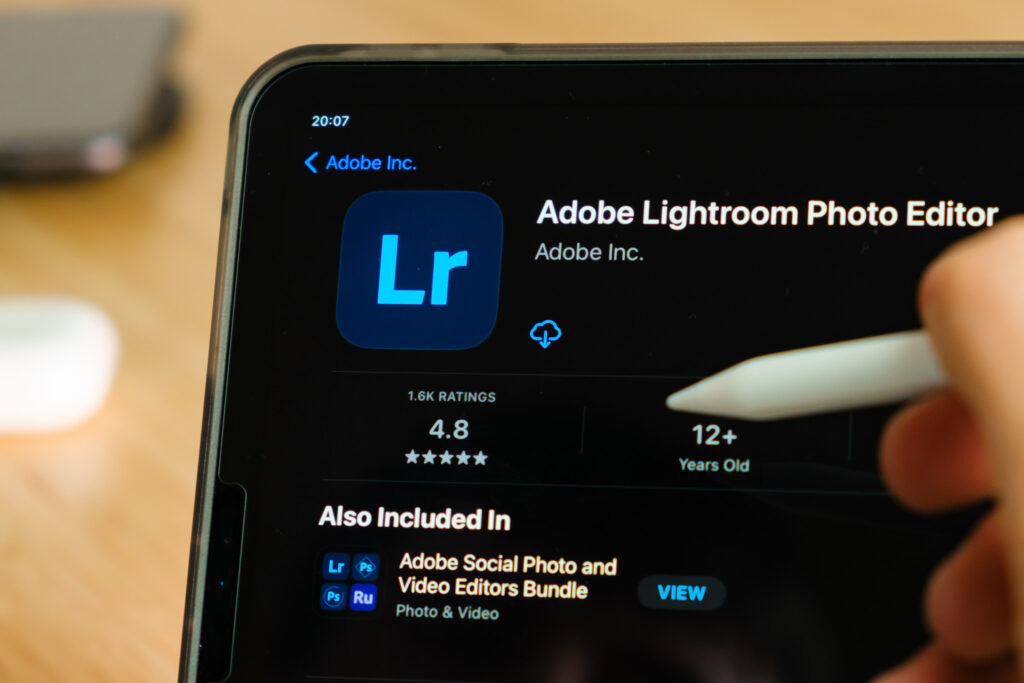
Step-by-Step Guide to Getting Started
After you’ve got your Adobe Lightroom free trial setup, it’s time to dive in and use the app. Here’s a simple guide on how to make the most of your free trial:
- Download Lightroom on the Adobe website and grab the Lightroom app for either your computer or mobile device.
- Create a free account Adobe account. It lets you dive into the trial and keeps your photos in sync across all gadgets.
- Those using Lightroom Classic on their computer can start by launching the desktop app. You’ll need to log in with your Adobe ID which lets you use all its features and tools.
- On both desktop and mobile versions, bringing photos into the application is next: hit that import button and choose which pictures you’d like to work on.
- Once they’re imported, play around with various adjustments such as exposure or colour right within Lightroom to really bring out the best in your shots.
Following these steps will help kickstart your journey towards becoming proficient at photo editing using Adobe Lightroom enhancing skills along the way.
Mastering Photo Editing with Lightroom
Adobe Lightroom is an awesome tool for tweaking your pictures, and getting the hang of what it offers can really elevate your photography game. Here are some handy tips to get better at editing photos using Lightroom:
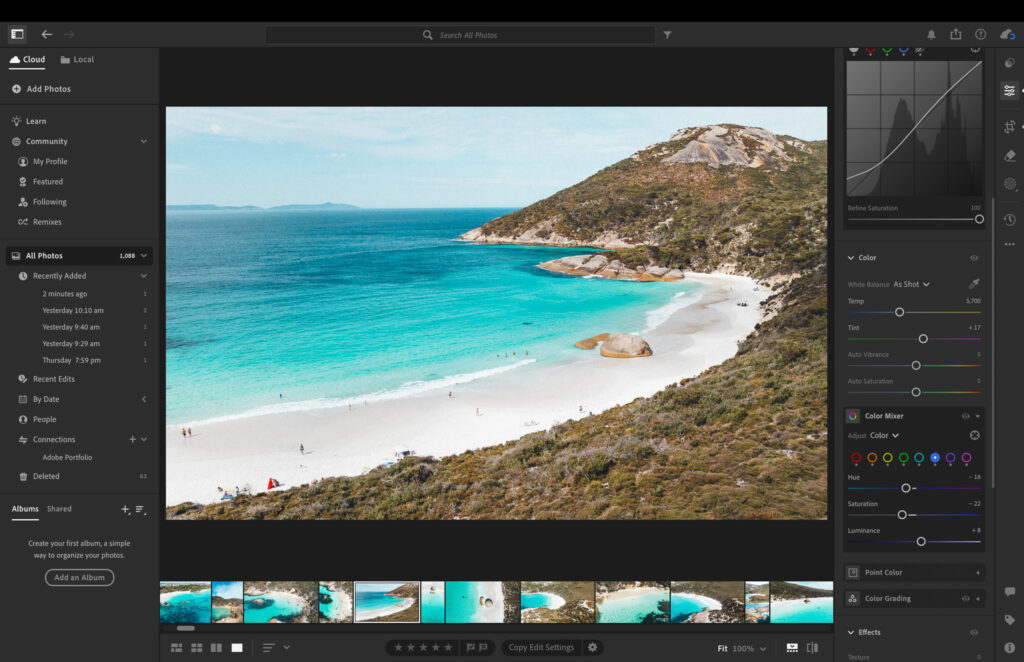
1. Master the Basics Panel
- Exposure: Adjust this slider to make your photo brighter or darker. Start with small adjustments until the image looks well-lit.
- Contrast: Increase this to make the darks darker and the lights lighter, adding depth to the image. Be careful not to overdo it.
- Highlights and Shadows: Use the highlights slider to recover details in bright areas and the shadows slider to bring out details in dark areas. This is especially useful for high-contrast images.
- Whites and Blacks: These sliders set the white and black points in your image. Hold the “Alt” key (Option on Mac) while dragging to see clipping areas, ensuring you don’t lose details in pure white or black.
2. White Balance Adjustment
- Temperature and Tint: Use these sliders to correct colour casts. The temperature slider adjusts between blue (cool) and yellow (warm), while the tint slider adjusts between green and magenta.
- Eyedropper Tool: Click on the eyedropper tool and select a neutral grey or white area in your photo to automatically adjust the white balance. This is useful for achieving accurate colours.
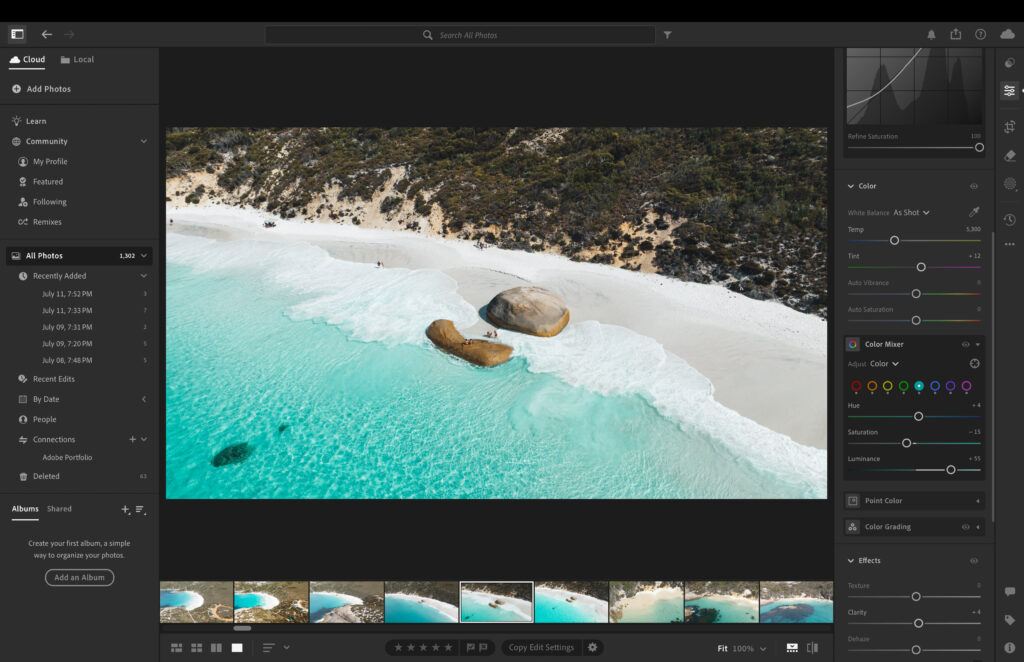
- Colour Mix: To balance colours across your image. For example, if skin tones look too red, reduce the red saturation and adjust the hue for a more natural look.
- Colour Mix Luminance sliders: Make specific colours lighter or darker. This helps in controlling the brightness of particular colours without affecting others.
Tip
Maintain consistency by ensuring similar adjustments across multiple photos, especially in a series, to keep the colour grading uniform.
This is easily done by using presets.
3. Use the Tone Curve
- Region-specific Adjustments: The tone curve is divided into regions: highlights, lights, darks, and shadows. Adjust these sections to fine-tune the brightness and contrast in specific tonal ranges.
- Point Curve: For more advanced users, switch to the point curve mode to manually add control points and create an S-curve, which enhances contrast by making darks darker and lights lighter.
4. Selective Adjustments with Brushes and Filters
- Adjustment Brush: Use the brush to paint adjustments onto specific areas. This is useful for detailed work, such as brightening eyes or smoothing skin.
5. Detail Enhancements
- Sharpening: Go to the Detail panel. Adjust the amount slider to increase sharpness. Use the radius slider to control the size of the sharpening effect (smaller radius for fine details, larger for broader edges).
- Masking: Hold the “Alt” key (Option on Mac) while adjusting the masking slider to see a black-and-white preview. This shows where sharpening will be applied. Increase the masking to limit sharpening to the edges, avoiding noise in smooth areas.
- Noise Reduction: If your image has high ISO noise, use the luminance slider in the noise reduction section to smooth out the grain.
Tip
Use the \ key to see the original version of the photo to compare your edits
All these steps can be a lot to take in just by reading the words but at least it gives you a general idea of how to use the tools in Lightroom. Try playing around with some of these tools, you can always undo anything you don’t like.
Using Presets in Adobe Lightroom: Streamlining Workflow and Maintaining Brand Consistency
Adobe Lightroom presets are powerful tools that can significantly enhance your photo editing workflow. These pre-configured settings allow you to apply a consistent look to your images with just one click, saving time and effort.
Key Benefits of Using Presets
- Faster editing: Apply complex adjustments instantly.
- Consistency: Maintain a uniform style across multiple photos.
- Brand cohesion: Develop presets that align with your brand’s visual identity.
To Maximize Efficiency
- Create custom presets for different types of shots or lighting conditions.
- Organize presets into folders for easy access.
- Fine-tune preset applications to suit individual images.
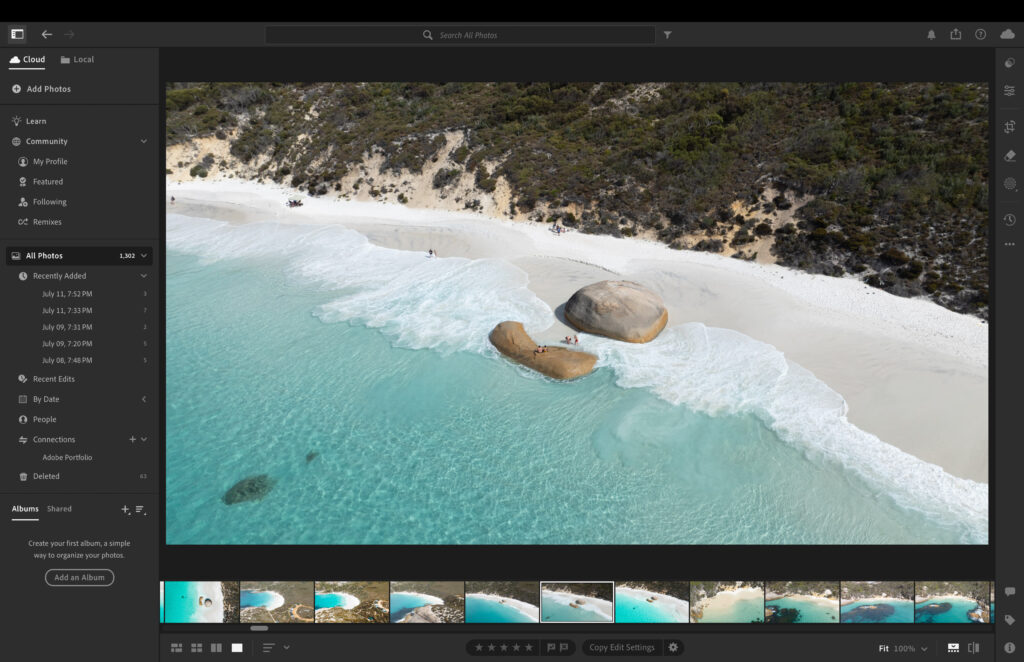
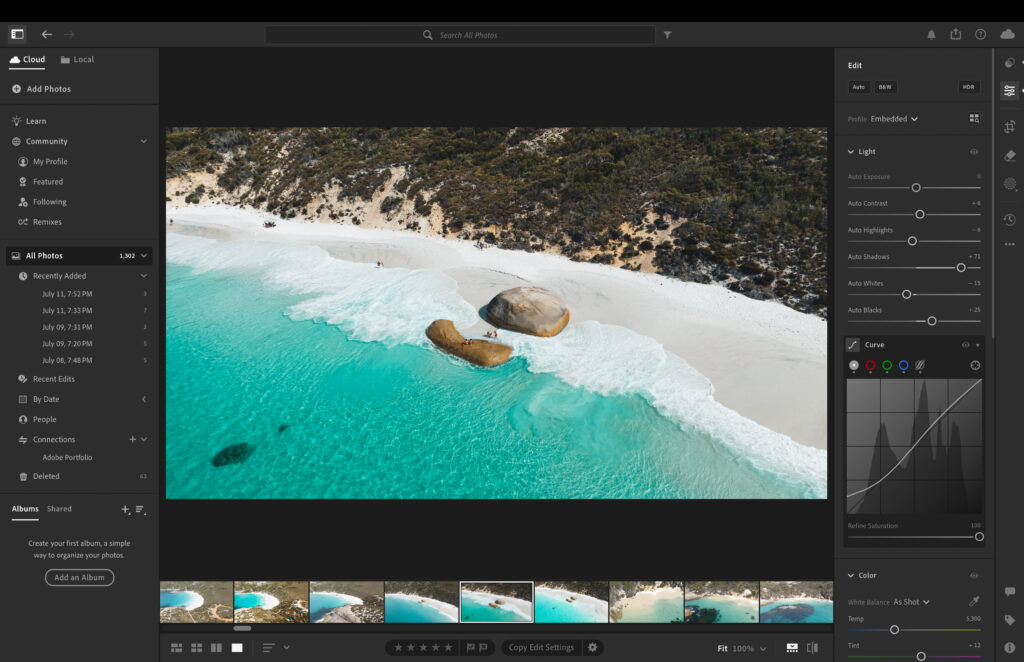
Finding the right presets can drastically improve your editing game. You’re welcome to purchase the preset I use for all my drone photography, it comes with two extra presets to try out.
I always make a few adjustments after applying the preset. Sometimes increasing exposure and usually editing a few of the colours in the colour mixer.
Lightroom AI Features
1. Auto Settings: This feature uses AI to analyze your photo and apply a range of adjustments, including exposure, contrast, highlights, shadows, whites, and blacks, to give you a well-balanced starting.
2. New Generative Remove: AI helps to remove any unwanted subjects or objects in your image with just a few clicks.
3. Select Subject and Select Sky: These tools use AI to automatically detect and create masks for subjects or skies, making it easier to apply localized adjustments without manually selecting areas.
4. Adaptive Presets: AI-driven presets that adapt to the specific content of your photo, ensuring that the preset’s effects look good across various images.
5. People Masking: AI identifies and creates masks for individual people or groups in photos, allowing you to apply targeted adjustments to skin tones, hair, eyes, or other specific features.
6. Super Resolution: This feature uses AI to upscale images while preserving details and reducing artefacts, effectively increasing the resolution of your photos.
7. Colour Grading: AI can assist in the colour grading process by suggesting adjustments and providing tools for achieving professional-quality colour corrections and enhancements.
8. Dehaze: This tool uses AI to intelligently remove haze and fog from photos, enhancing clarity and contrast in images with atmospheric interference.
These generative AI features streamline the editing process, offering powerful tools to achieve high-quality results with less manual effort.
Conclusion
The Adobe Lightroom free trial is like a key to the world of professional photo editing. With it, you can try out everything from simple edits to more complex techniques and find your own style along the way.
By using this trial, organizing your photos becomes easy, and thanks to cloud storage, you can get to them from anywhere. It doesn’t matter if photography is new for you or if you’ve been doing it for years; Lightroom’s free version gives everyone a chance to get better at editing their pictures.
Take this opportunity with Adobe Lightroom to polish your skills and make amazing images. Go ahead and start your free trial now – there are so many creative paths waiting for you in photography!
Frequently Asked Questions
Can I Extend the Lightroom Free Trial?
If you want to keep using Lightroom, Adobe has photography plans that let you use not just the full version of Lightroom but other software too.
With a photography plan from Adobe, you have the choice between paying every month or for a whole year at once. Remember though, starting even the trial version needs a credit card and when your free test run is over, they’ll need your payment details to keep going.
What Happens to My Photos After the Trial Ends?
Once your Adobe Lightroom free trial is up, you can still see your photos in the cloud storage. But, if you want to keep editing them with Lightroom, you’ll have to pay for the full version.
To make sure you can edit and organize your pictures using all the cool features of Lightroom, getting a paid subscription is the way to go.
Tips for transitioning from the free trial to a subscription
Thinking about moving from the Lightroom free trial to a paid subscription? Here’s how you can do it without any hiccups:
- Look at Different Plans: Before you decide, take a good look at what Adobe has to offer. Think about what you really need, how much you’re willing to spend, and what each plan brings to the table so that you pick one that’s just right for your photography needs.
- Get Your Payment Method Ready: You’ll need a valid credit card or another way to pay. Be sure this is set up because they’ll ask for your payment details when starting your subscription.
- End Your Free Account: If there’s already a free Lightroom account in your name, remember to cancel it before jumping onto a paid plan. This helps avoid any mix-ups or double subscriptions.
- With resources and tutorials provided by Adobe: Dive into all the learning materials and community advice available once subscribed. It’s full of tips from other photographers who are ready to share their knowledge with newcomers like yourself.
Switching from the Adobe Lightroom free trial over to something more permanent doesn’t have to be complicated if these steps are followed carefully; doing so will unlock everything Lightroom has in store for enhancing photo editing skills significantly.
