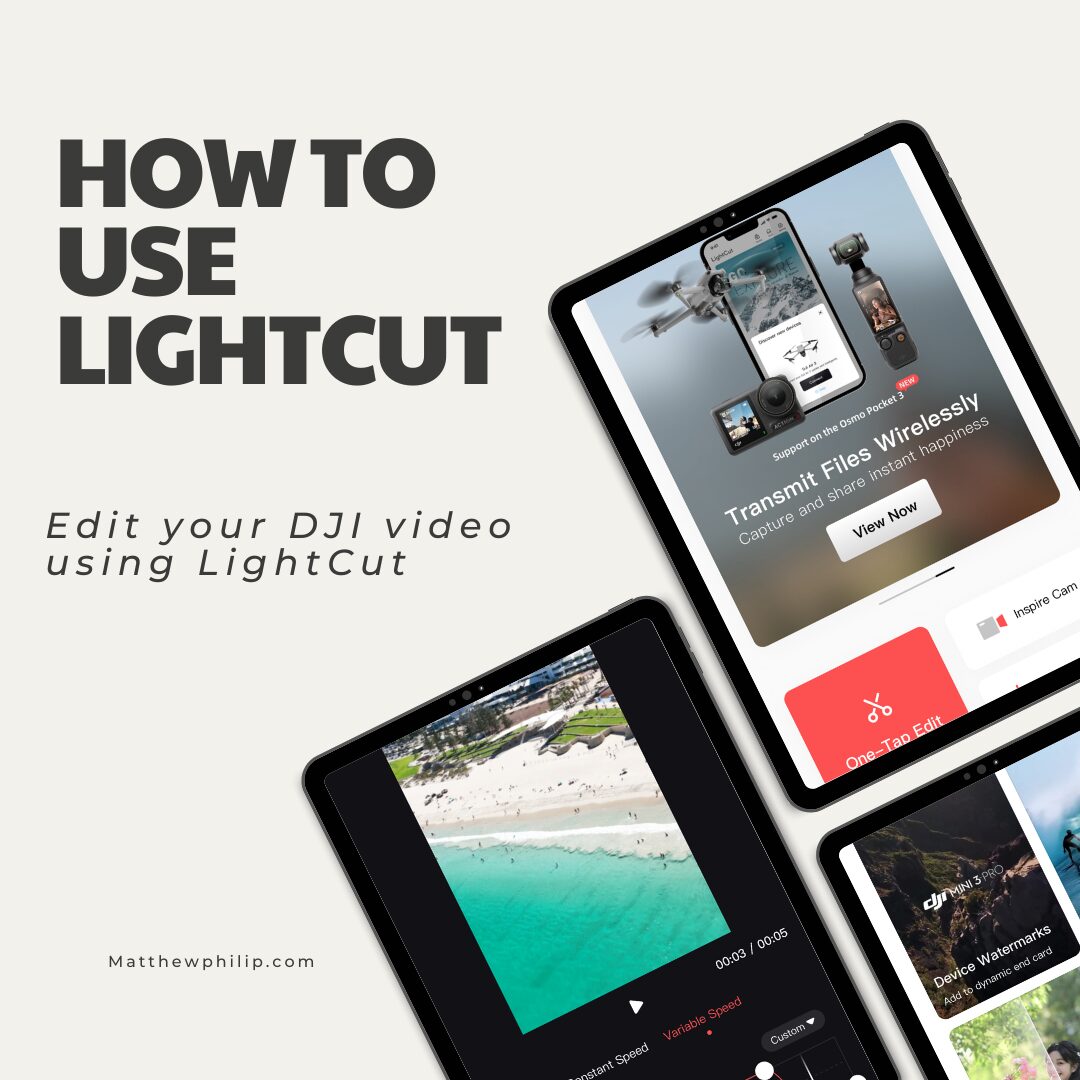
You’ve taken some amazing drone videos and now you want to crop, edit the colour and export it to upload to your favourite social media platform… Instagram? Or maybe it’s TikTok? This is where LightCut comes in.
LightCut is the video editing software that DJI recommends to use. It’s made for mobile use and is ideal for editing on the move.
I’ve been flying DJI drones and editing videos for over 6 years and have learnt a thing or two along the journey. In this article, I’ll walk you through how to use LightCut step by step. Now let’s dive in.
The Beginner’s Guide How to Use LightCut
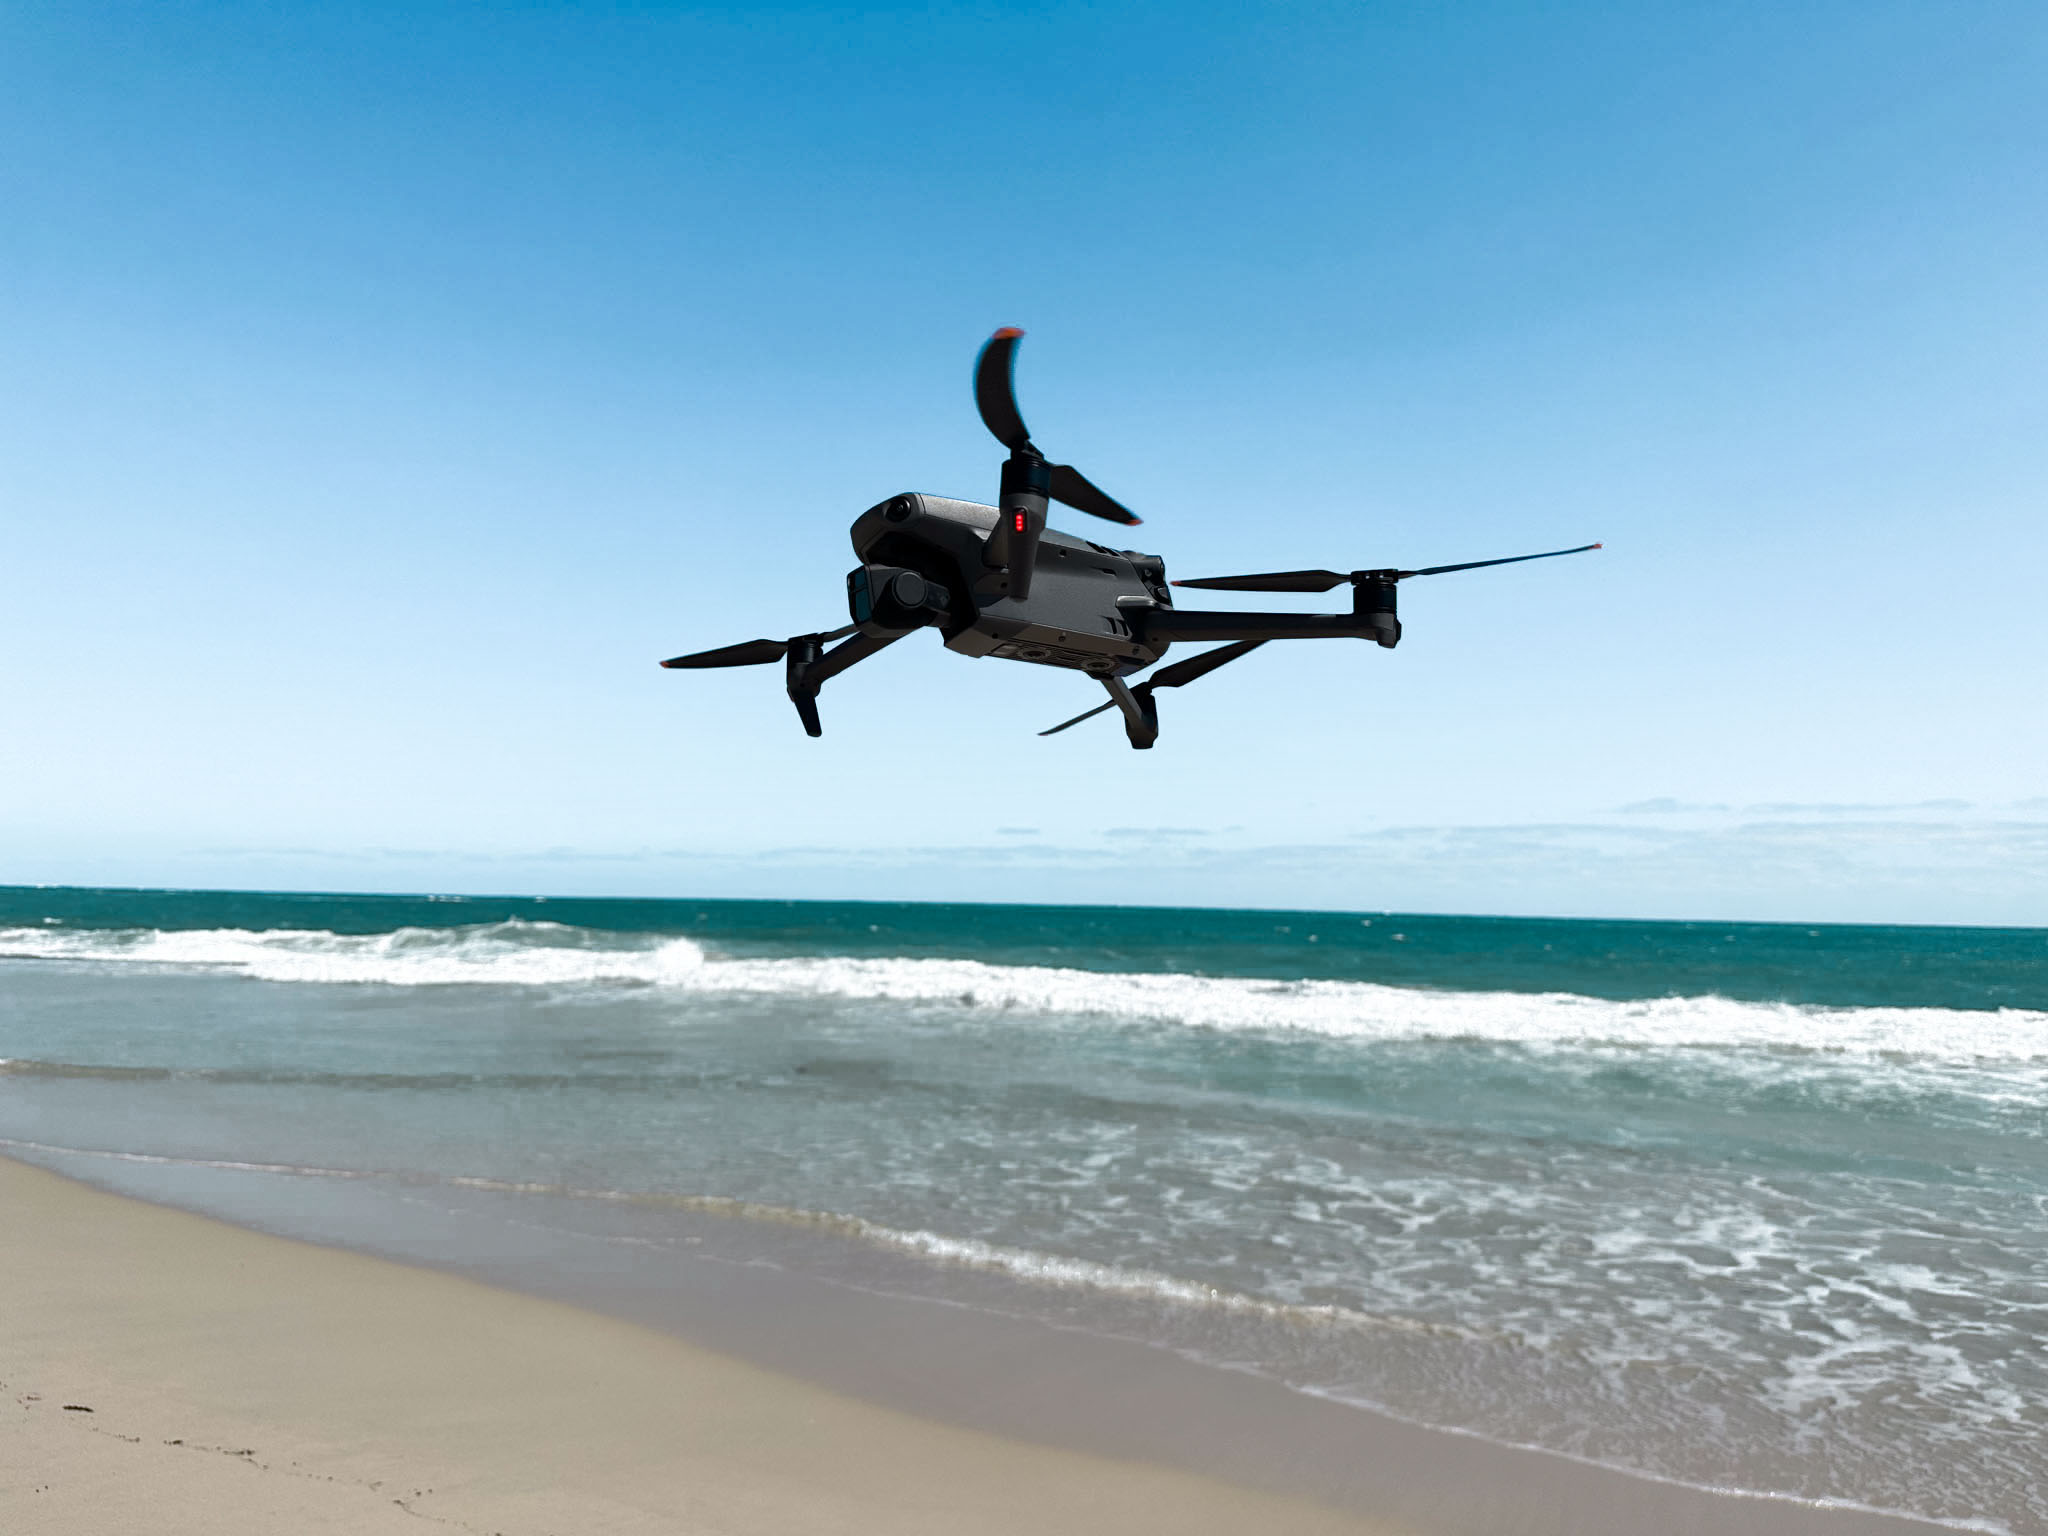
To start, you’ll need a DJI drone or a handheld gimbal like the Osmo Mobile SE or DJI Osmo Action. Make sure your camera gear has enough storage.
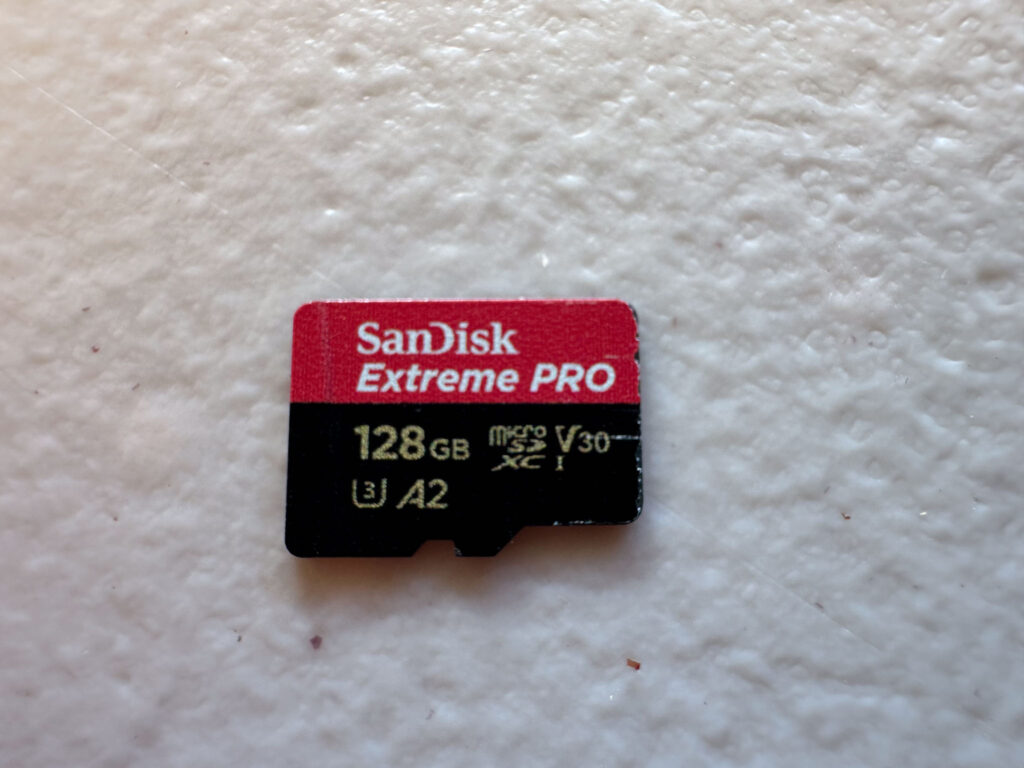
Use a high-capacity memory card, especially if you plan to shoot high-resolution videos. I use the SanDisk Extreme Pro which is highly recommended. It has 140 MB write speeds for continuous shots.
1. Import your DJI footage
- The first thing is to download the LightCut app on your mobile device.
- Open LightCut and tap “+” to import videos from your DJI Osmo Pocket, DJI Pocket, or DJI Action camera.
2. Arrange your timeline
- Drag your clips onto the timeline in the desired order.
- Trim the selected clips by dragging the ends inward.
3. Basic colour correction
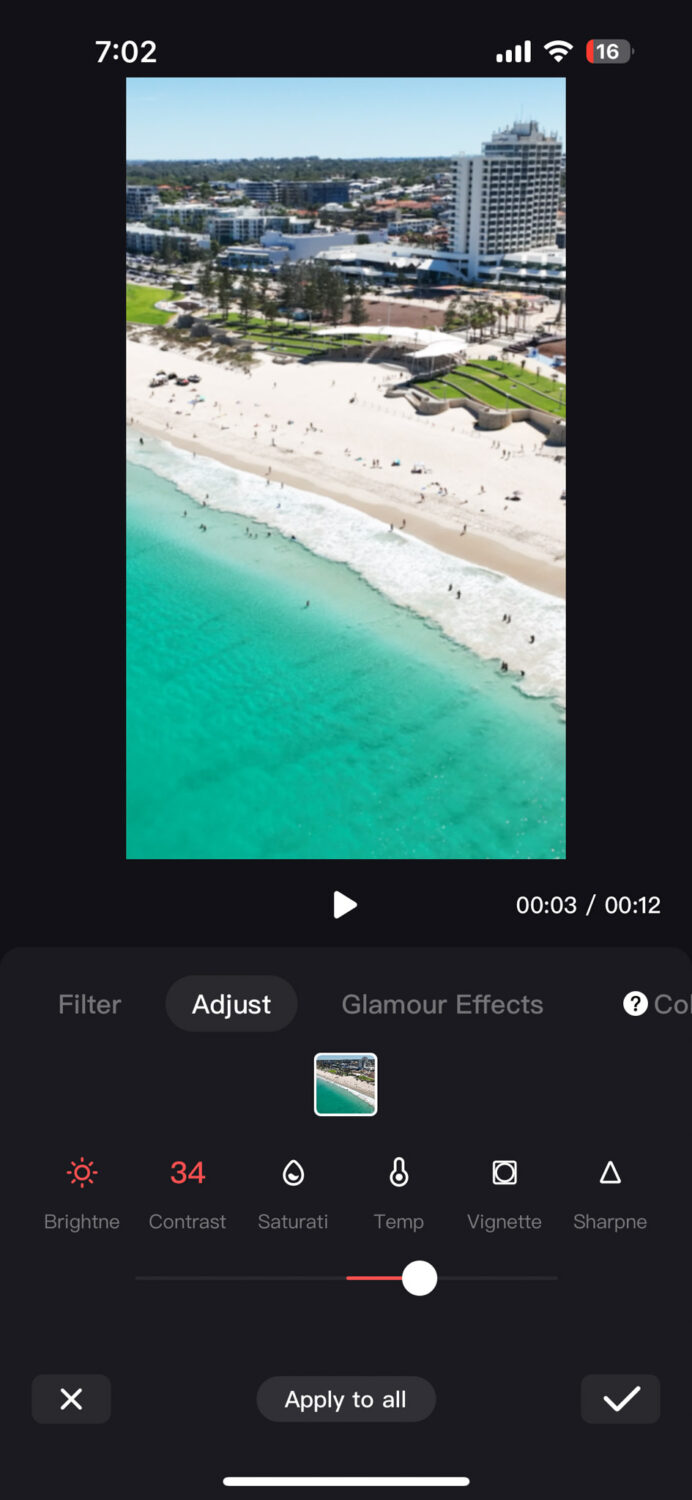
- Select your first clip tap the filter tab then adjust.
- Start with a little bit of basic adjustments.
- Brightness: Increase the footage if it is too dark, and decrease if overexposed.
- Contrast: Boost for more dynamic range, reduce for a flatter look.
- Saturation: Increase for vibrant colours, decrease for a more muted palette.
4. Using Filters(Optional)
- Before or after colour correction head to the filter tab.
- Play around with the different filters to see what suits your video.
- Filters are the same as presets and need a little edit afterwards.
5. Colour Recovery: Apply LUTs
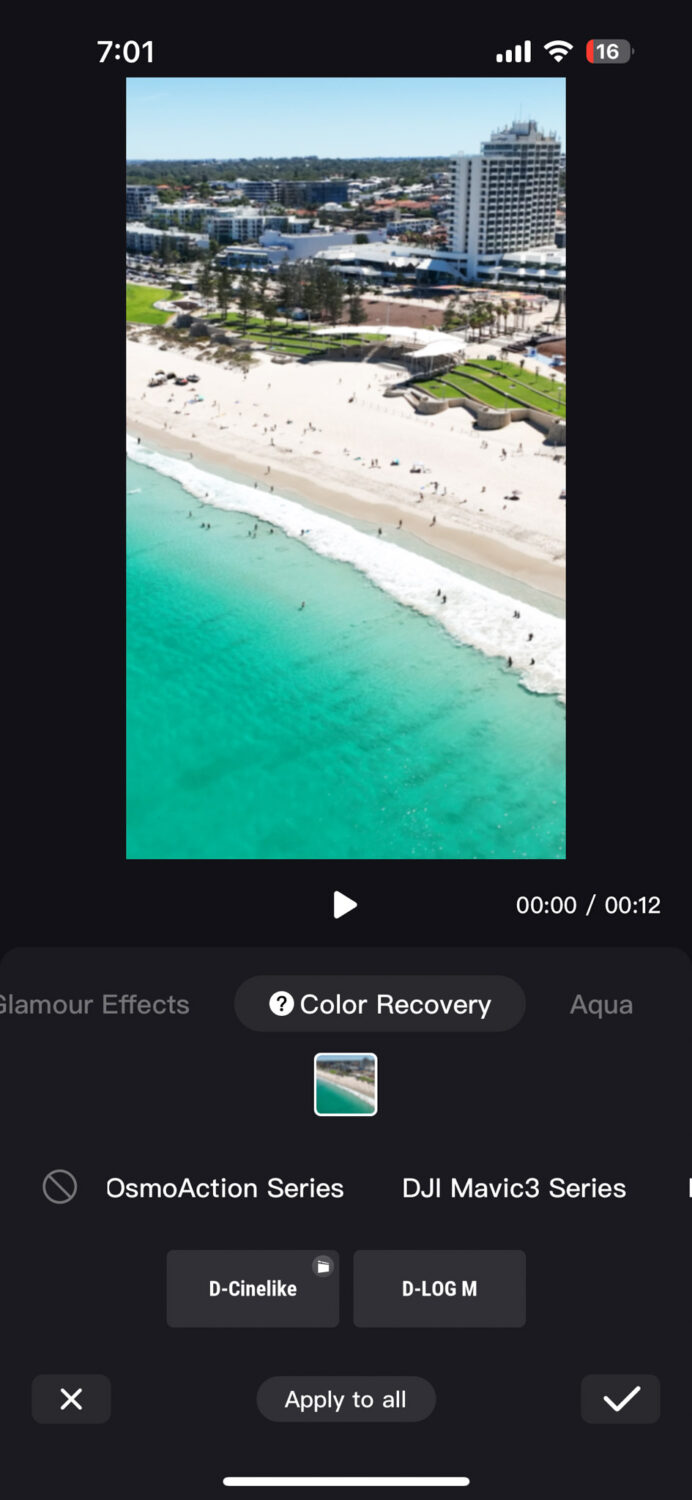
- Suitable for video shot in D Log or D-Cinelike to quickly recover colour.
- Head to the filter tab and slide across to colour recovery.
- Choose the DJI device you used like the DJI Air series or Avata 2.
- Explore LightCut’s LUT library for quick colour grades.
6. White balance correction
- Use the Temperature and Tint sliders to fix colour casts.
- Warm up sunset footage or cool down overly warm indoor shots.
7. Add creative effects
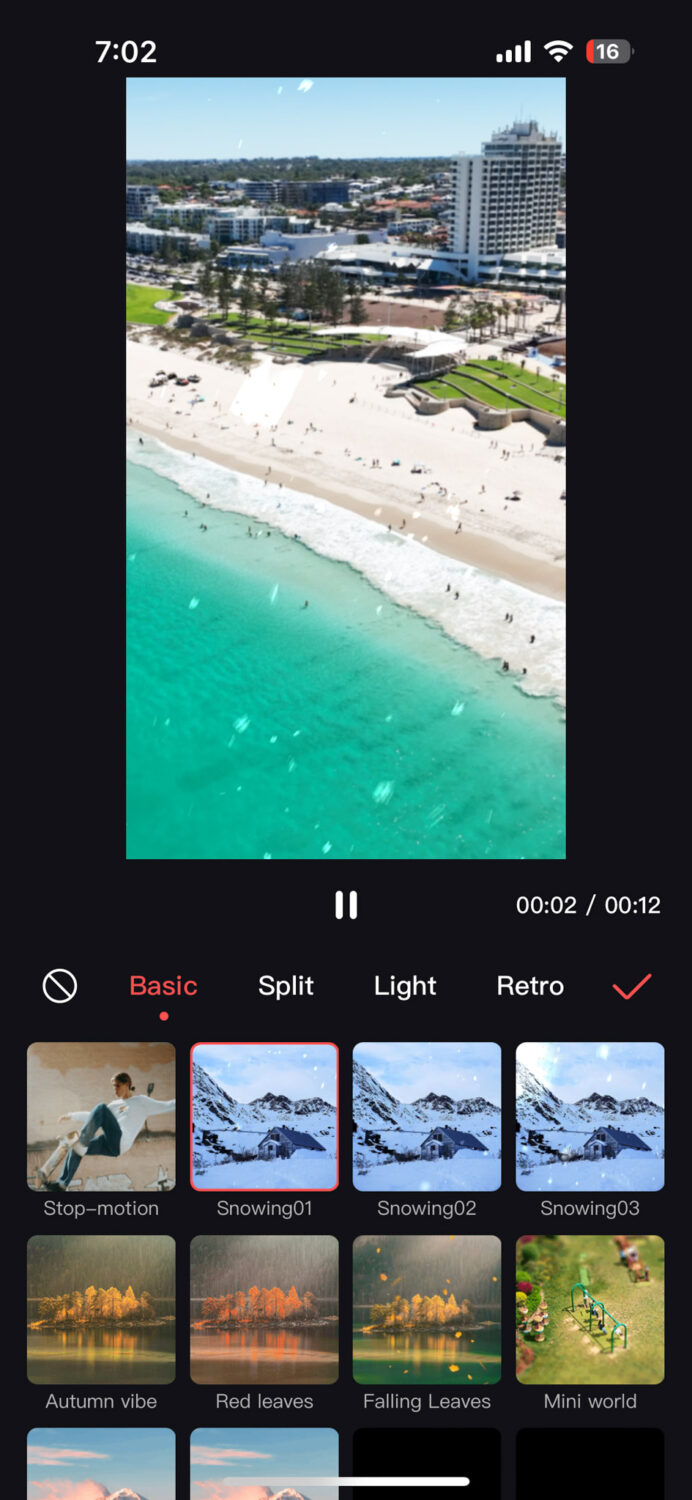
- You can add effects like snow or leaves falling.
- Play around with many different effects.
- Reverse your footage in the edit tab at the far right click reverse.
8. Smooth out transitions
- Add transitions between clips (e.g., fade, wipe, or more creative options).
- Adjust transition duration for smooth flow.
9. Enhance audio
- Adjust the volume levels of your DJI footage.
- Add the appropriate music in the music tab and click add music.
- Take the audio from a different video by clicking extract and then choose the video.
10. Text and graphics
- Add titles or captions to provide context by clicking text, adding text and choosing effects/ style etc.
- Use animated text for a dynamic intro or outro.
11. Speed Ramping(Optional)
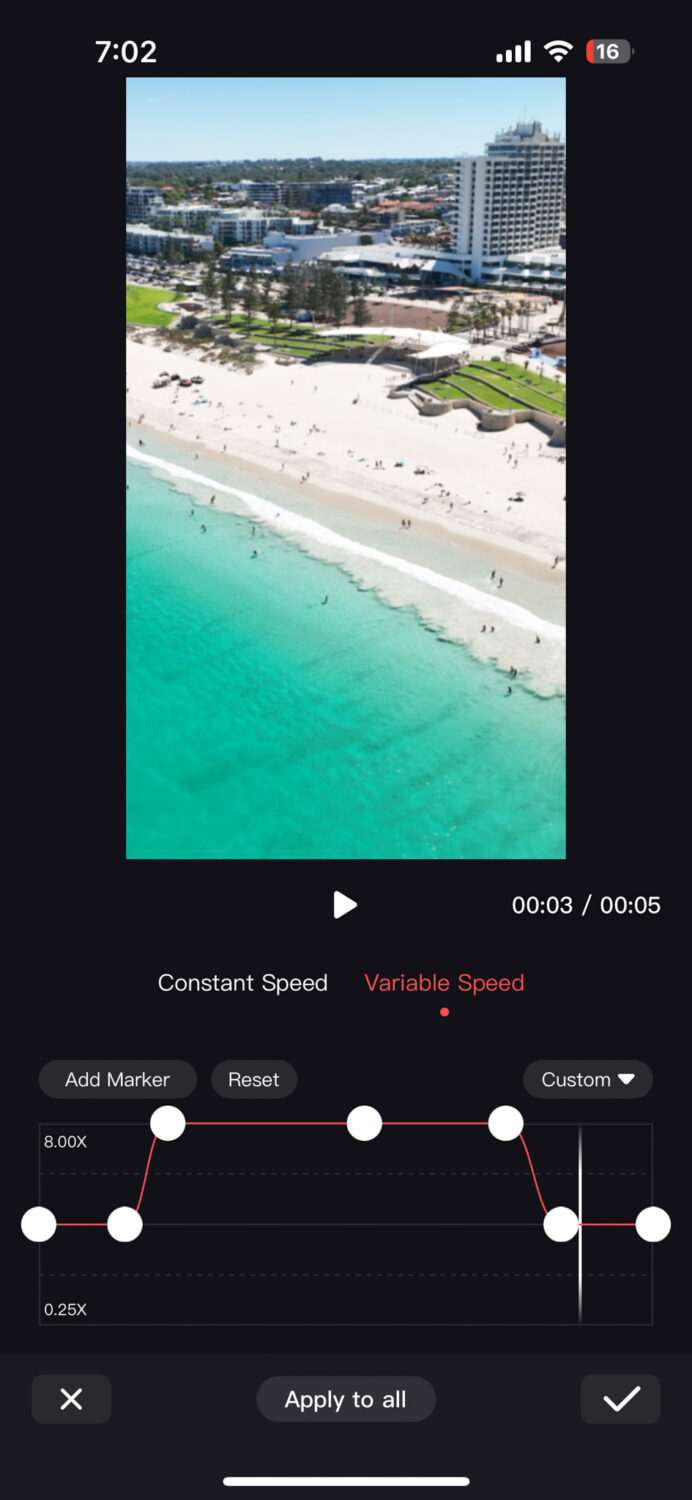
- In the edit screen click on speed then speed up or slow down the constant speed.
- Head to variable speed to create a speed ramp to speed up and slow down the video to create excitement(copy below pattern).
12. Saved Drafts
- If you want to save and come back to your work or revisit your old edits then click on drafts on the Home Screen.
13. Export your video
- Choose export settings based on your intended platform (e.g., 1080p for most social media, 4K for high-quality playback).
Tips and Tricks for Mastering LightCut Editing
There are always some new tricks to try when learning how to use LightCut. Use the explore tab on the home screen to watch quick previews of the different features LightCut has.
Optimizing Video Quality for Different Social Platforms
Different platforms need different video settings for the best viewing. When you export your videos from LightCut, think about which platform you will export to.
Change the resolution and frame rate to fit their needs. Short videos for YouTube Shorts do well in vertical format. A cinematic landscape format works better for platforms like YouTube.
Social Media Aspect Ratios
Instagram story: 16:9
Reel: 16:9
Post: 5:4
TikTok: 16:9
Pinterest pin: 5:4
YouTube: 16:9
Which Drone Camera Settings Should you Use?
Choosing the right camera settings on your DJI drone, like the DJI Mini 4 Pro or DJI Mavic 3 Pro, can make a big difference in capturing beautiful cinematic drone videos.
If you want cinematic videos, go for a lower frame rate like 24fps. But if you are filming fast action or smooth footage, a higher frame rate like 60fps is better for DJI products like the DJI Mini 3 Pro or DJI Air 3.
5 Drone Camera Tips
Here are 5 essential drone camera settings to focus on for capturing high-quality footage:
- Resolution and frame rate: Choose between 4K at 30fps for highest detail, or 4K at 60fps for smoother motion. Match your frame rate to your intended playback speed.
- ISO: Keep this as low as possible (usually 100-400) to minimize noise. Increase only when necessary in low light conditions.
- Shutter speed: Use the 180-degree rule – set your shutter speed to approximately double your frame rate (e.g., 1/60 for 30fps) for natural motion blur.
- White balance: Set manually based on lighting conditions instead of using auto. This ensures consistent color temperature across your footage.
- Histogram: Enable the histogram display on your controller to ensure you’re not clipping highlights or crushing shadows.
Remember, subtle adjustments often yield the most professional results. Take your time to fine-tune each edit, and don’t be afraid to play are with different things like manual editing instead of using presets.
To learn how to take great shots with your drone and general drone flying tips then checkout this article here.
Conclusion
I hope this article has taught you a thing or two about how to use LightCut. Now you are ready to produce some amazing videos with your Google Pixel or iPhone.
LightCut is an incredible app that brings your drone footage to life whilst on the go.
It has a small learning curve that the average mobile user can pick up easily after a few tries. Don’t forget the explore tab to learn new tricks as well as one tap edit to quickly create a video.
Frequently Asked Questions
Can I Use LightCut for Editing Footage from Non-DJI Drones?
LightCut is designed for DJI drones, but you can also use it to edit videos from non-DJI drones. This flexibility makes it a useful tool for many people who love to fly drones and make videos.
What’s the Best Software to Edit Photos?
Lightroom is ideal for drone photography due to its powerful RAW processing capabilities, efficient batch editing for large sets of aerial shots precise colour and exposure controls to enhance sky and landscape details.
It also has new AI features that speed up the editing process like removing unwanted subjects in two clicks.
Which Software do you use to Edit Drone Videos on Mac?
Premiere Pro is my go to video editor on the Mac. It supports high-resolution video (4K/8K), has advanced colour correction for aerial shots, effective and easy-to-use stabilization tools to stop shaky footage, and integrates with all my other Adobe software like Lightroom or Adobe Express.
