In video editing, getting smooth and steady videos is important for a professional look. If your footage shaky, don’t worry. Adobe Premiere Pro, a top video editing software, can help you.
With the Warp Stabilizer tool you can easily fix shaky videos into steady ones. This will allow you to use your footage instead of throwing it in the bin.
In this guide, we will look at how to use Premiere stabilizer to fix shaky footage.

Premiere Pro Free Trial
You can download Premiere Pro here which comes with a free trial.
Beginner’s Guide to Using the Warp Stabilizer
Premiere Pro’s Warp Stabilizer is a helpful tool for fixing shaky video. This feature works well if you filmed while moving or had unsteady hands. It smooths out bumps by looking at your footage one frame at a time. It finds unwanted motion and adjusts it for a steadier video.
With easy-to-use controls and strong algorithms, Warp Stabilizer lets you make quick fixes or detailed tweaks. You can choose to remove all motion or keep some natural camera movement by reducing small shakes.
Whatever your skill level in video editing, using the warp stabilizer is easy to use with just a few clicks.
What You Will Need to Get Started
First, make sure you have Adobe Premiere Pro on your computer. If you don’t have it, you can download a free trial from Adobe’s official website.
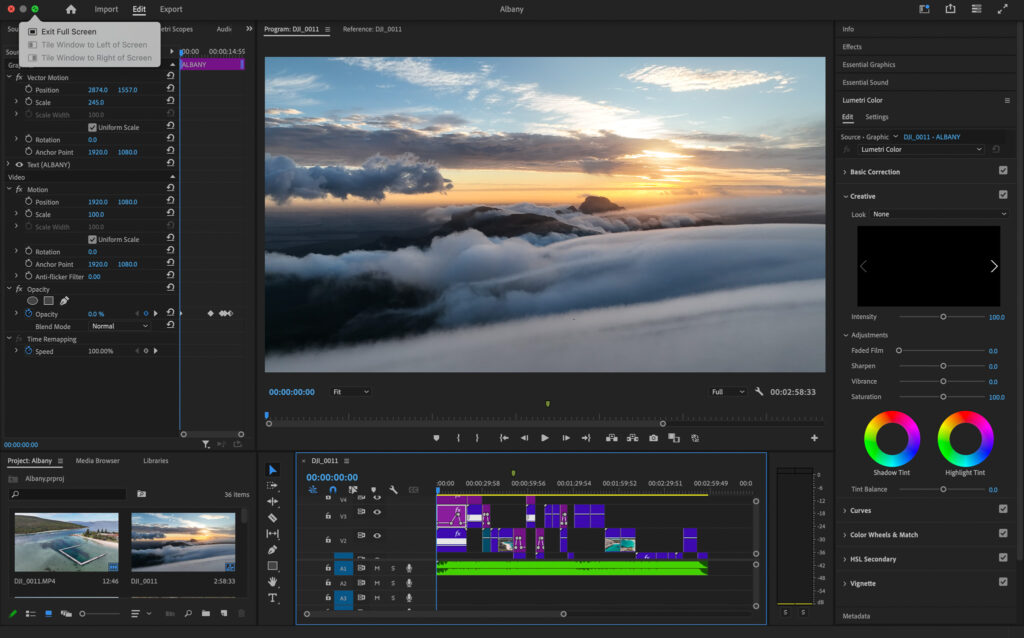
After you open Premiere Pro, take some time to learn its interface. Pay close attention to the timeline and the effects panel. The timeline helps you arrange and edit your video clips.
The effects panel has many tools, including the Warp Stabilizer. With these tools, you are ready to start stabilizing your video.
1. Import Your Video into Premiere Pro
To start fixing your shaky video footage, you must import it into Adobe Premiere. Find the video clip on your computer and add it to your Premiere Pro project.

2. Apply the Warp Stabilizer Effect
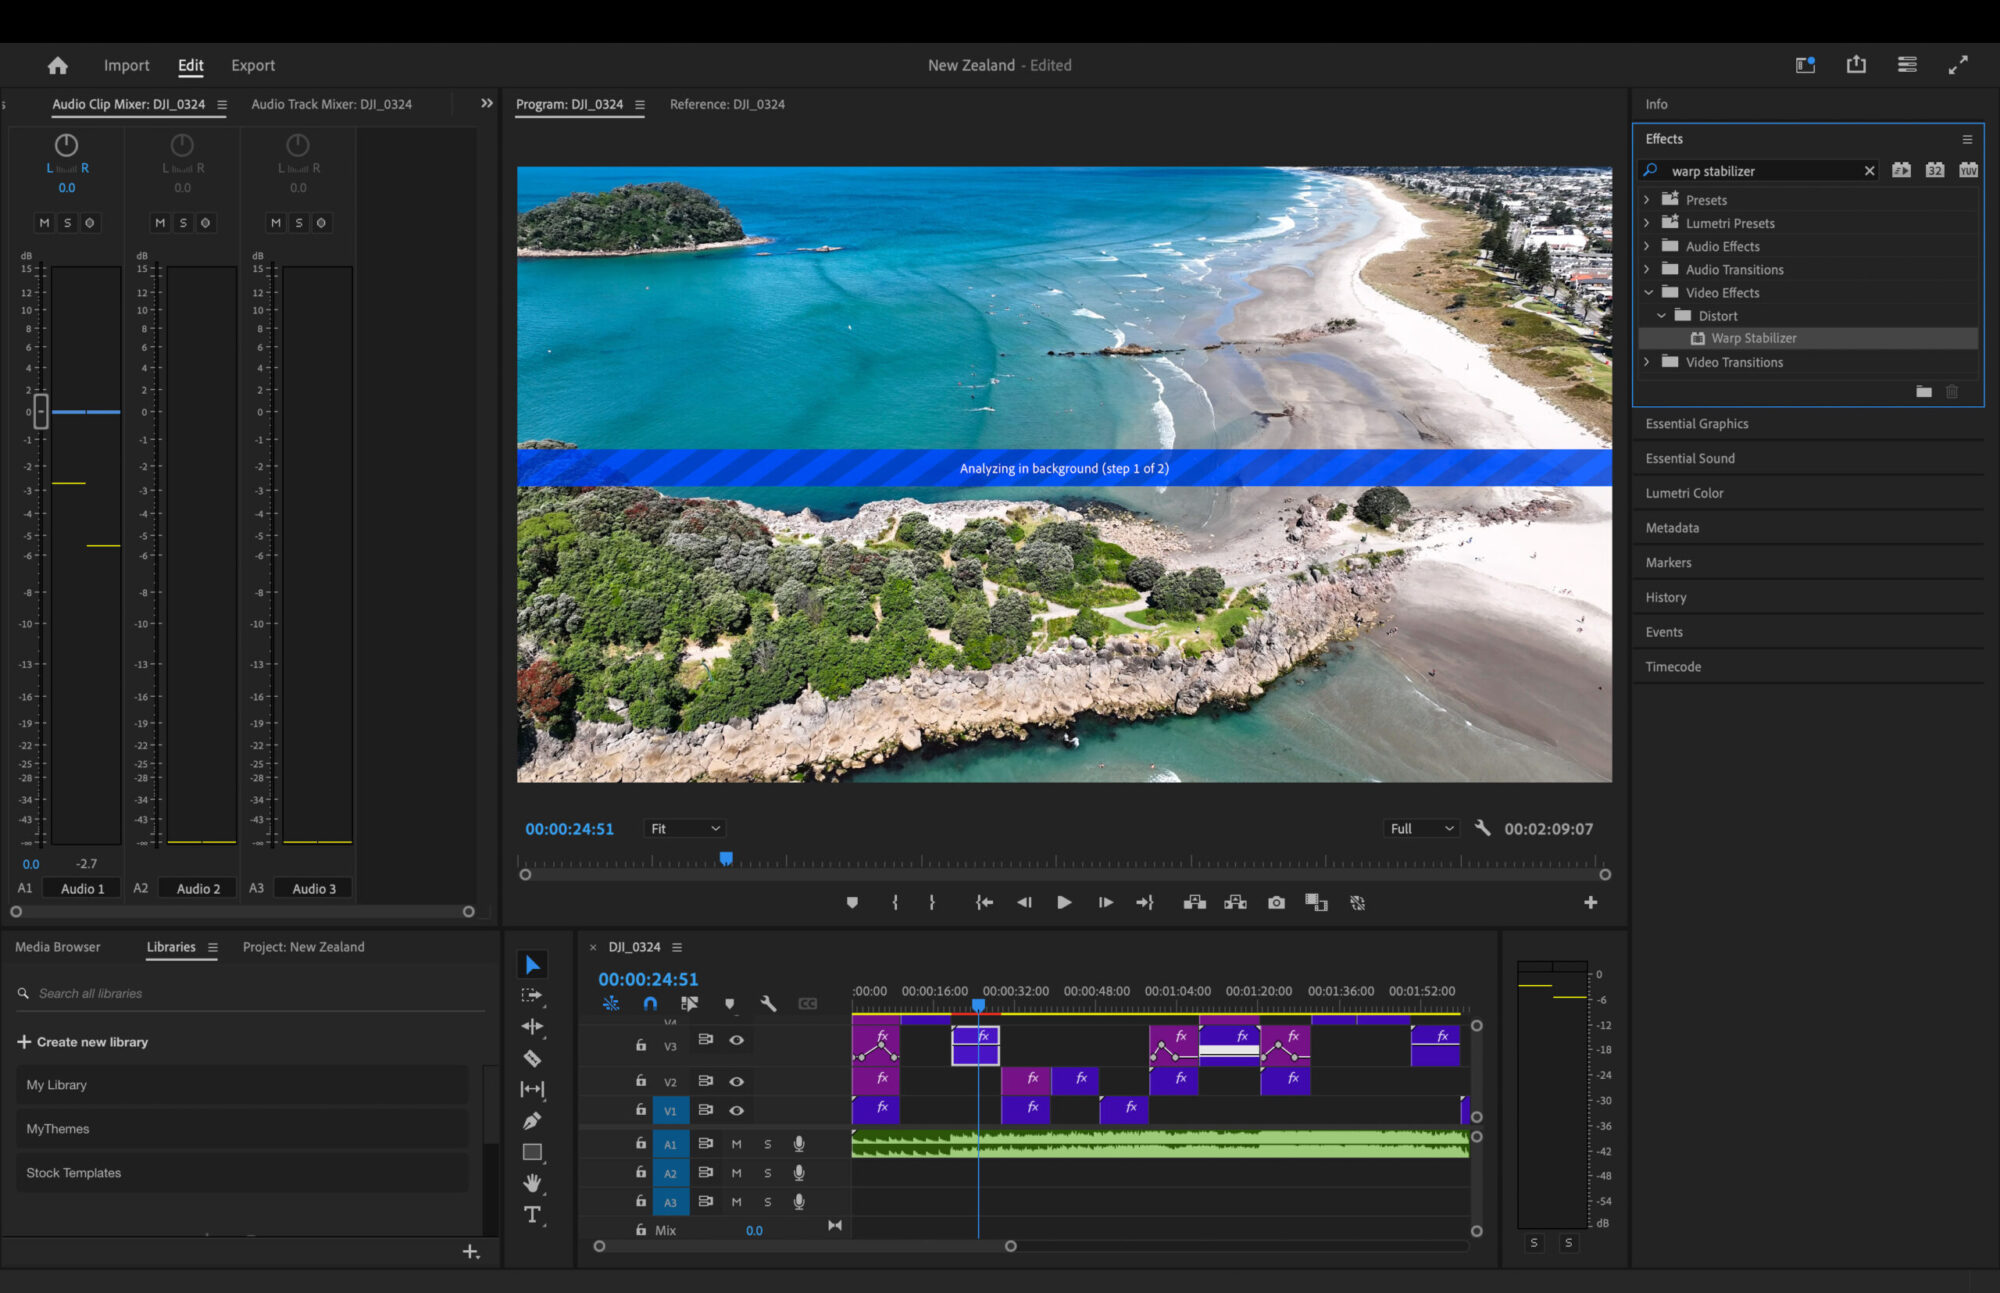
In the effects panel, go to the “Video Effects” tab at the top right. Search for “Warp Stabilizer.” Apply the Warp Stabilizer effect to your video by dragging and dropping it onto the video clip in the timeline.
Once you apply the effect, Premiere Pro starts analyzing the footage to find spots that need stabilization. A blue banner in the effect controls panel says, “analyzing in the background.”
This analysis might take some time depending on how long and complex your clip is. But in the end, it will be worth it for a smooth and cinematic look.

3.Adjusting Warp Stabilizer Settings
A key setting to tweak is “Smoothness.” If you raise the smoothness, it reduces shakiness but can cause some warping in your footage.
Try out different smoothness levels to find a good mix between stability and a natural look. Lower values will keep the original camera movement, while higher values will give you a smoother feel. However, higher values might make it look less real.
Preparing How to use Premiere Stabilizer
Good preparation helps you stabilize your video in Premiere Pro. This makes your editing work easier and your results better. Before you start fixing your footage, make sure your project is set up correctly.
This means you should have the right equipment, the software you need, and a clear project layout. Taking these steps will help you edit smoothly and use Premiere Pro’s stabilization tools effectively.
Essential Equipment and Software Requirements
If you are just wanting to use Premiere Pro to stabilize your video and make short videos then you can do this with most computers. If you’re wanting to make longer videos with transitions and effects then you will need a fairly decent computer.
Here is a breakdown of Adobe Premiere Pro system requirements:
1. Operating System
- Windows: Windows 10 V22H2 or newer
- macOS: macOS Monterey or later
2. Processor (CPU)
Entry-level:
- Windows: Intel 6th Gen+ or AMD Ryzen 1000 Series+
- macOS: Intel 6th Gen+ or Apple M1+
Pro-level:
- Windows: Intel 11th Gen+ with Quick Sync or AMD Ryzen 3000 Series/Threadripper 2000 Series+
- macOS: Apple silicon M1+
3. Memory (RAM)
- Basic: 8 GB
- HD editing: 16 GB
- 4K+ editing: 32 GB or more
- macOS with Apple silicon: 16 GB unified memory (recommended)
4. Graphics (GPU)
- Minimum: 2 GB VRAM
- HD/light 4K: 4 GB VRAM
- Intensive 4K+: 6 GB+ VRAM
5. Storage
- Installation space: 8 GB + extra for setup
- Optimal performance: Fast internal SSD for app and cache
6. Display
- Minimum resolution: 1920 x 1080 (Full HD)
7. Audio (Windows-specific)
- ASIO compatible or Microsoft Windows Driver Model
8. Network Connectivity
- Standard: 1 Gigabit Ethernet
- 4K shared workflow: 10 Gigabit Ethernet
Note: Actual performance may vary based on project complexity, media formats, and concurrent applications. Regular software updates may alter these requirements.
How Premiere Pro’s Stabilization Tools Work
Premiere Pro has stabilization tools that use smart algorithms. They look at each frame in your video. These tools find objects and track how they move.
One of these smart algorithms is called “Subspace Warp.” It focuses on the most important parts of the frame and uses selective warping to help with unwanted motion.
Besides Subspace Warp, Premiere Pro has options like “Smooth Motion.” This option keeps the original camera movement but lessens shakiness. There is also “No Motion,” which takes out all camera movement to create a still effect.
Capturing Smooth Video: From Handheld to Drone
The best way to achieve stable footage is to prevent shake from the outset. For handheld footage, consider using a gimbal like the DJI Osmo series.
These powerful tools use advanced algorithms to counteract your hand’s movements, resulting in incredibly smooth shots. The gimbal’s rotation and position data work in real-time to keep your camera steady, removing the need for post-processing.
Most modern drones come with built-in stabilization. However, mastering your drone’s advanced settings can lead to even better results. Experiment with parameters like sensitivity sliders to fine-tune the drone’s responsiveness to your controls.
Key tips for smoother footage:
- Use a gimbal or tripod whenever possible
- For drones, practice smooth control inputs
- Hold your iPhone or handheld camera with both hands for better stabilzation
- Tuck your elbows into your body to reduce movement.
- Lean against a wall or rest your arms on a sturdy object.
Remember, while software can do much work, it’s always better to capture stable footage initially.
Now that you have fixed your shaky video, it’s time to add text or maybe subtitles to your video to increase engagement.
Wrap Up
You now know how to fix shaky video with Premiere Pro and next we need to use the correct export settings for YouTube . If you follow the outlined steps and understand stabilization tools, your videos will improve a lot.
Adobe Premiere Pro is an amazing video editing software that has a lot of great tools and effects. Check out my other articles on how to edit using Premiere Pro to see what else it can do.
Frequently Asked Questions
How Do I Create a Speed Ramp?
To create a speed ramp in Premiere Pro, select your clip and enable Time Remapping in the Effect Controls panel.
Then, add keyframes at the points where you want the speed to change, and adjust the speed graph between these keyframes to create smooth transitions from normal speed to fast or slow motion.
Can I Stabilize 4K Video in Premiere Pro?
Adobe Premiere Pro’s Warp Stabilizer is a strong tool. It can help you stabilize 4K videos. Remember, stabilizing high-resolution videos takes a lot of processing power and time.
You What’s the Best Video Editing Software for Drone Footage?
Adobe Premiere Pro is rated as one of the best drone editing software with robust stabilization, and color grading and supports 8K video. Premiere Pro has a free trial which enters into a paid subscription.
LightCut dominates mobile editing, featuring automatic editing for quick, professional results. LightCut is the recommended software by DJI and is free to use whilst supporting 4K footage.
Where is Warp Stabilizer in Premiere Pro?
You can find the Warp Stabilizer in Premiere Pro. Just go to the effects panel. Click on “Effects,” then “Video Effects,” and look for “Distort.” There, you will see the Warp Stabilizer effect that can help smooth out shaky clips.
