Turn your aerial shots into engaging videos with no no-nonsense guide on how to edit drone video in Premiere Pro. In this article I’ll teach you essential editing techniques and start off with some drone flying tips.
Why listen to me? I’ve got over six years experience of flying drones around the world (mostly in Australia) as well as editing the footage.
Whether you’re a beginner or looking to improve your skills, these tips will sure bring some zing into your videos. Now let’s begin.
Premiere Pro Free Trial
You can download Premiere Pro here which comes with a free trial.
How to Take Top Quality Drone Videos With Your Drone
Theres only so much you can polish a turd so let’s start by preventing those turds from happening.
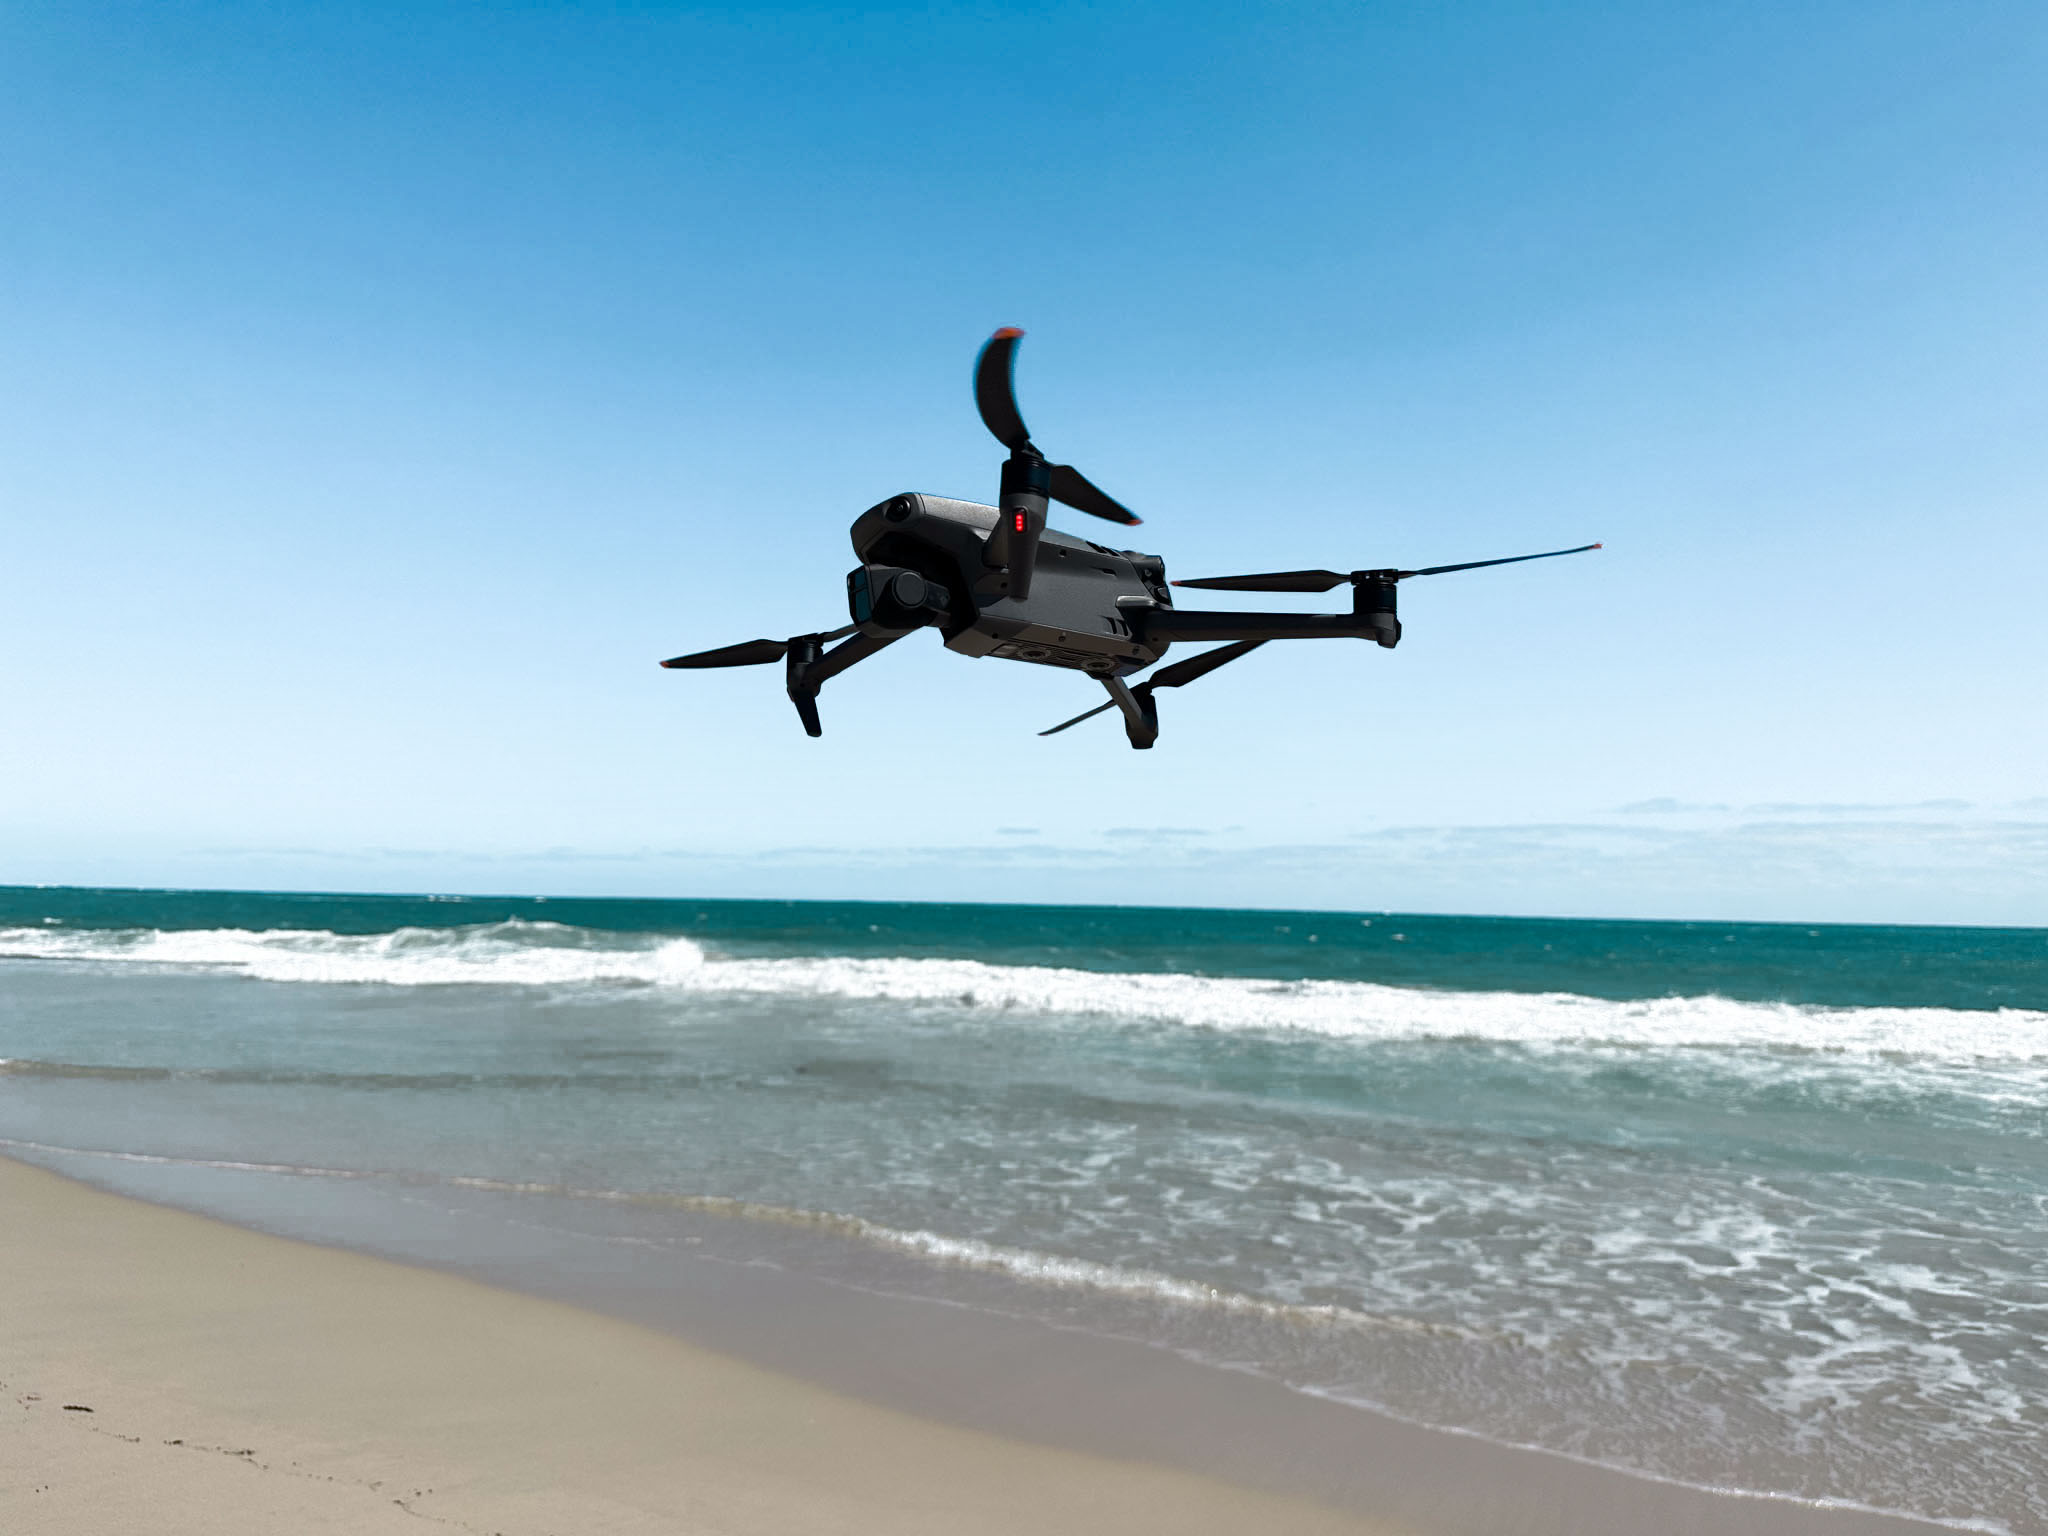
Here are some key tips for capturing stunning aerial views with your DJI Mini 4 Pro or likewise.
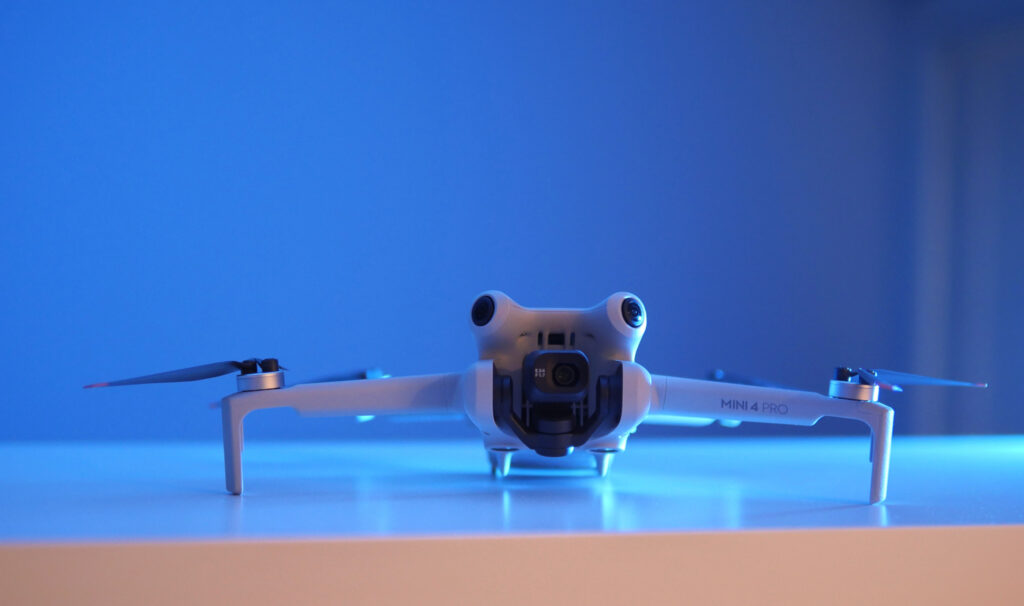
1. Camera settings
- Use a neutral colour profile for more flexibility in post-production
- Set your frame rate to 24fps for a cinematic look, or 60fps for smooth slow motion
- Keep shutter speed at roughly double your frame rate (e.g., 1/50 for 24fps)
- Use a low ISO to minimize noise, ideally 100-400
- Set aperture based on desired depth of field, typically f/2.8-f/4 for drones
2. Resolution
- Shoot in 4K if your drone supports it, even if you’ll deliver in 1080p
- This allows for cropping and reframing in post-production
3. Smooth movements
- Use gentle stick movements for fluid shots
- Use intelligent flight modes like orbits and cinematic mode for consistent motion
4.Composition
- Follow the rule of thirds
- Include foreground elements for depth
- Add gridlines in settings to keep subjects in the centre
5. Lighting
- Golden hour (just after sunrise or before sunset) often provides the best natural lighting
- Avoid shooting directly into the sun unless going for a specific effect
6. Planning
- Scout locations beforehand using satellite imagery
- Plan your shots and flight paths in advance
- Fly to your furthest destination first and work your way back to avoid running out of battery
7. Practice
- Regularly practice basic maneuvers to improve your piloting skills
- Watch YouTube videos and follow drone operators on Instagram to see what kind of shots they take
A Beginner’s Guide: How to Edit Drone Video in Premiere Pro
This quick tutorial is perfect for beginners and will make the whole process a lot smoother for you. I go into more depth later on in the article.
You’ll need to add your drone footage to your computer by placing the sd card into an sd card reader. I use the MacBook Pro M1 which has the SD card reader slot unlike some of the previous Mac models.
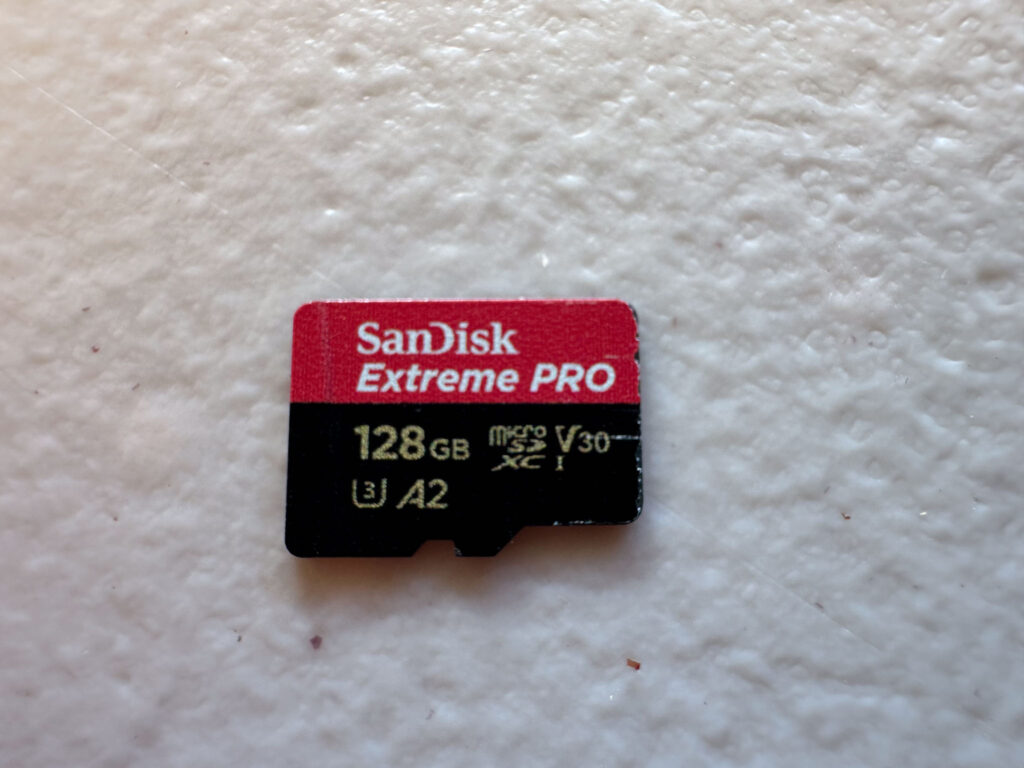
I use the Sandisk Extreme Pro which is recommended to process 4K drone footage within your drone.
1. Import your footage
- Download Premiere Pro on your Mac or Windows computer
- Open Premiere Pro and create a new project
- Go to File > Import or drag and drop your drone footage into the Project panel
2. Create a sequence
- Right-click on your first clip in the Project panel
- Select “New Sequence from Clip” to match your footage settings
3. Add Music
To match up the music nicely with your clips, try making the audio track bigger on the timeline so you can see where to cut or transition smoothly with the beat.
- Add royalty free music from websites like Epidemic Sound, Soundstripe or Adobe Stock
- Pick a music track that fits well with the look and feel of your drone shots
- We will then cut our clips and align to the flow of the music
4. Review and select clips
- Double-click each clip in the Project panel to preview in the Source Monitor
- Mark in and out points for the best sections using “I” and “O” keys
5. Assemble your rough cut
- Drag selected clips from the Source Monitor to the Timeline
- Arrange clips in your desired order
6. Trim and adjust clips
- Use the Razor tool (C) to split clips
- Drag clip edges to adjust duration
- Use the Rolling Edit tool (N) to adjust cut points between clips
7. Add transitions
- Go to the Effects panel and locate Video Transitions
- Drag and drop transitions between clips (e.g., Cross Dissolve or dip to black at the end of your last clip)
8. Colour correction
- Open up the lumetri colour scope in the top left of the screen
- Select a clip in the Timeline
- Go to the Lumetri Colour panel
- Adjust exposure, contrast, highlights, shadows, saturation and colour balance
9. Stabilize shaky footage
I go into more depth further down the article
- Right-click on a clip in the Timeline
- Choose “Warp Stabilizer” from the Effects menu
- Adjust settings as needed
10. Add text and graphics
Adding text and titles to your video is essential to show the viewer what the video is about as well as adding subtitles for people who could be deaf.
- Use the Type tool (T) to add titles or captions
- Import and place logos or other graphics as needed
- Make title large and place in the centre or in a corner
- Screenshot the title in full screen view mode to use as a YouTube thumbnail
11. Adjust audio
- Lower or remove propeller noise using the audio track mixer
- Add background music if desired
12. Apply speed changes (optional)
Speed ramping is a great way to keep your viewers excited.
- Right-click on a clip and select “Speed/Duration”
- Adjust speed percentage or enable time remapping for dynamic changes
- You may want to lower the volume of the music if you are talking over your video
13. Add Sound Effects
Throwing in some sound effects could also boost specific moments in your drone videos like capturing takeoff sounds, the rustle of wind, or waves hitting against rocks.
14. Export your final video
We dive into the best drone export settings further down in the article.
Download and use media encoder for the post processing to allow queuing for multiple exports.
- Go to File > Export > Media
- Choose your desired format and settings
- Click “Export to media encoder”to render your final video
Advanced How to Edit Drone Video in Premeire Pro
After getting the hang of basic editing with drone footage in Premiere Pro, you’re ready to step up your game with some more complex techniques. These methods will help give your videos a polished look and grab people’s attention.
Premiere Pro has loads more advanced features for editing like colour adjustments, fancy transitions, and special effects that are worth trying out too.
How to Stabilise Shaky Drone Footage in Premiere Pro
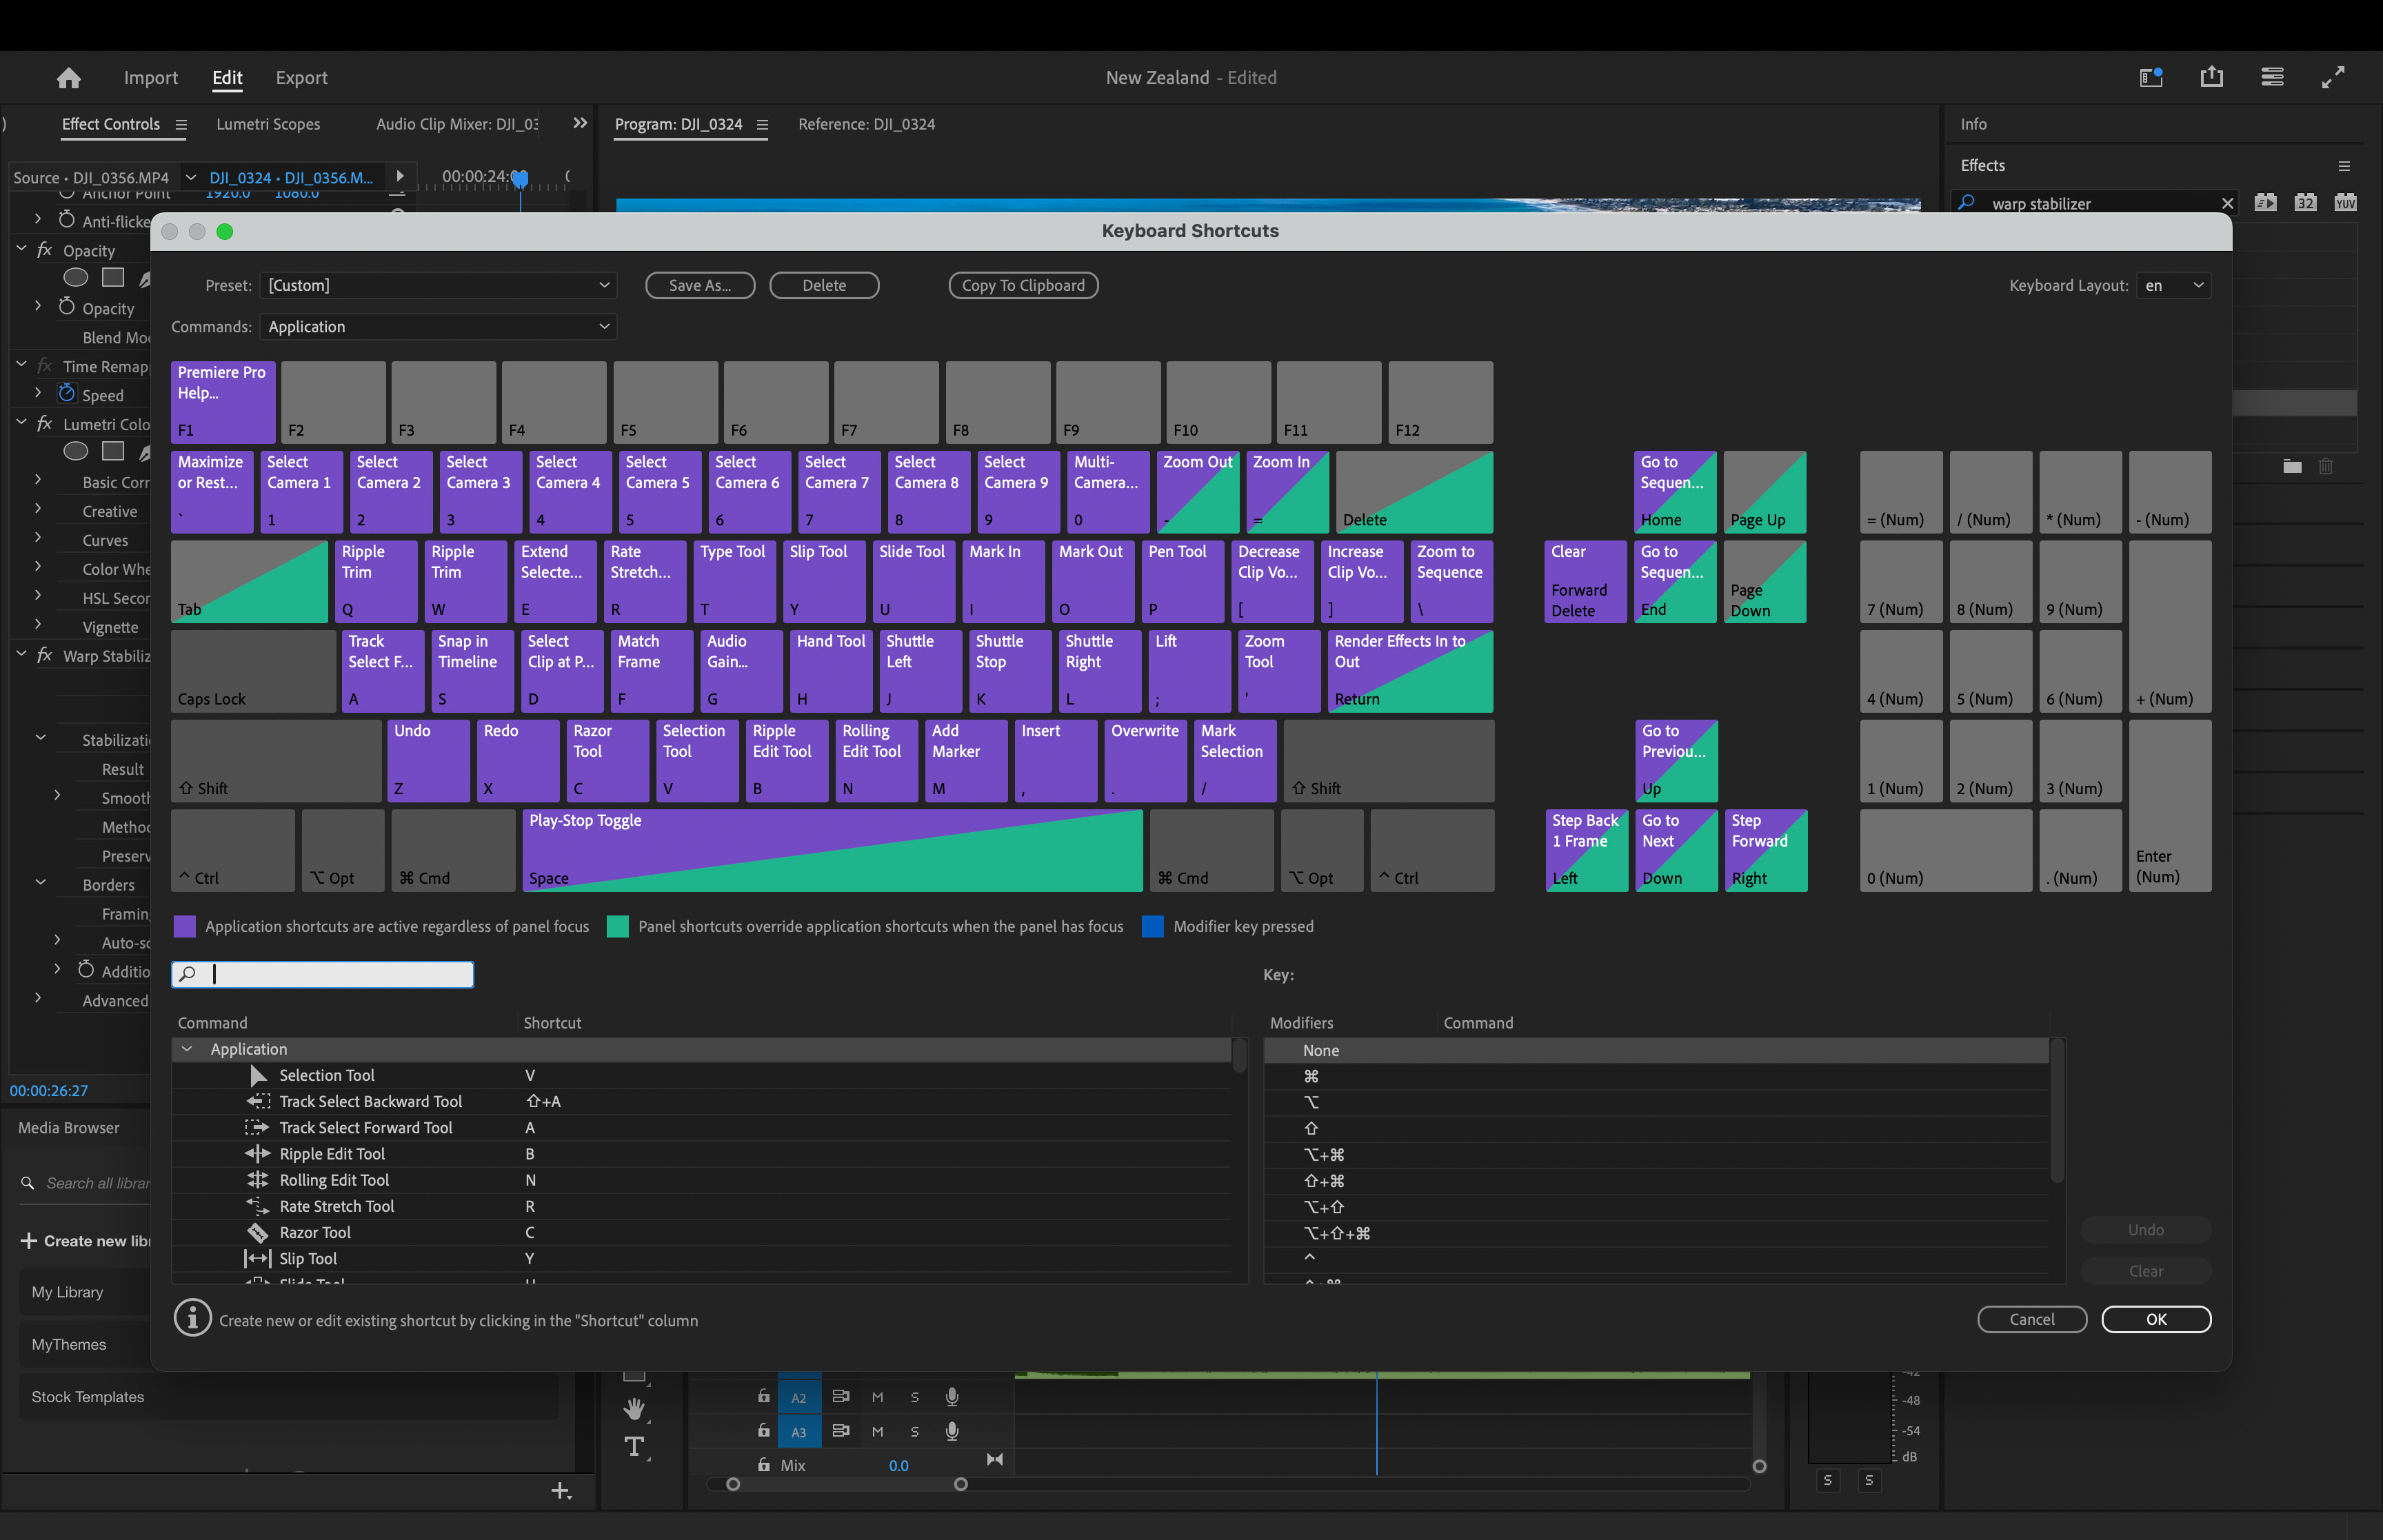
Look up “Warp Stabilizer” in the effects panel at the top right and drag it right onto your clip. Then, let Premiere do its thing—it’ll check out your footage and work on calming down those shakes.
If the shaking in your video is really bad or you want a specific look, you can play with Warp Stabilizer’s settings in the effects control(top left) like “Smoothness” or go for a “Detailed Analysis.”
Always make sure to watch how changes affect your video as some adjustments might make things look better or sometimes not quite right.
Using Short Keys in Premiere Pro on Mac
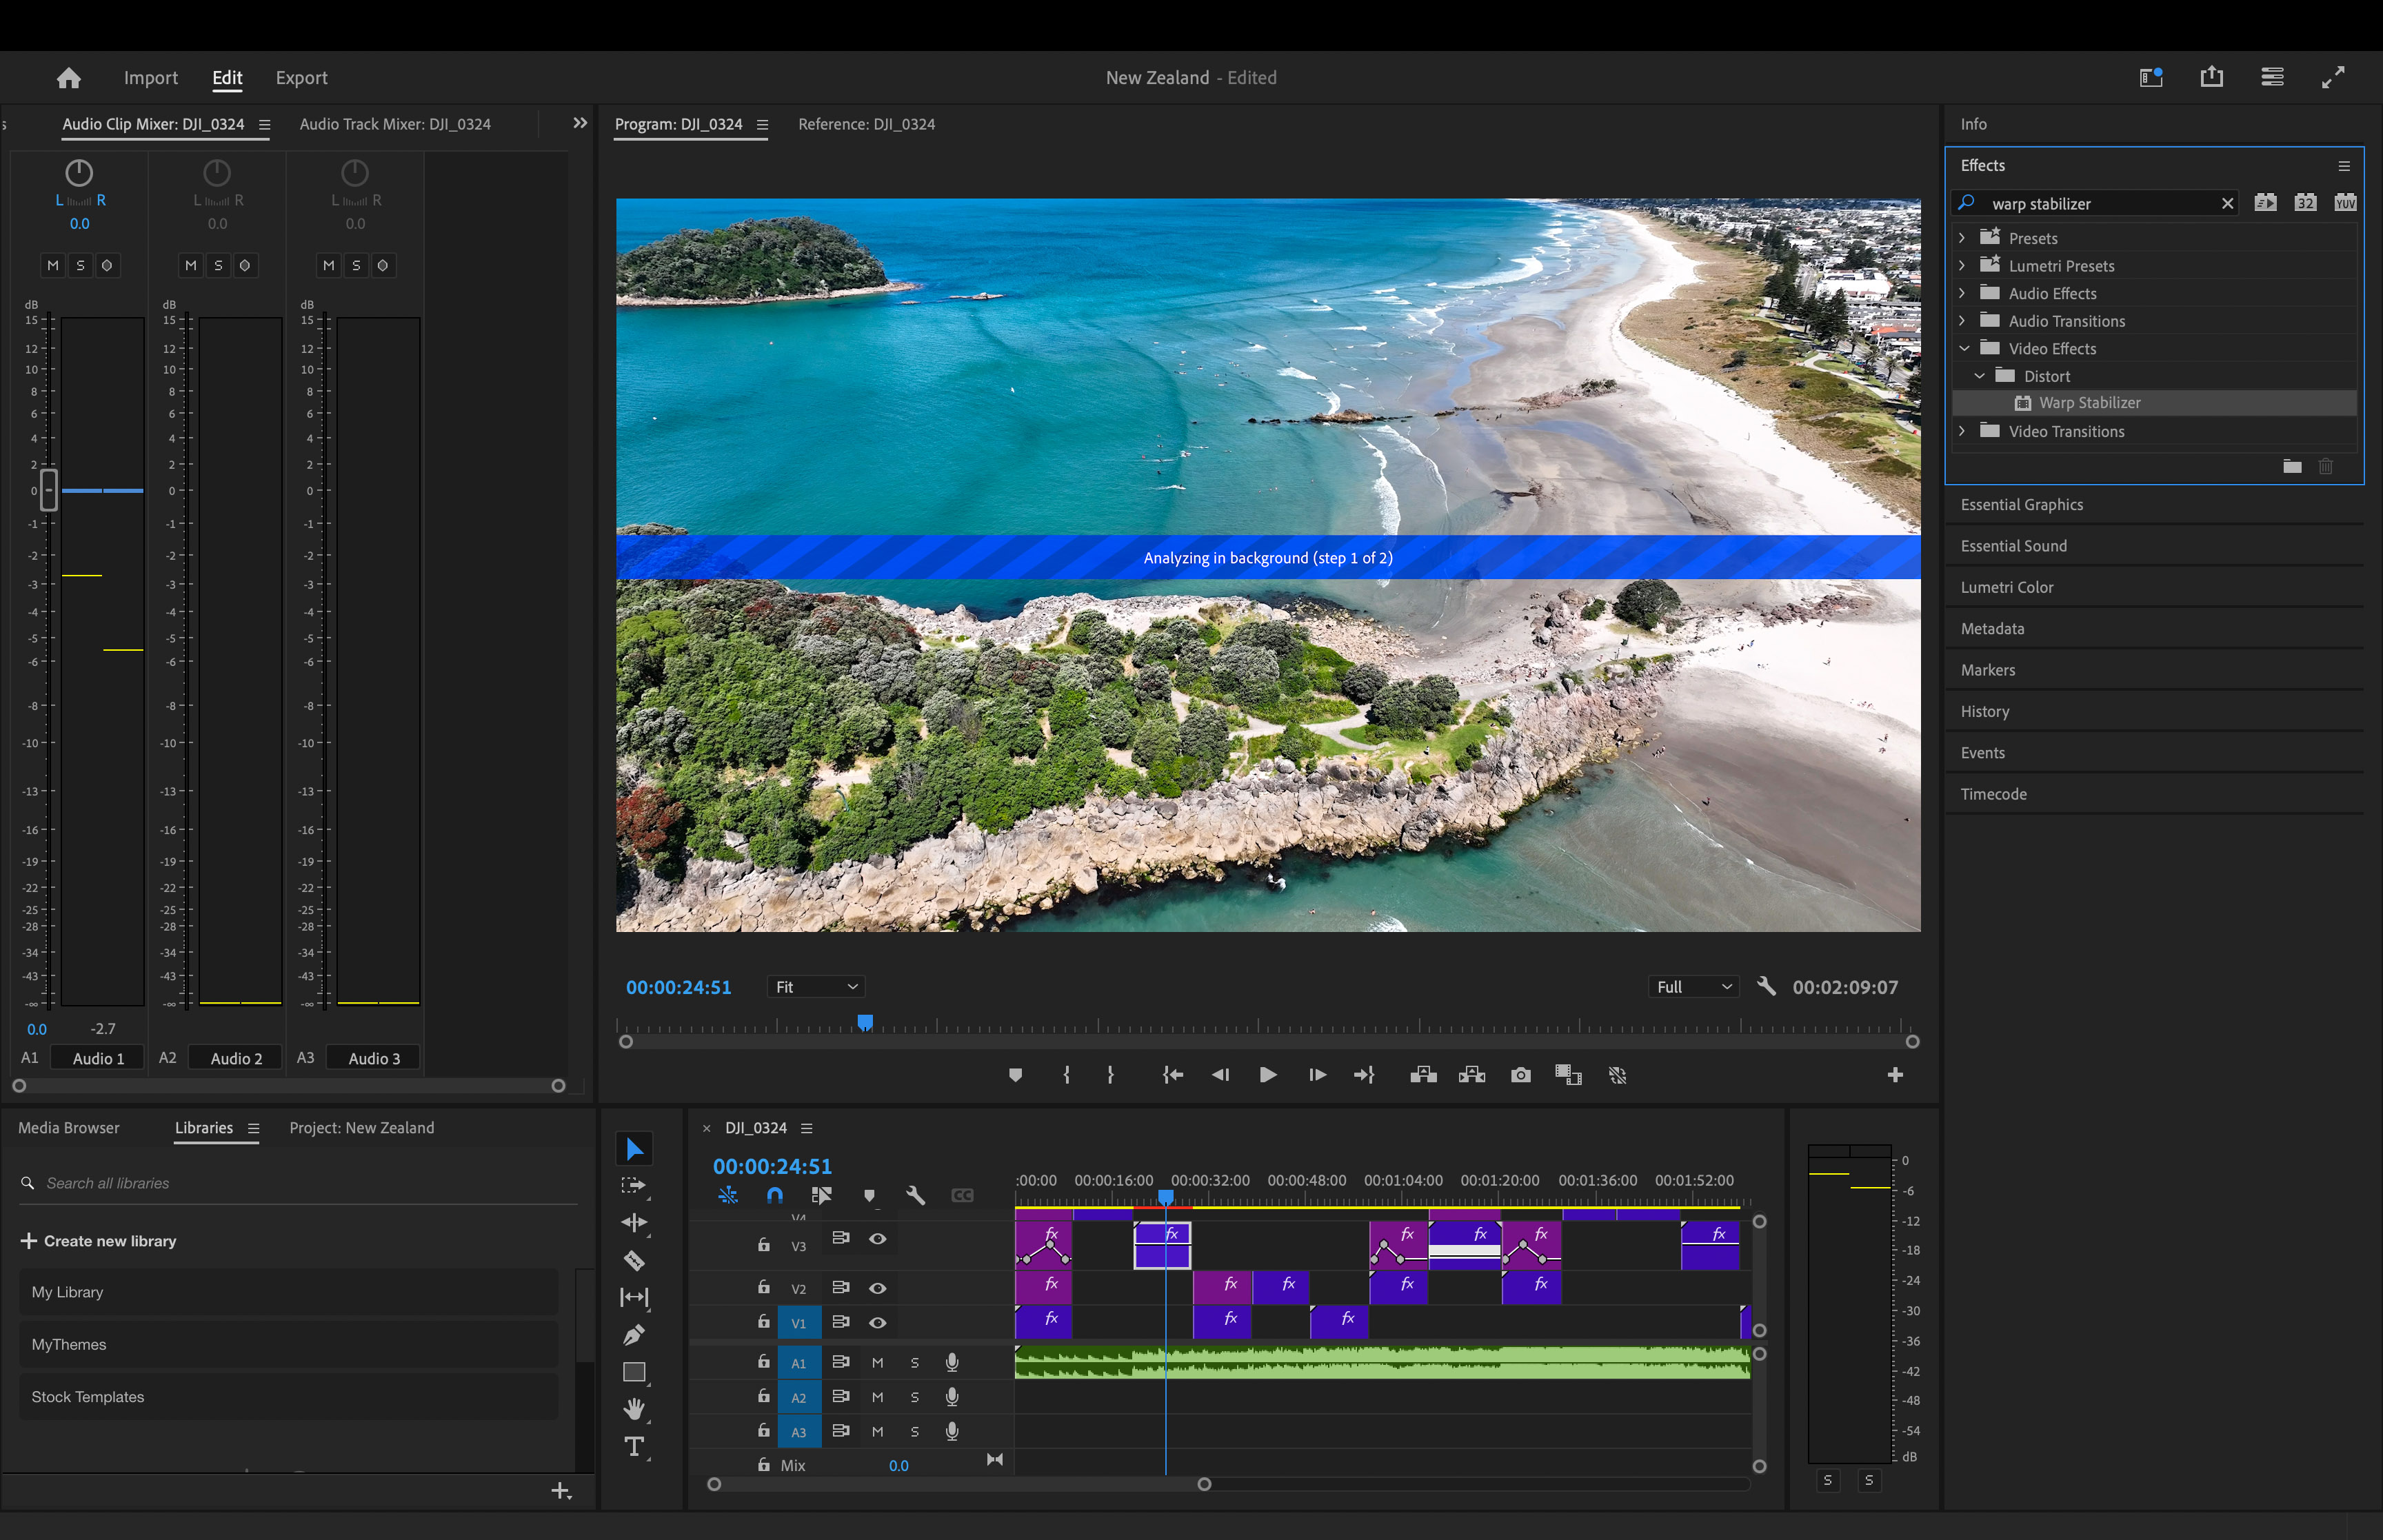
When learning how to edit drone video in Premiere Pro, short keys can save you a heap of time when they become second nature. Here are 10 of the essential short keys to learn on Mac:
- Spacebar: Play/Pause
- J/K/L: Reverse/Stop/Forward playback
- I/O: Set In/Out points
- Q/W: Ripple delete to In/Out point
- Command + K: Cut at playhead
- A: Selection tool
- V: Track select tool
- C: Razor tool
- M: Add marker
- Command + Z: Undo
You can open this keyboard image by clicking on Premiere Pro at the top left and going down to keyboard shortcut. These shortcuts can significantly speed up your editing workflow.
How to Use the Multicam Feature in Adobe Premiere Pro
Multicam editing in Premiere Pro simplifies working with multiple camera angles.
- Import your footage and create a multicam sequence by selecting clips and choosing “Create Multi-Camera Source Sequence.”
- Sync using audio, timecode, or in-points.
- Drag the multicam clip to your timeline and enable multicam view in the Program Monitor.
- Switch to multicam editing mode in the timeline.
- To edit, play the sequence and click on desired angles in the multi cam display or use number keys 1-9.
- Refine edits with the razor tool and by adjusting cut points.
- Finally, flatten the edit or keep it dynamic for future changes.
This technique speeds up editing for multi-camera productions, creating professional-looking results efficiently.
Best Export Settings: How to Edit Drone Video in Premiere Pro
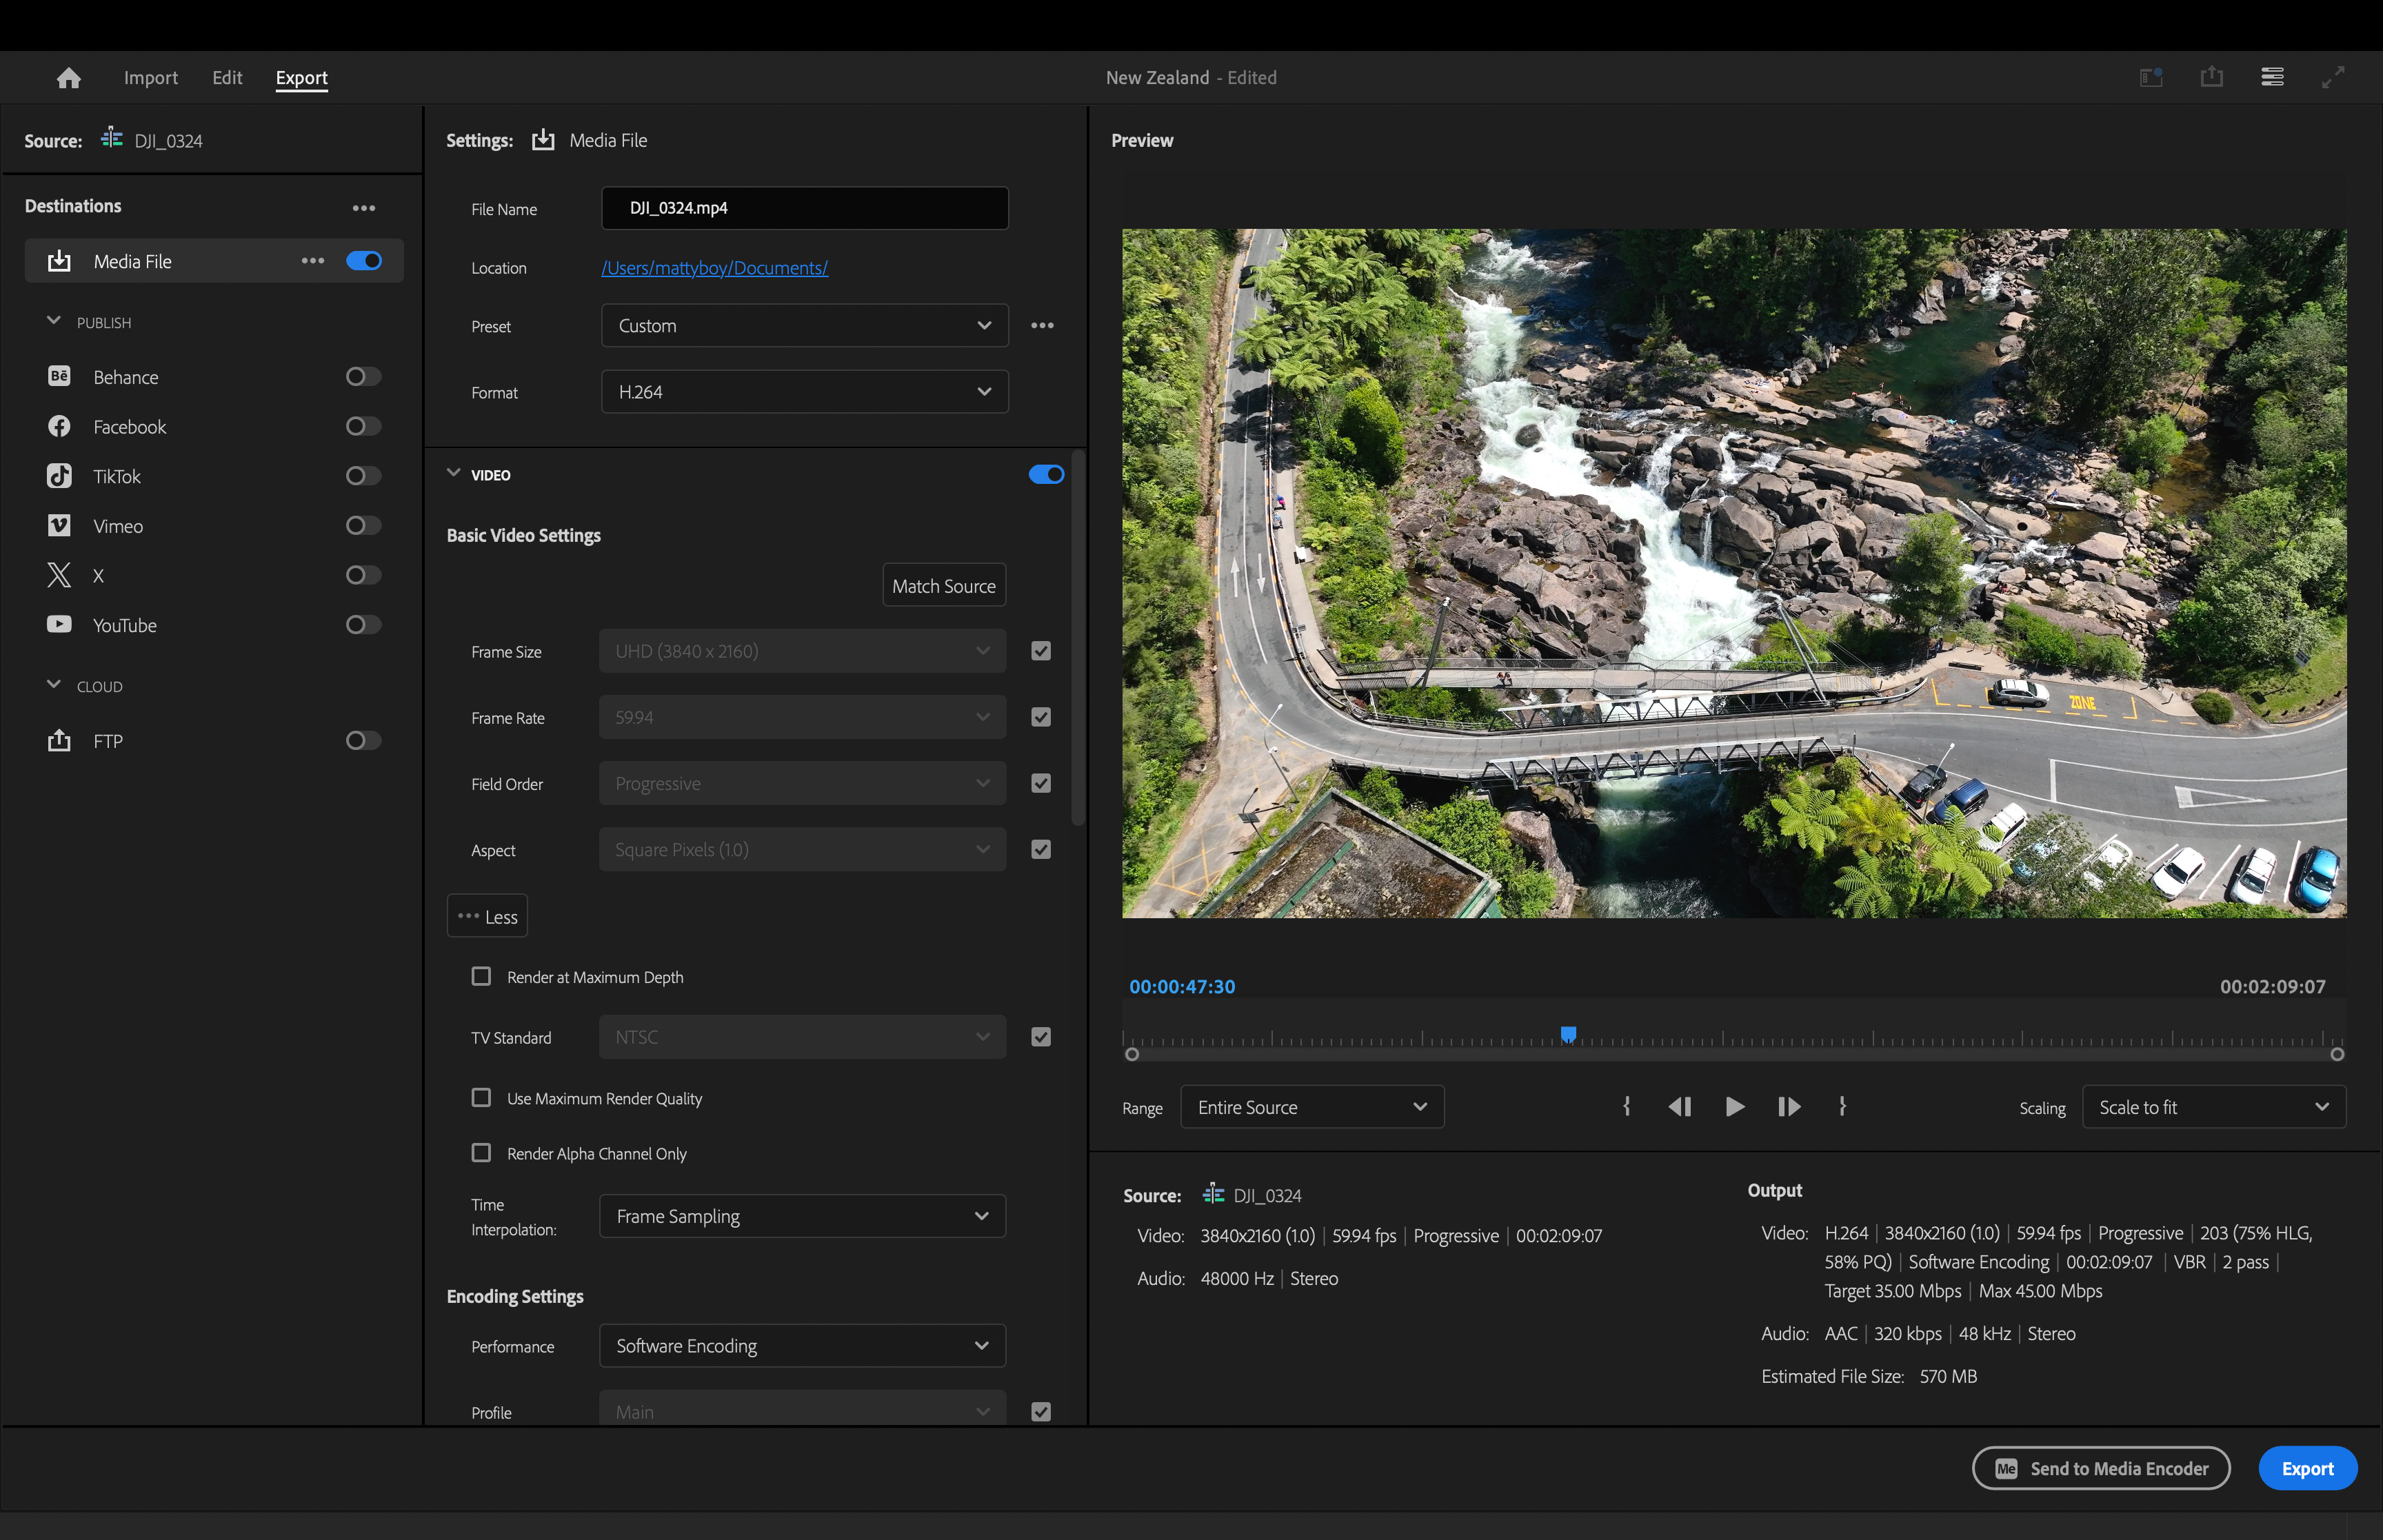
You’ve completed your video and now you’re ready to export. In most cases you’ll want to export using the highest quality settings which do require more storage space.
Here are the export settings I use for all my drone footage in Premiere Pro to retain full quality.
1. Format
H.264 or H.265 (HEVC)
- H.264 is more widely compatible
- H.265 offers better compression for 4K footage but requires more processing power
2. Resolution
Match your source footage (typically 1080p or 4K)
- 1920×1080 for Full HD
- 3840×2160 for 4K UHD
3. Frame Rate
Match your source footage (usually 24, 30, or 60 fps)
4. Field Order
Progressive
5. Profile
High
6. Level
- 5.1 (for 4K)
- 4.2 (for 1080p)
7. Bitrate Encoding
VBR, 2 Pass
8.Target Bitrate
- 1080p: 16-20 Mbps
- 4K: 35-45 Mbps
Maximum Bitrate: Set to 1.5x the target bitrate
9. Use Maximum Render Quality
Checked
10. Use Maximum Bit Depth
Checked
11. Use Frame Blending
Unchecked (unless you’ve used slow motion effects)
12. Colour
- Colour Space: Rec. 709 for HD/4K or Rec. 2020 for HDR
- Range: Full
12. Audio
- Format: AAC
- Sample Rate: 48000 Hz
- Channels: Stereo
- Quality: High
These settings will produce high-quality output suitable for most purposes, including online streaming and local playback. However, you may need to adjust them based on your specific requirements, such as file size limitations or delivery specifications.
For the absolute highest quality (but larger file sizes), you could consider exporting to ProRes 422 or DNxHR, which are professional intermediate codecs. These are ideal for further editing or colour grading but result in much larger files.
Edit Drone Video on Mobile App with Adobe Rush
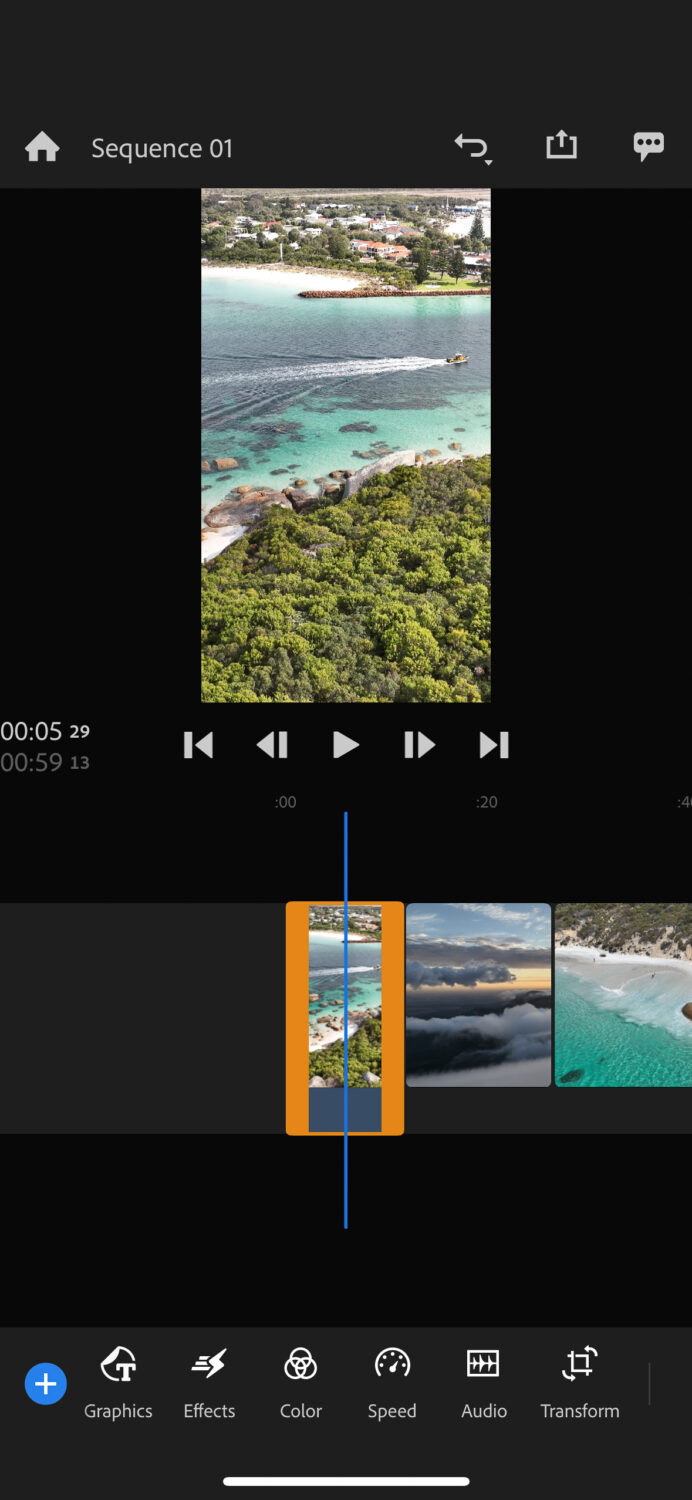
Adobe Rush is a streamlined video editing app designed for mobile devices. It’s a simplified version of Premiere Pro that I like to use for creating Instagram videos or TikTok’s whilst on the go.
It has a simple interface with intuitive touch controls, ideal for smartphones and tablets. The app supports multi-track editing, enabling users to work with video, audio, and graphics simultaneously.
Key features include basic cutting and trimming tools, color adjustment presets, audio mixing capabilities, and a selection of motion graphics templates. Rush is included in the subscription of Premiere Pro.
Essential Equipment and Software Requirements
If you are just wanting to use Premiere Pro to stabilize your video and make short videos then you can do this with most computers. If you’re wanting to make longer videos with transitions and effects then you will need a fairly decent computer.
Here is a breakdown of Adobe Premiere Pro system requirements:
1. Operating System
- Windows: Windows 10 V22H2 or newer
- macOS: macOS Monterey or later
2. Processor (CPU)
Entry-level:
- Windows: Intel 6th Gen+ or AMD Ryzen 1000 Series+
- macOS: Intel 6th Gen+ or Apple M1+
Pro-level:
- Windows: Intel 11th Gen+ with Quick Sync or AMD Ryzen 3000 Series/Threadripper 2000 Series+
- macOS: Apple silicon M1+
3. Memory (RAM)
- Basic: 8 GB
- HD editing: 16 GB
- 4K+ editing: 32 GB or more
- macOS with Apple silicon: 16 GB unified memory (recommended)
4. Graphics (GPU)
- Minimum: 2 GB VRAM
- HD/light 4K: 4 GB VRAM
- Intensive 4K+: 6 GB+ VRAM
5. Storage
- Installation space: 8 GB + extra for setup
- Optimal performance: Fast internal SSD for app and cache
6. Display
- Minimum resolution: 1920 x 1080 (Full HD)
7. Audio (Windows-specific)
- ASIO compatible or Microsoft Windows Driver Model
8. Network Connectivity
- Standard: 1 Gigabit Ethernet
- 4K shared workflow: 10 Gigabit Ethernet
Note: Actual performance may vary based on project complexity, media formats, and concurrent applications. Regular software updates may alter these requirements.
Conclusion
Learning how to edit drone video in Premiere Pro takes time but will bring great rewards. Be patient and stick at it, when you get the hang of it you will enjoy the process a lot more.
Editing drone footage becomes one of the most fun parts of the drone experience, it’s the final part of all the hard work and practice you put into flying your drone.
Enjoy your editing and happy flying.
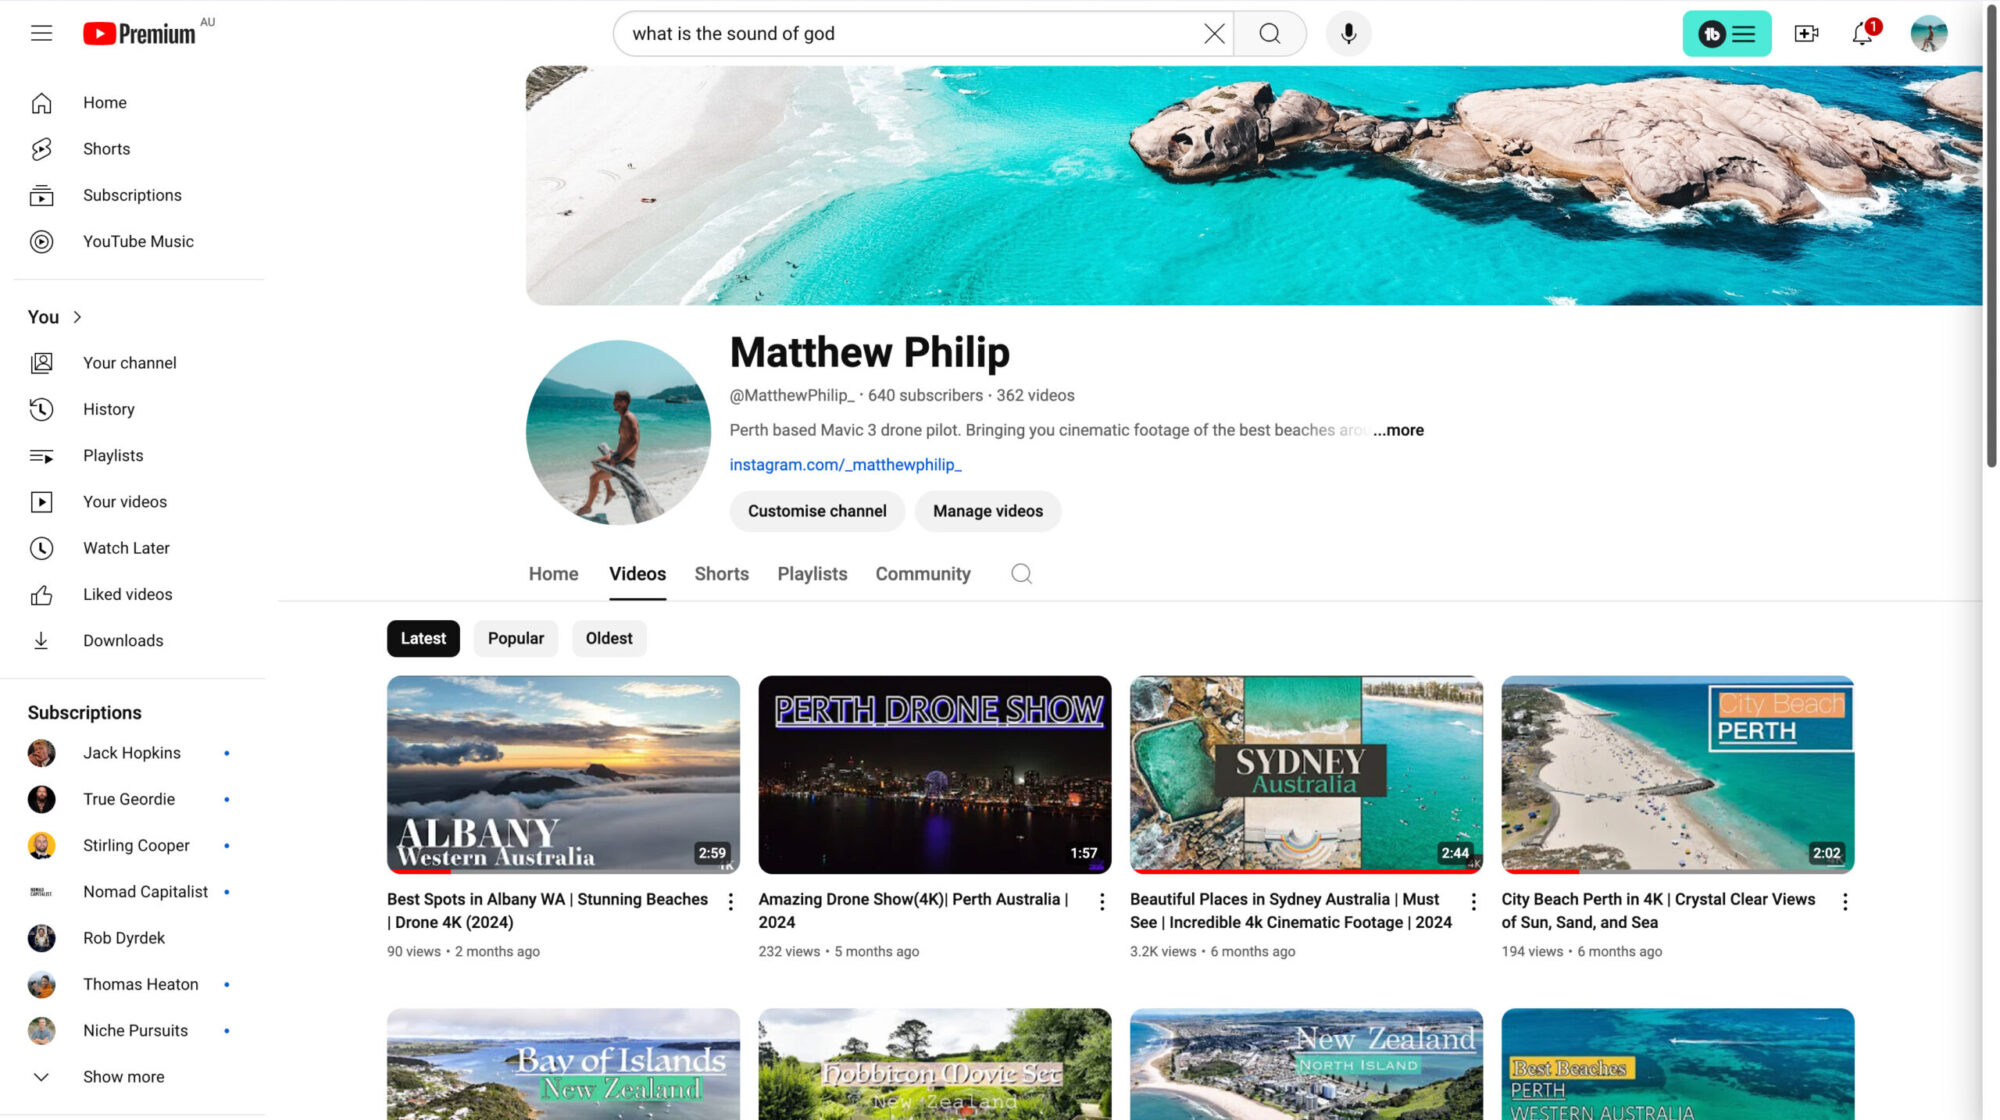
Take a look at the videos I have produced using Premiere Pro
All my content has been produced using Premiere Pro.
Frequently Asked Questions
What Are the Top 5 Shortcuts for Beginners?
For beginners using Premiere Pro, here are five useful shortcuts to know: Ctrl+S (Save), Ctrl+Z (Undo), Ctrl+C (Copy), Ctrl+V (Paste), and the Spacebar (Play/Pause). For Mac users replace the Ctrl with Command.
Using shortcuts in Premiere pro will help make your first editing experience smoother.
Which Video Editor is Best for YouTube?
Premiere Pro is a popular video editing software for drone video editing and YouTube uploads.
Its robust features and seamless integration with YouTube make it a top choice for creators looking to edit drone footage professionally and share their content on the platform with ease.
Which Software is Best for Editing Drone Photos?
Adobe Lightroom is a popular choice for editing drone photos. I have been using it for around 6 years, it has all the tools required to produce stunning drone photographs which are photo frame worthy.
How to Fix Common Issues in Drone Video Editing
If your drone video is shaky, a good fix in Premiere Pro is using the Warp Stabilizer effect. This helps smooth out the footage.
With colours not looking right or seeming dull in your drone footage, you can tweak them to look better with Premiere Pro’s colour grading tools like Lumetri Color.
When dealing with playback problems during editing, try changing the playback settings in Premiere Pro. Also clearing cache files or making sure your computer is well-suited for video editing might help.
